Syncronize files from OneDrive, Teams or SharePoint to your computer
You can sync folders, files, and entire libraries from Office 365 to your computer. This means that you can work with the same files you have in Teams, SharePoint or OneDrive. In this manual, we will show you how to sync files from your OneDrive, Team, Team Channel, and a shared SharePoint library. Our recommendation is that you do not sync too many files.
Sync my own files from OneDrive to your computer
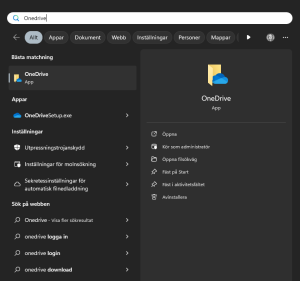
- Select Start on your computer and find the OneDrive app.
- Log in to OneDrive with your account, umuid@ad.umu.se.
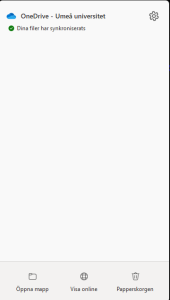
- When you are logged in, the blue cloud appears down to the right.

- You can set which folders you want to sync by clicking on the OneDrive cloud and then the gear at the top right
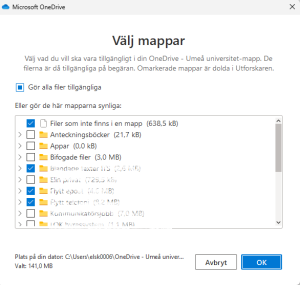
- Gå sedan till Konto och Välj mappar, bocka i de mappar du vill synkronisera och klicka sedan på OK.
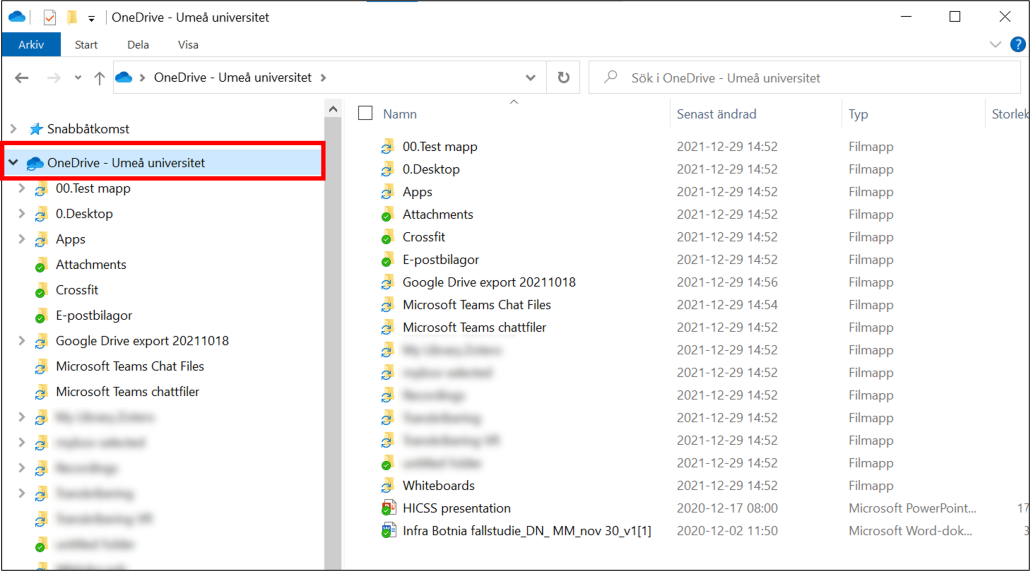
- Syncing from your OneDrive is now complete. A new tab is created in your Explorer/Finder – “OneDrive – Umeå University”. You can now work with these files from your computer. Note that these are the same files that are on OneDrive for the web. It’s just another way of working from the computer.
Sync files from an entire Team to your computer
- Select the Team you want to sync files from to your computer.
- Select a Team channel and click on Files

- Click on Document

- Now you will be able to access all files associated with the Team. Then click Sync.

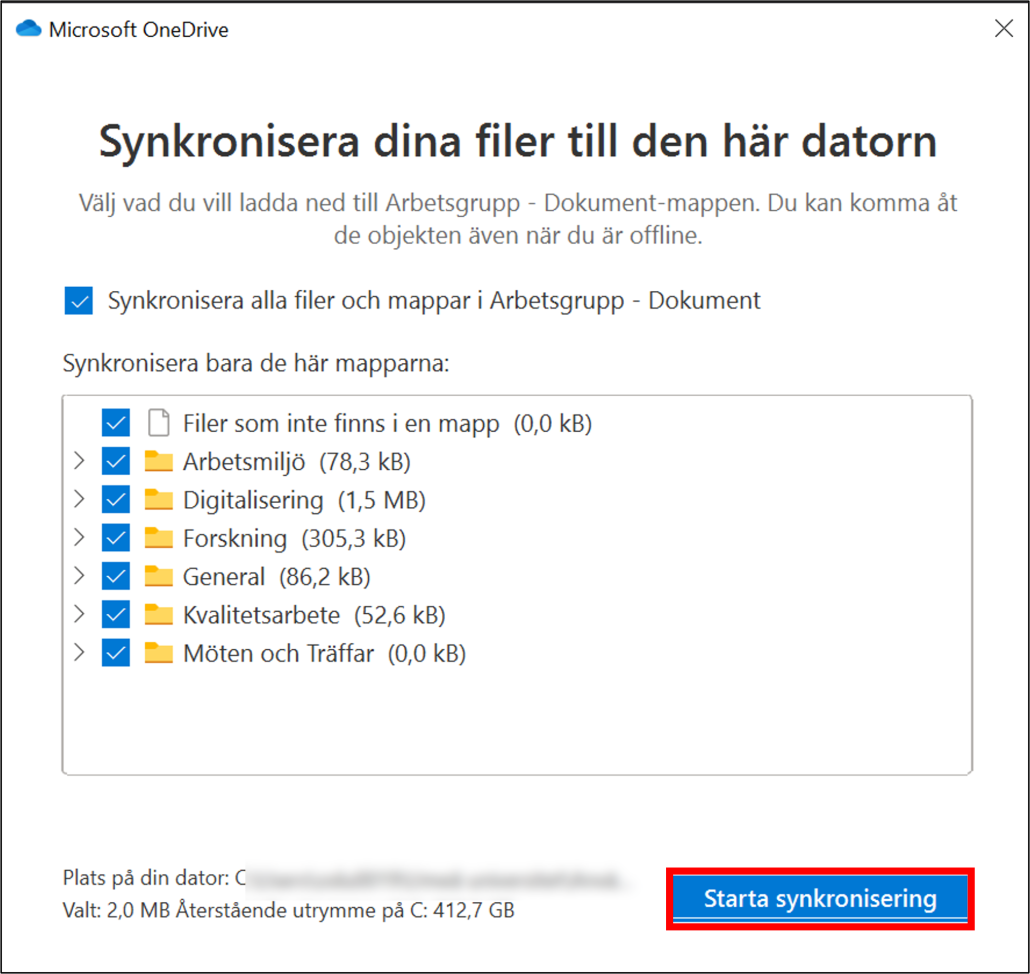
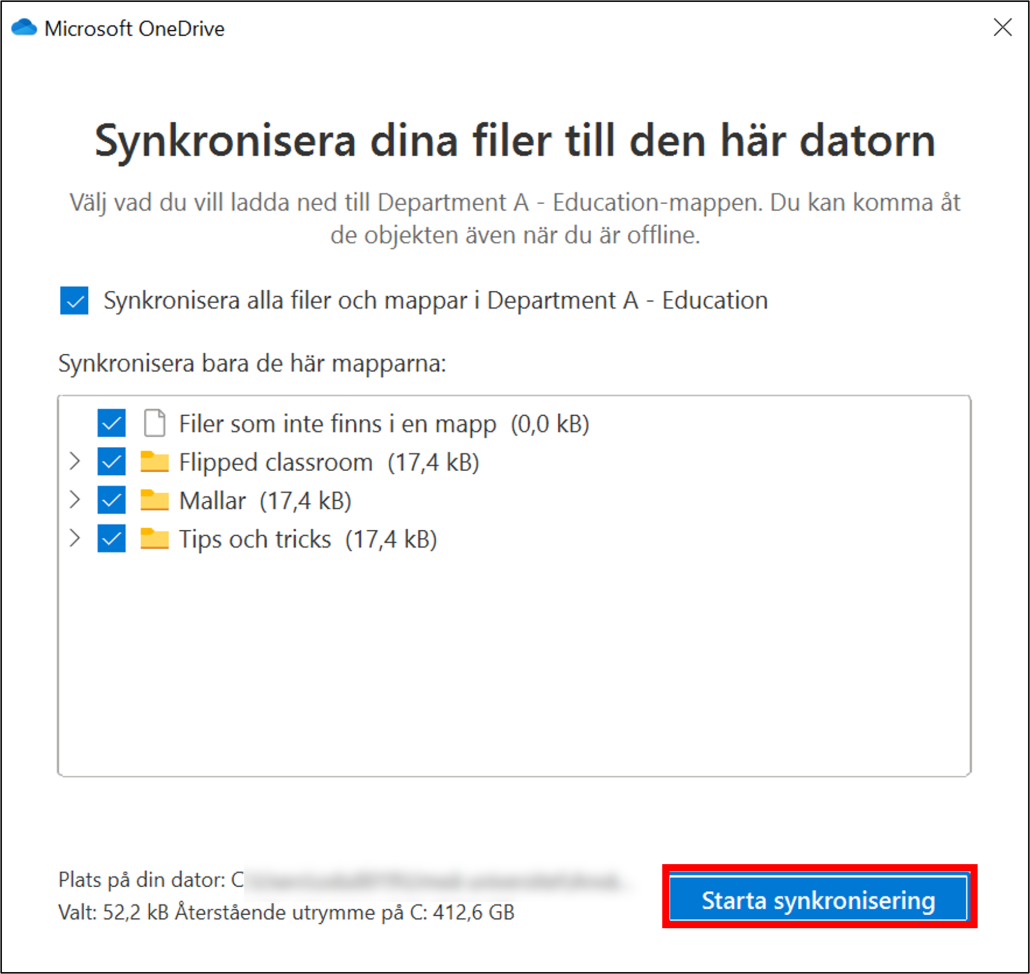
- The OneDrive app starts. Make sure all folders and files are selected. When you’re done, click Start Sync.
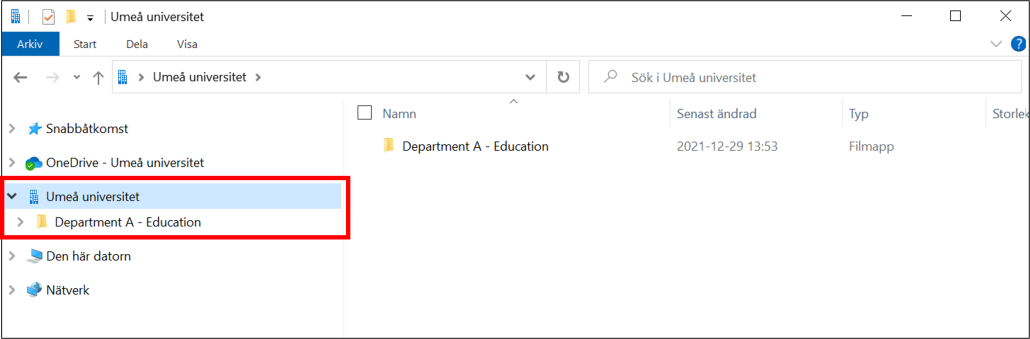
- Synchronization from an entire team is now complete. A new tab (with a “House”) is created in your Explorer/Finder. See selected locations in the image. You can now work with these files from your explorer. Note that these are the same files that are in the team. It’s just another way of working from the computer.

Sync files from a specific channel in a Team
- Choose the Team you want to sync files from to your computer.
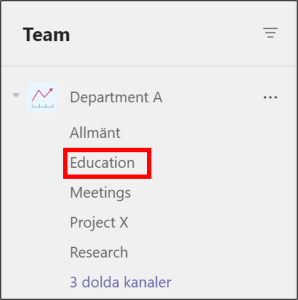
- Click the channel from which you want to sync files to your computer. For example, the Education channel that the picture shows.
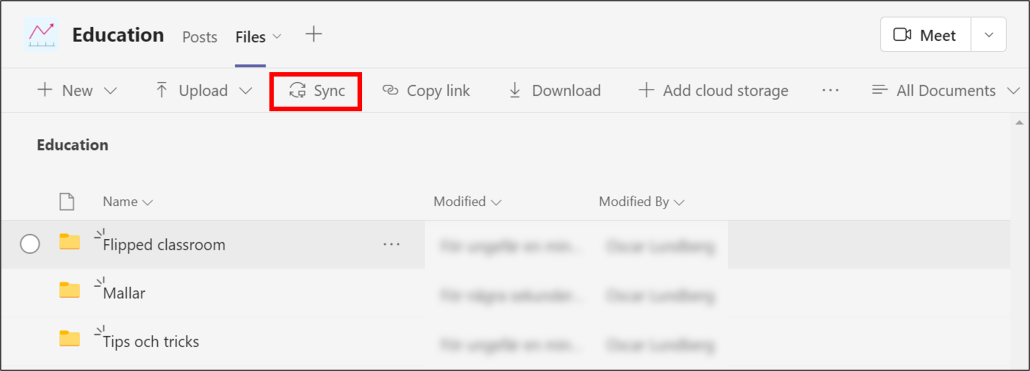
- Click on Files

- Click on Sync
- OneDrive app starts. Make sure the correct files are selected (as you can see, these are the same folders as the image in step 4). When your are done, click Start Sync.
- Synchronization from a specific Team Channel is now complete. A new tab (with a “House”) is created in your Explorer/Finder. See selected locations in the image. You can now work with these files from your explorer. Note that these are the same files that are in the Team Channel. It’s just another way of working from the computer.
Sync your files from a shared SharePoint library
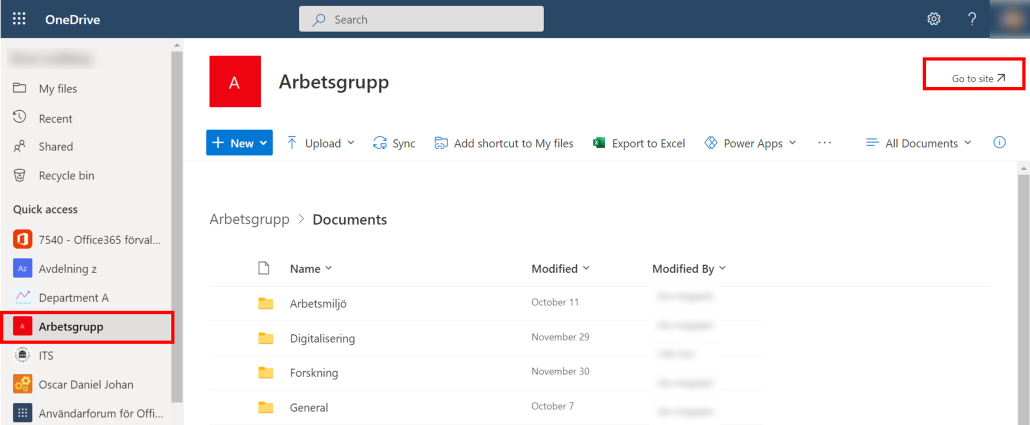
- Go to the shared library. The easiest way to do this is by using your OneDrive via: O365.
- Choose the shared library from the list that you want to sync (for example, as shown in the pircture – Team Arbetsgrupp).
- Select Go to Site.
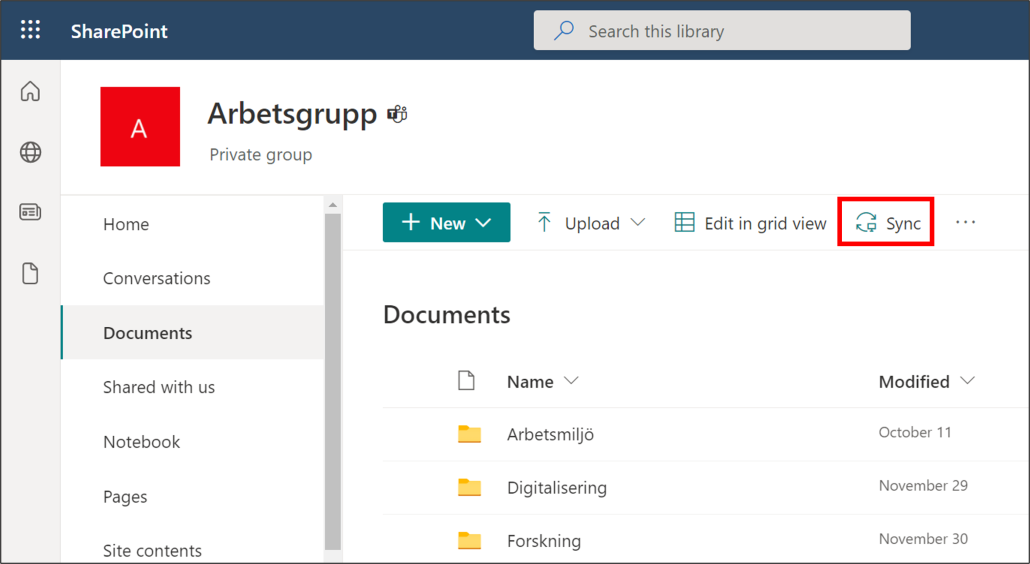
- In the menue on the left, click Documents.
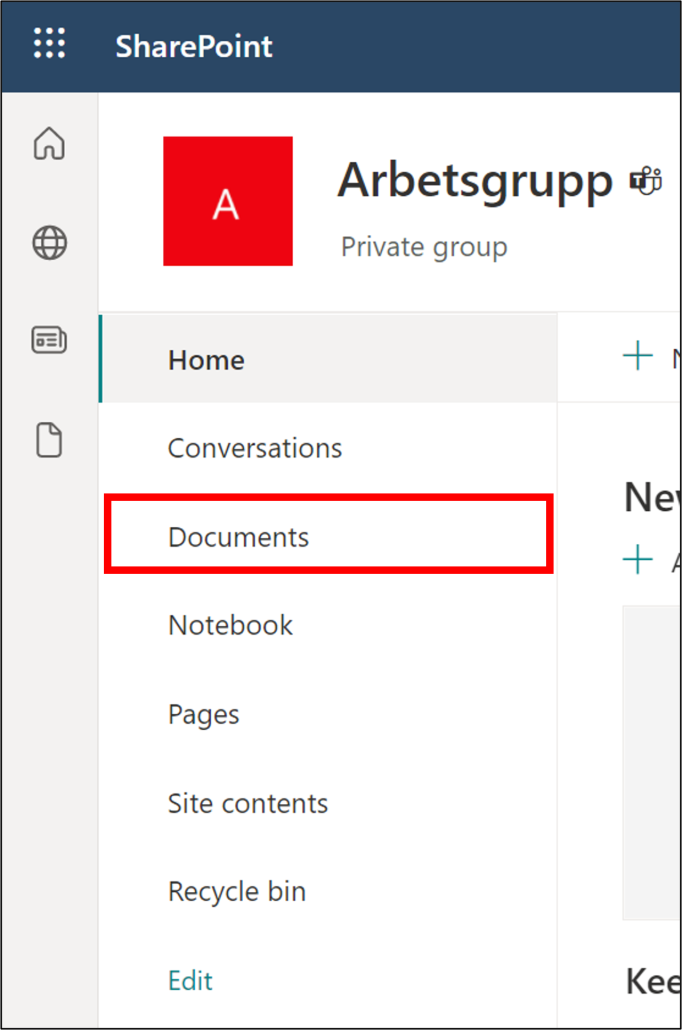
- Click on Sync
- The OneDrive app starts. Make sure all folders and files are selected. When you’re done, click Start Sync.
- Synchronization from a shared document library is now complete. A new tab (with a “House”) is created in your Explorer/Finder. See selected locations in the image. You can now work with these files from your Computer. Note that these are the same files that are in SharePoint. It’s just another way of working from the explorer.