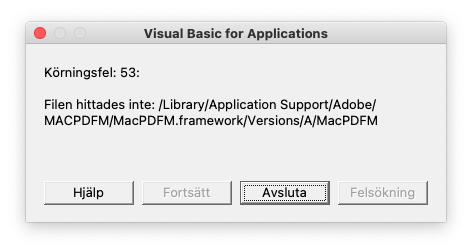
Run-time error 53 on Office 365 for Mac
Every time that I open either Word or PowerPoint, I get the Run-time error ’53
Word
- Open Word
- Go to the menu Tools -> Templates and Add-ins…
- Under Global Templates and Add-ins, remove the item linkCreation.dotm
- Close Word application
- Go to /Users/your-user-name-here/Library/Group Containers/UBF8T346G9.Office/User Content/Startup/Word/
- Remove linkCreation.dotm
- Restart Word and problem should go away.
PowerPoint
- Go to /Users/your-user-name-here/Library/Group Containers/UBF8T346G9.Office/User Content/Startup/PowerPoint/
- Remove SaveAsAdobePDF.ppam
- Launch PowerPoint
- Go to the menu Tools -> PowerPoint Add-ins…
- Remove the Save as Adobe PDF add-in
- Restart PowerPoint and the problem should go away.
Send files securely with protected attachement (Skyddad bilaga)
Before you use protected attachment (Skyddad bilaga)
Before you use protected attachments, its important that you have read the information about what you need to keep in mind before you use Skyddad bilaga.
Note that the password you choose is only allowed to be shared verbally or through SMS to the reciever.
Send files with protected attachment
- Go to the website for protected attachement: bilaga.umu.se. (press the globe icon on the top left to change language)
- Click on the icon for “Provide“.
- Enter your information. Read the general terms and accept that you have read them. Then click on “Next“.
- You will now recieve an message to the email address you entered to verify your email. Copy the password you received and paste it to the field “Verify“. Then click on “Next”.
- In this field you will enter who is reciever of your email. Then click on “Next”.
- In this field you will choose which files you are sending. You can either drag and drop files to the box or click on “Browse” to choose files. You can also add a confidential message to your files here. Klicka sedan på “Nästa”.
- In this field you will set your security settings. You can for example decide if you want to set your own password or let the system generate one for you. Note that the password you choose is only allowed to be shared verbally or through SMS to the reciever. When you are done click on “Next”.
- You will now see a preview on your transfer. Click on “Start transfer” to upload and encrypt your files.
- The reciever will get an email notification to download the files.
Receive files with protected attachment
- You will receive an email notification that you have files to download. It will say who has sent the email and what files are included in the transfer. Click on “Download files“.
- Enter the password you recieved from the sender. Then click on “Next“.
- You will now have a page opened where you can download the files you received from the sender. Remember to manage and store the files according to the instructions from the sender. Note that the files will be deleted by the system from the server after download.
Umu card
Here you can find information about the multifunction card at Umeå University, the Umu card.
Clear the Teams client cache
If you’re experiencing issues that affect Microsoft Teams, clearing the cache on your device may help.
Confirm your group study room booking in TimeEdit as a student
As a student you need to confirm your group study room bookning no sooner than 30 minutes before and no later than 15 minutes after the start of the booked slot. Unconfirmed bookings will automatically be removed.
To confirm the bookning visit either the page My group study room booknings or the bookning page Book group study room in TimeEdit.
Book a computer for a digital examination.
During a digital examination in the writing hall, you have the option to book a computer to borrow. A loaned computer makes it smooth and convenient for you to take a digital examination in our writing halls. The computer will be prepared for you in the examination hall. You will be directed to your seat […]
Activate MFA (multi-factor authentication)
In this guide, we describe how to activate MFA for your Umu ID using your computer and mobile.
Inspera – Sign off your submission
When an e-exam is signed off in Inspera, your submission will be removed from the system and cannot be recreated.
Log in to Inspera and click on ”Archive” and then on ”See more details” for the exam that you wish to sign off.
You can view your submission without downloading it by clicking the “View without downloading” button (1).
Download your submission as a PDF-file by clicking the ”Download as PDF” button (2).
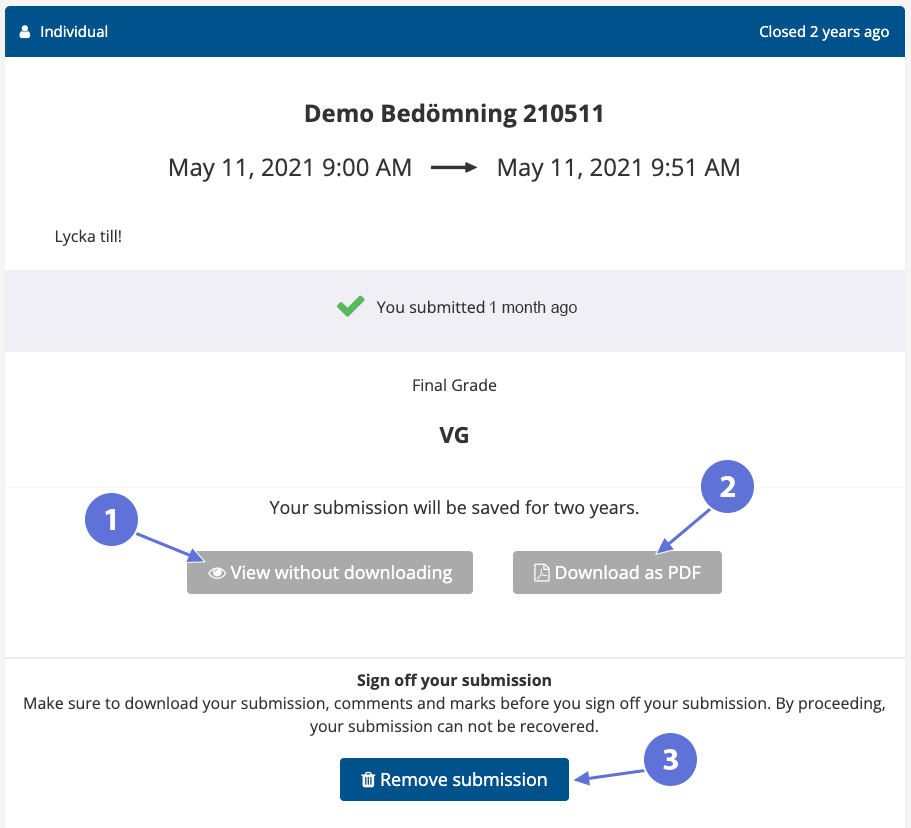
Make sure to download your submission, comments and marks before you sign off your submission.
To sign off your submission and remove it from Inspera. Click on the ”Remove submission” button (3).
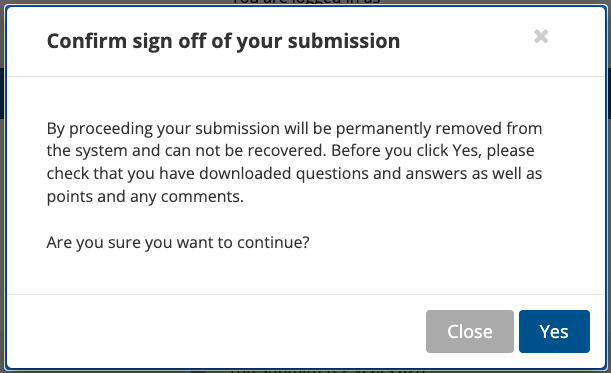
A dialog box will now open where you can confirm that your exam will be removed from the system.
Click “Yes” to confirm the sign off/deletion.