Create a board view in Microsoft Lists

Lists is a tool in Microsoft 365 where you can create, share, and track lists. In this manual we describe how you create a board view.

Observe that the appearance can differ whether you are using Mac or Windows.

Create board view

  1. Go to your chosen list in Microsoft Lists you want to create a board view in.
  2. Choose All objects in the menu bar and then Create new view.
    Image showing how to choose "All items" i Microsoft lists
  3. Now you see the window where you can edit and create you new view:
    1. Add the name you want for your board view.
    2. Then choose Board
    3. Choose how you want to organize your board by clicking the arrow to the right in this field. If you don’t already have any completed columns, it will automatically create a column that is named choice1. If you have completed columns, choose the column you want to organize you board view by (Example: by location, status, or date). Your board view will then be sorted and structured by how you have organized your board.
    4. If you want your list to be public for others, you tic this box. If you want it to be private, you keep this box empty. If you choose to make it private, you are the only one who can see and edit the board.
    5. When you are ready, click Create.
    Image showing how to create and edit your board view
  4. Now your Board view is showing, and here you can Add new buckets and manage your current buckets. You can place your objects to the bucket they belong to and add more object by clicking the Plus-sign in the right corner of each bucket.
    Image showing your board view

How to use Microsoft Lists

This manual describes the different uses for Microsoft Lists and how to create your lists.

Microsoft List is an app in Microsoft 365 that helps you sort your information and organize your work. In Lists you can see favorites, recently worked lists, search all your lists, create new lists, customize colors and icons for the lists titels as well as add comments.

Access Lists through Microsoft 365

You can get started with Microsoft 365, Microsoft Teams or SharePoint. When you’re signed in to office.com, click on the app window. If you can’t find Lists, you can search for Lists in the search-bar. Now you have access to Lists. You can see your existing lists and your favorites, select and uncheck, and create new lists.

Create a list

  1. Click +New List in the upper right corner of the screen.
  2. You can choose to start with a template, an Excel file or from scratch. If you start with a template you can choose among a lot of different ones. If you start with an excel file you can easily convert an existing file. And if you start from scratch, choose Blank list.
  3. If you clicked Blank list, you can write a title, describe what the list is for and select an appropriate color and icon.
  4. Under Save to, you can choose where you want to save the list. Select My lists to either keep the list private or just share it with a few people. To automatically save the list to a team or SharePoint-site, you can select it here and the list will then be saved in that team or site.
  5. Click Create when you’re done with the settings.

To create a new favorite list:

  1. Hold the mouse over the list.
  2. Click on the star in the right corner.

New item to list

Your list has been created and you want to fill the list with items.

  1. Go to the list you just created.
  2. Select a new item in the left corner to create an item for the list.
  3. Fill in the title of the issue (mandatory). You can formulate a problem description, choose to set a priority, assign a person or team, add images and so on. When you’re feeling done, click Save.

    Inside the list, you can get different views by clicking All items. Here you can filter problems grouped by the person that’s assigned, by priority or by date.

Assign content to attendees

How to create the content before you share it.

  1. Click Share in the meny for your list.
  2. Fill in the email adress or name of the ones you want to share the list with, and choose if they will be able to edit or just view.
  3. Choose if they should receive a notification about the sharing in the box Notify people.
  4. Click grant access to share the list.

Add rules

You can create rules for automating processes based on your list data to simplify your work. You can divide yourself of others when something changes in the list by creating a rule. You can choose to send an alert as e-mail to you or others when a column changes, or when a new item is created or deleted.

  1. Open your list.
  2. Click Automate on the right of your list.
  3. Click Create a rule.
  4. A new box opens with different options for rules. You can choose to have a notification sent to you or others when changing a column, when a column value changes, when a new object is created or when an abject is deleted. Click on the type of rule you want to create.
  5. Select a condition that triggers the rule and what action to perform in the rule. You will get different options depending on the type of rule you’ve chosen. For example you can customize the condition bu selecting a column, the value in the column, and who to notify. Click Create when done.

Templates

When you use templates in Lists, you get lists of predefined formats that you can customize to your work. To see what the templates till be used for and which headings/columns are in the template – click on one of the templates to create a new list.

Desciption of some of the templates:

  1. Issue tracker: With this template, you can follow up, manage and close cases. Set the priority and keep track of the progress of a case in the status column. Keep your team’s productivity going by sending notifications when they’re assigned cases.

2. Event itinerary: Gather all important event information in a single place for successful event planning. Track speaker names and email addresses, start and end times, room capacity, and more.

3. Employee onboarding: The checklist helps manage the onboarding of new employees and helps them succeed during their first few weeks at work. New employees can get tips on relevant contacts and resources.

Frequently asked question about Microsoft Lists

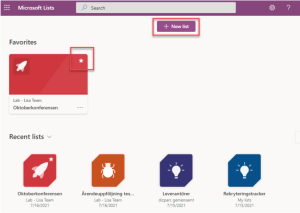
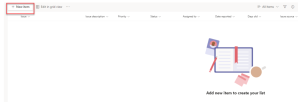
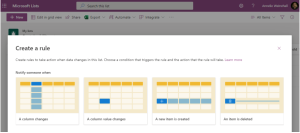
Microsoft Lists is a Microsoft 365 app that helps you track information and organize your work. Here you can see favorites, recently worked lists, add comments, search worked lists or create lists with customized colors and icons.

What is the difference between Microsoft To do and Lists?

To Do is more adapted for your day-to-day personal task management. Microsoft Lists is better for larger-scale teams projects, process or workflow management.

How can I access Microsoft Lists?

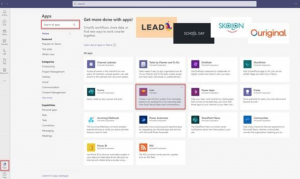
You get access to Lists with Microsoft 356, Microsoft Teams or SharePoint. When you’re signed in on office.com, click on the app window. If you can’t find Lists among all the office apps, you can search for it in the search bar.

From teams, even before you enter a team, you can search for Lists from apps, click on the icon and select Add to a team. Type a team or the name of the channel.

If you’re already in a team, you can add a List to the teams channel by clicking + inside the team channel. Click on the icon att then Save.

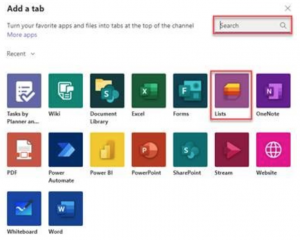
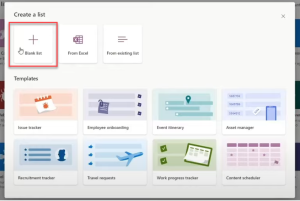
Select already existing lists or create a new list. You can choose this both from Teams or directly in Lists, the app.

How do I create a list in Microsoft teams?

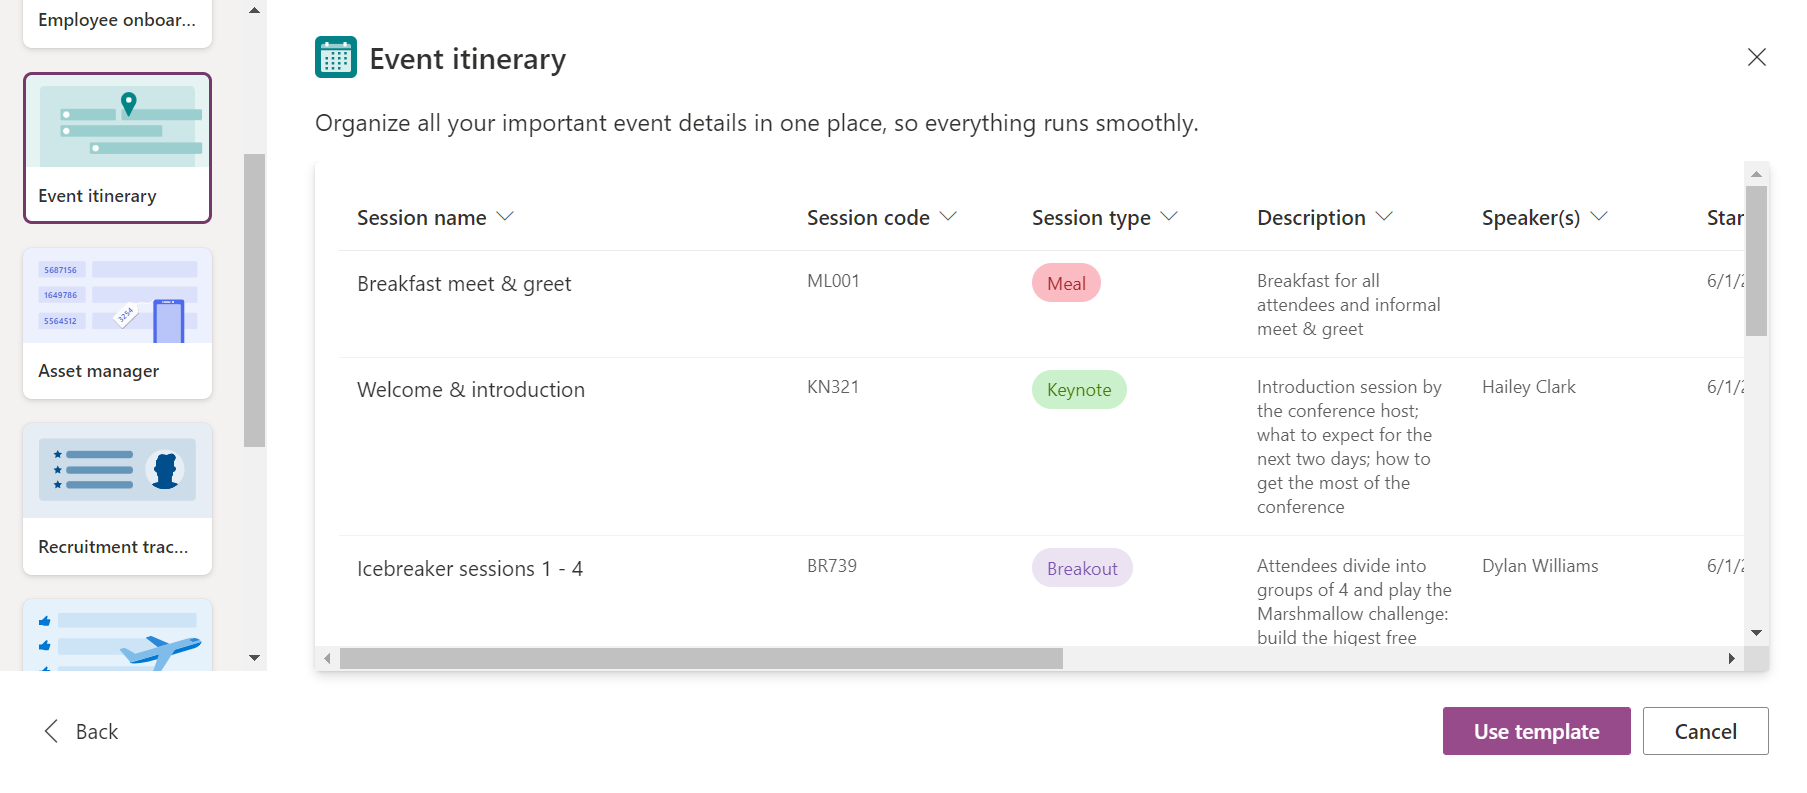
Follow these steps if you want to create a list in Teams based on an already existing list.

  1. Select from existing list.
  2. Select a team, a list and klick next.
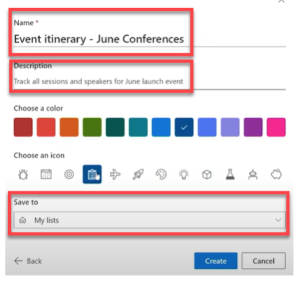
  3. Enter a name for your List. And if you like, enter a description and choose a color and icon.
  4. Select create.

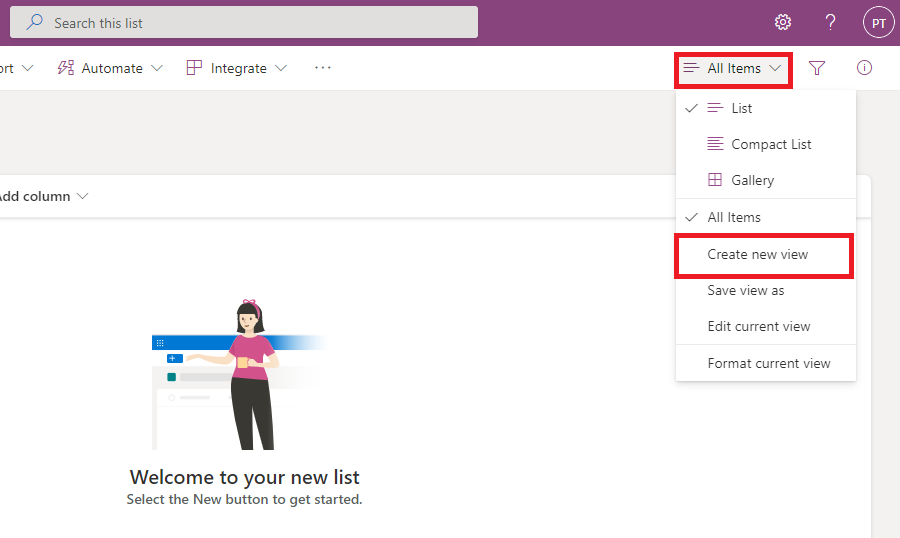
How do I delete a column in a list in Microsoft?

  1. Go to the list or library that you want to delete a column from.
  2. Select the column header for the column that you want to delete. Click right and Select Column settings and then Edit.
  3. At the bottom of the edit column pane, select Delete.

How do I share a list?

You can share a list from the Lists homepage.

  1. Click on the list on your homescreen, select Open action and then Share.
  2. Enter who you want to share the list with. It can be to one person or an entire group.
  3. Select what permissions you want the person/group to have.
  4. Select Grant access.

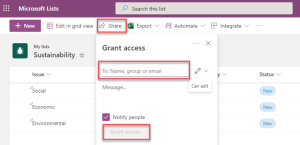
You can also share the list that’s currently open.

  1. Select Share in the toolbar att the top.
  2. Enter who you want to share the list with.
  3. Select what permissions you want to the person to have.
  4. Select Apply and then Send.

The receiver will get an email with a link to the list.

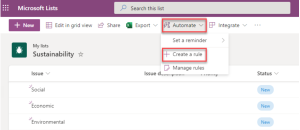
How do I assign tasks in Microsoft lists?

You can assign tasks to any member of a shared list, including yourself. To assign a task within a shared list, open the tasks detail view and select Assign to. Select the member of the shared list you’d like to assign the task to.

How do I delete a list in Microsoft teams?

Go to the channel i teams that contains the list you want to remove. Tap More at the top of the screen. Then click Delete to the right of the list name.

Can i link Microsoft lists?

To share a list, open the sharing menu by selecting the sharing icon on the top right of any of the list you’ve created. Select Create Invitation Link and then Copy link. Paste the sharing link in your email-app or a chatt of some kind to send the link.