Microsoft Authenticator FAQ
Common questions and answers regarding Microsoft Authenticator
This website makes use of cookies to improve the user experience. By continuing to use the website you agree to the usage of cookies. Vad är kakor?
Common questions and answers regarding Microsoft Authenticator
In this guide, we describe how to activate MFA for your Umu ID using your computer and mobile.
Multi-factor authentication (MFA) is a service that gives you increased protection when logging in to some of the university’s systems. With multi-factor authentication, you log in in two steps, which gives you extra layer of protection on top of your Umu-id and password. Umeå university uses both Microsoft Authenticator and Freja eID+ as multifactor. This means that the log-in site can look different depending on which system you’re logging in to.
Freja eID plus is a free, government approved digital ID card that helps you login in some systems at Umeå university. You can prove your identity in an application on your phone instead of showing a physical legitimation card.
Follow this manual to log in with Freja eID+.
The app Microsoft Authenticator means that you log in on some services with your UMU-id and password, and then you approve the log in on your app Microsoft Authenticator on your phone or hardware token.
Follow this manual to log in with Microsoft Authenticator.
When you log in on some of the University’s system, for example Skyddade dokument, you need to choose wether you want to log in with Freja eID+ or Microsoft Authenticator. It will look like this after you’ve typed your UMU-id and password:
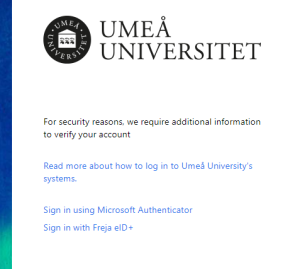
Choose the alternative Sign in with Microsoft authenticator if you log in with a hardware token. You also choose this alternative if you use the Microsoft authenticator app on you mobile unit.
The only alternative for log in at Microsoft 365 is Microsoft Authenticator. After you’ve typed your UMU-id and password you will directly be asked to accept the login in your Microsoft Authenticator-app. You don’t have to choose which method you want to log in with.

Multifactor authentication (MFA) is a service that gives you increased protection when logging in to some of the university’s systems. With multi-factor authentication, you log in to the university’s systems in two steps: using your Umu-id and password, and using the Microsoft Authenticator app on your phone/tablet or a hardware token. In this guide, we will describe step-by-step how to log in to the University’s systems using multi-factor authentication on both your phone/tablet or hardware token.
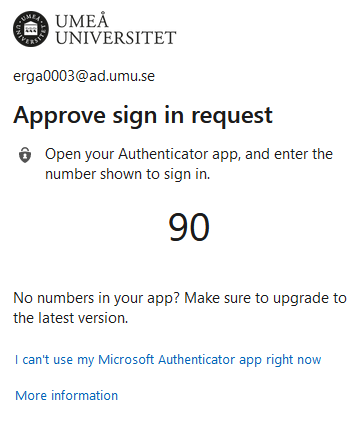
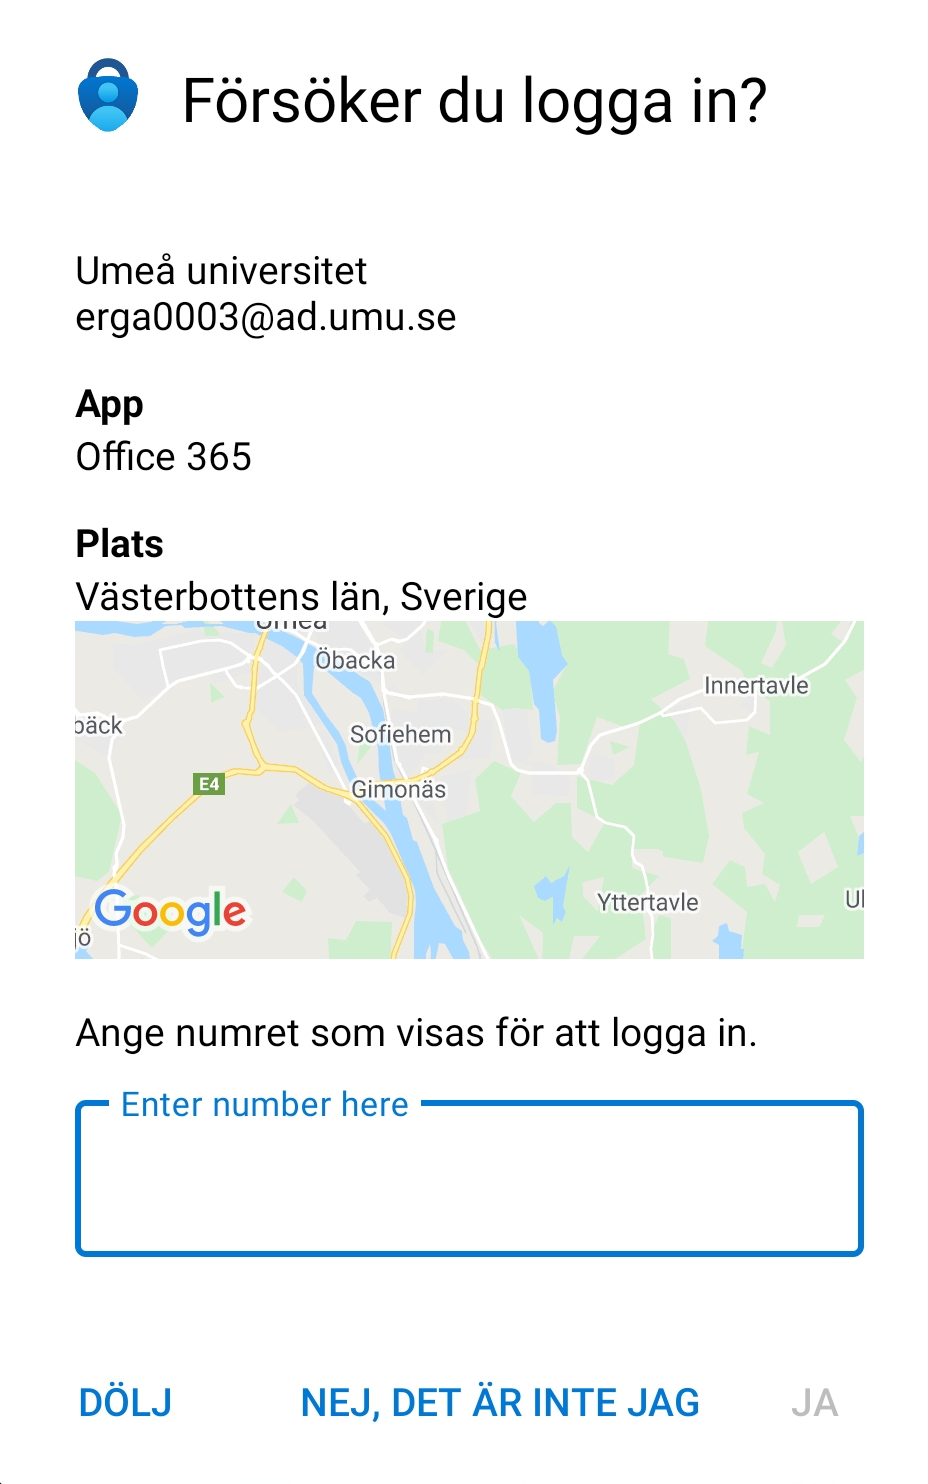
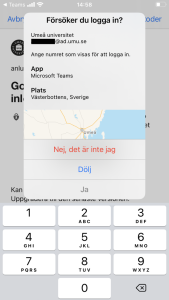
Does it look like this when you open Authenticator on your iphone?
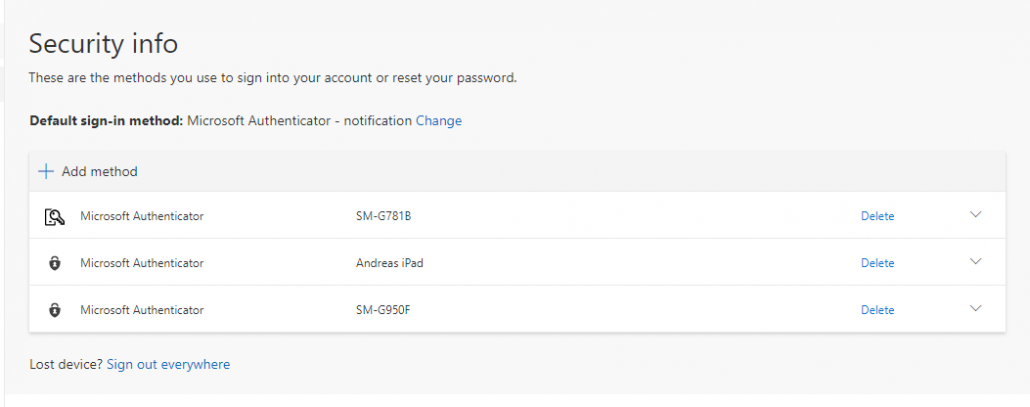
If you want to change your standard method for login, you can change it with this method.
