Create questions for a form in Forms
In this manual we will show all types of questions that can be created in a form. Use a form to collect data, for example through a survey. If you want to create a quiz with right and wrong answers instead, se our manual for that. (link)
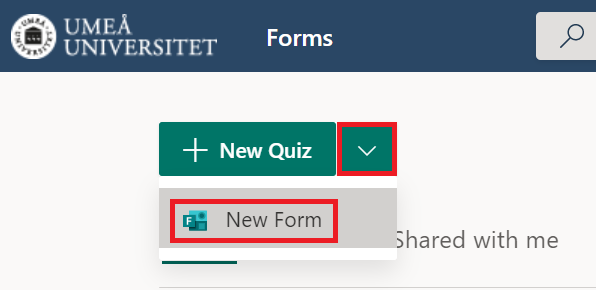
Add a new question
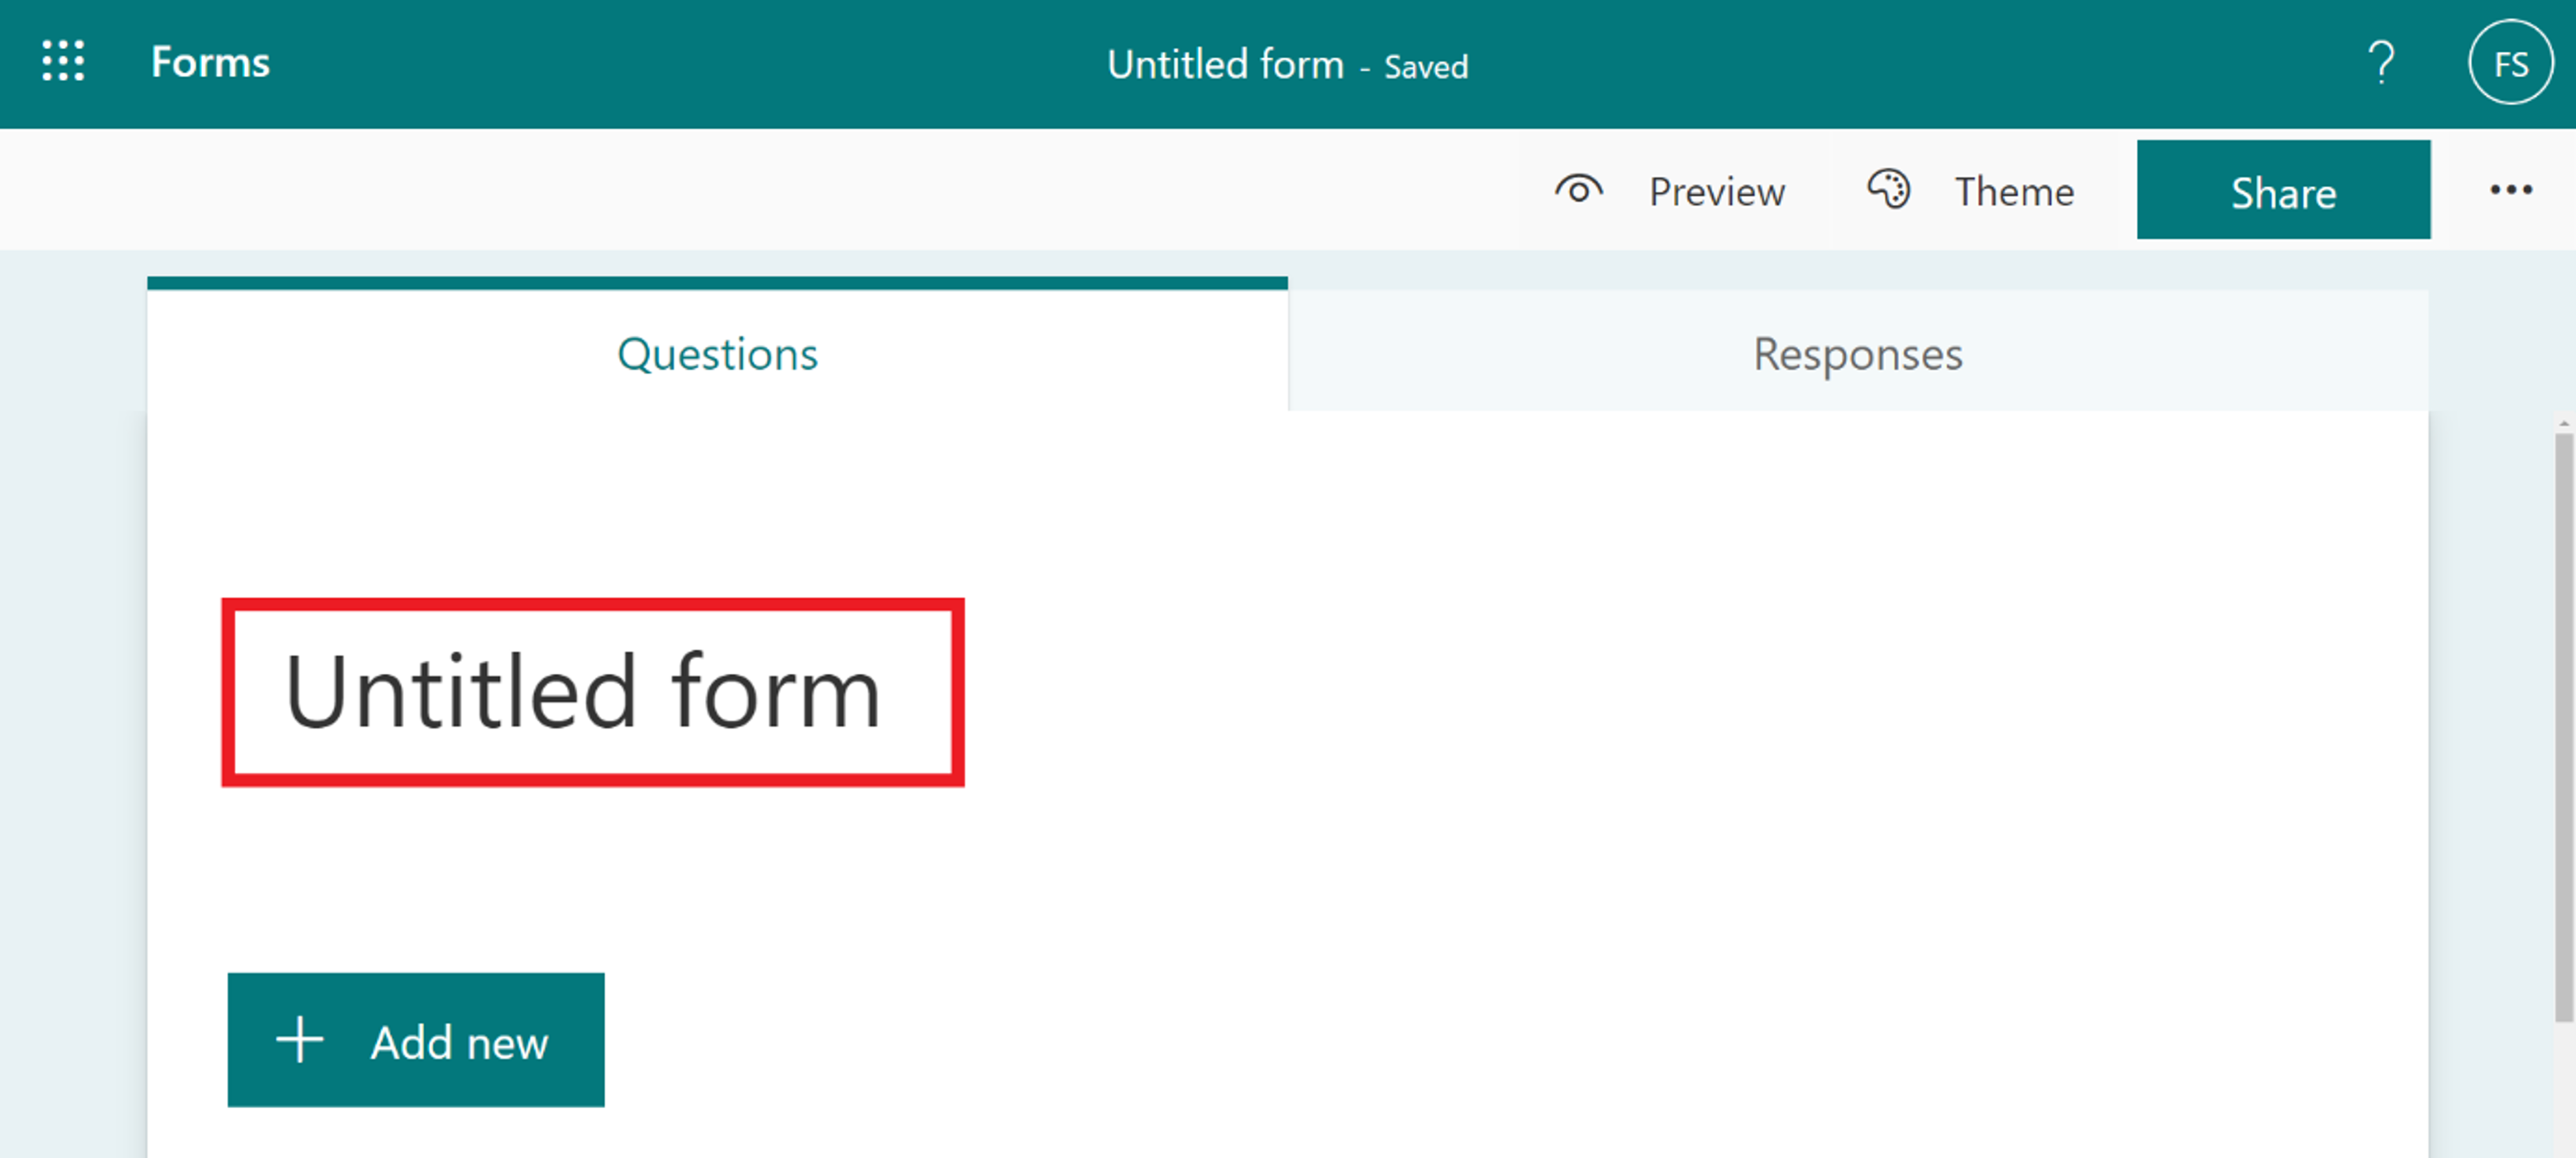
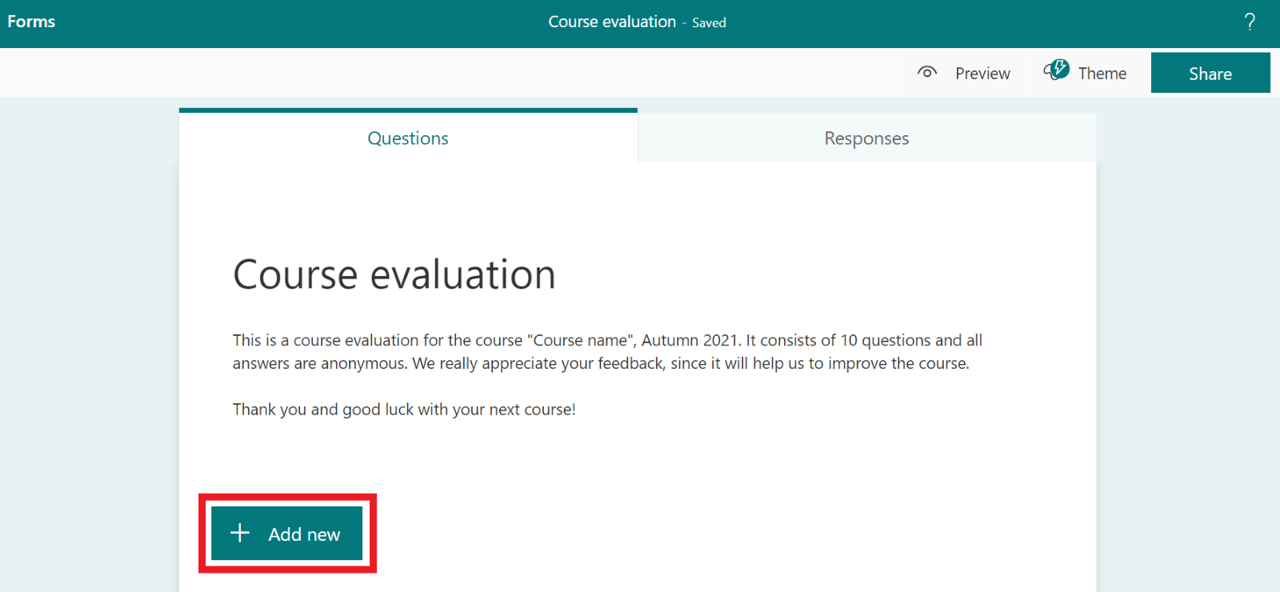
- Open the form you want to add questions to.
- Select Add new to add a new question.
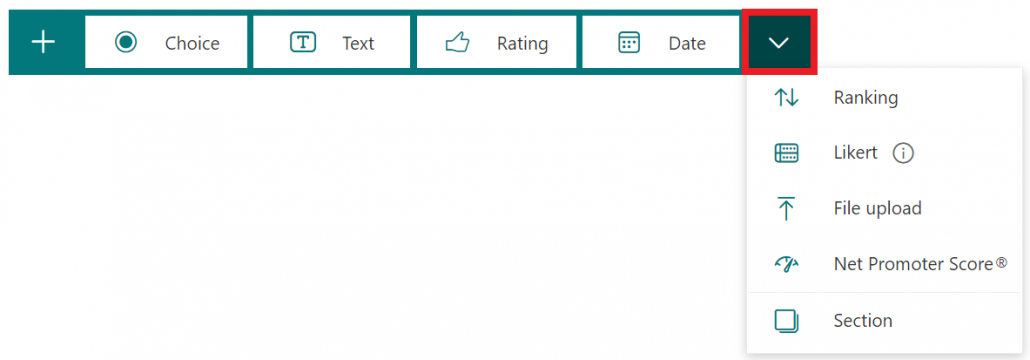
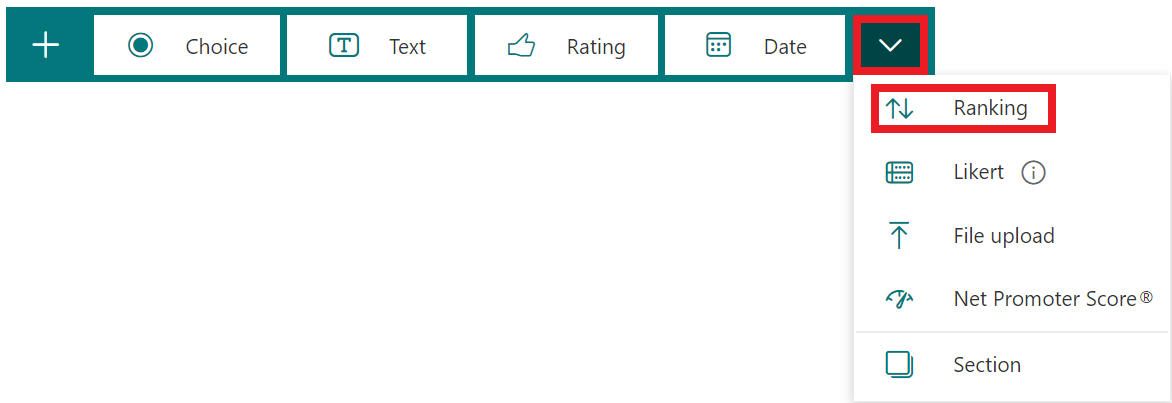
- You will see a panel with the options: Choice, Text, Rating, and Date. Select the question you want to add. You can also select the arrow to get more questions to choose from (Ranking, Likert, File upload or Net Promoter Score).
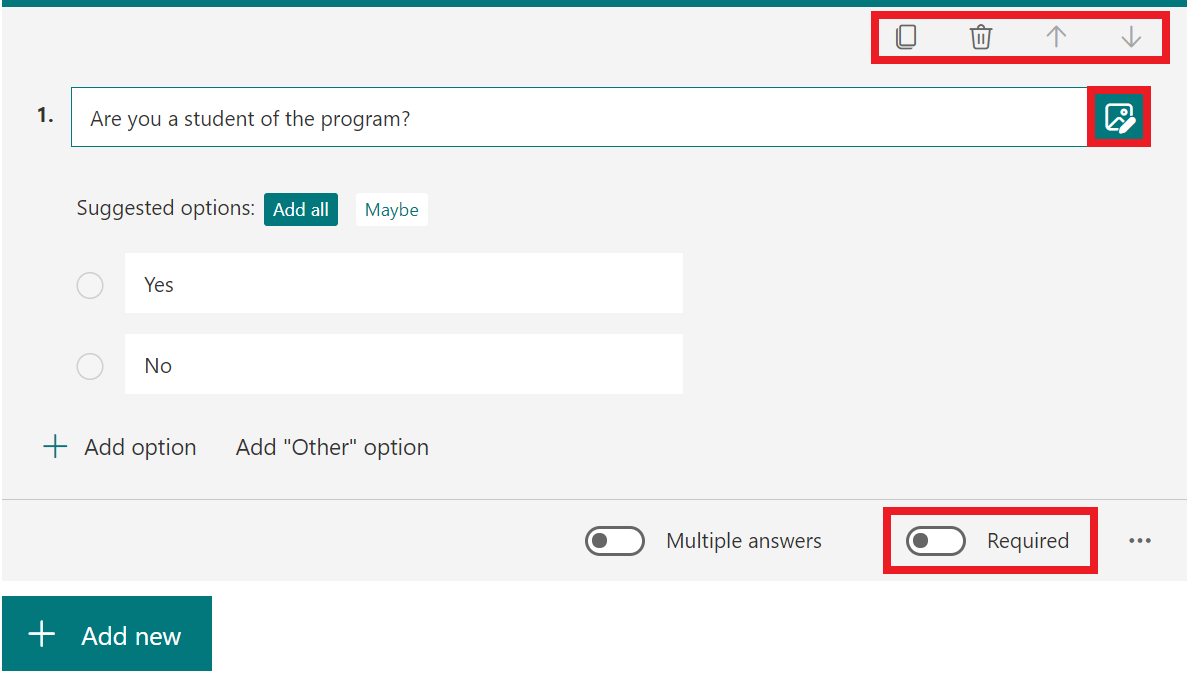
- These settings are available for all question types:
- Copy the question.
- Delete the question.
- Change the order of the question (move it up or down).
- Insert media, you can choose an image or a video.
- Decide if the question requires an answer.
Question types
In this section we describe the different types of questions you can add to a form.
Choice question
A choice question allows you to add answer options to a question. You can add more than 100 different options. Below we describe the different settings you can make when creating a question.

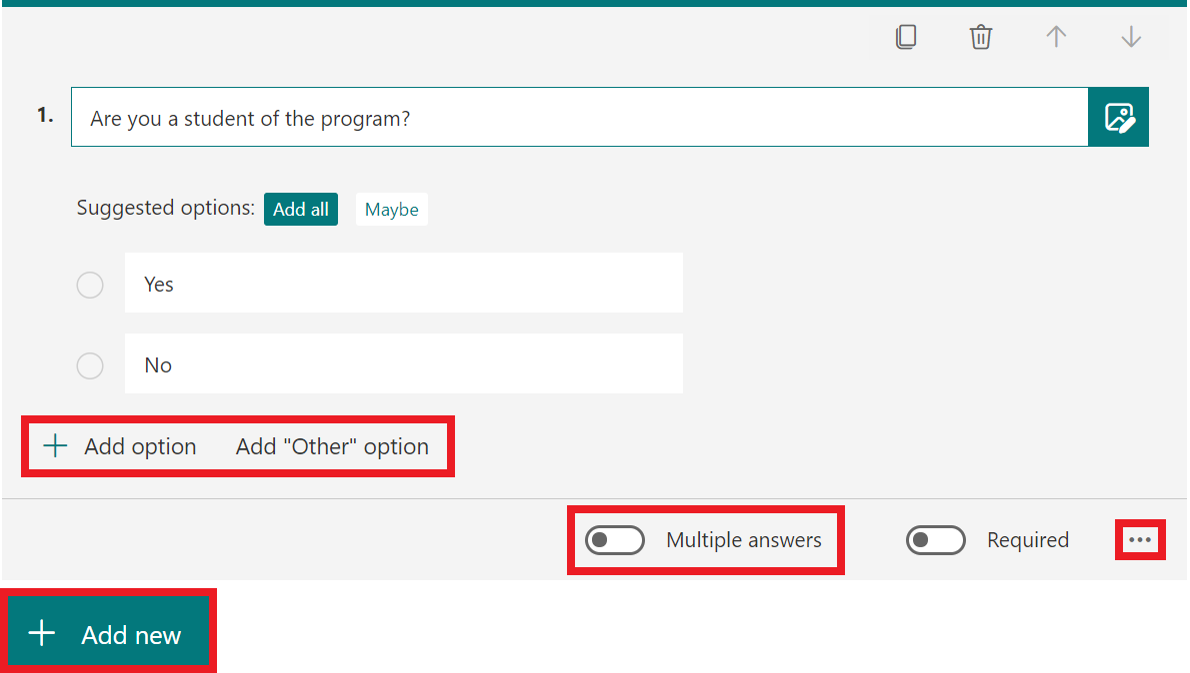
- Add your question.
- Add an option.
- Add the “Other” option.
- Decide if the respondents can choose multiple answers.
- Select the three dots to get more options: shuffle options, drop-down list, subtitle or add branching.
- Select Add new to save the question and add another one.
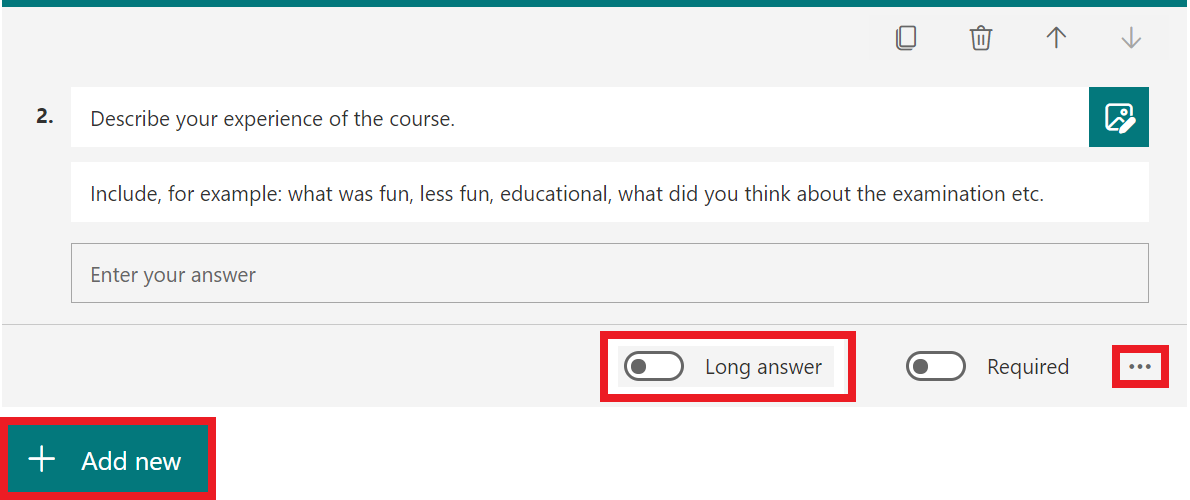
Text question
A text question allows the respondents to write a text to answer the question.

- Add your question, and possibly a description/clarification.
- Decide if the respondents will be able to write a long answer.
- Select the three dots to add a subtitle, restrictions or add branching.
- Select Add new to save the question and add another one.
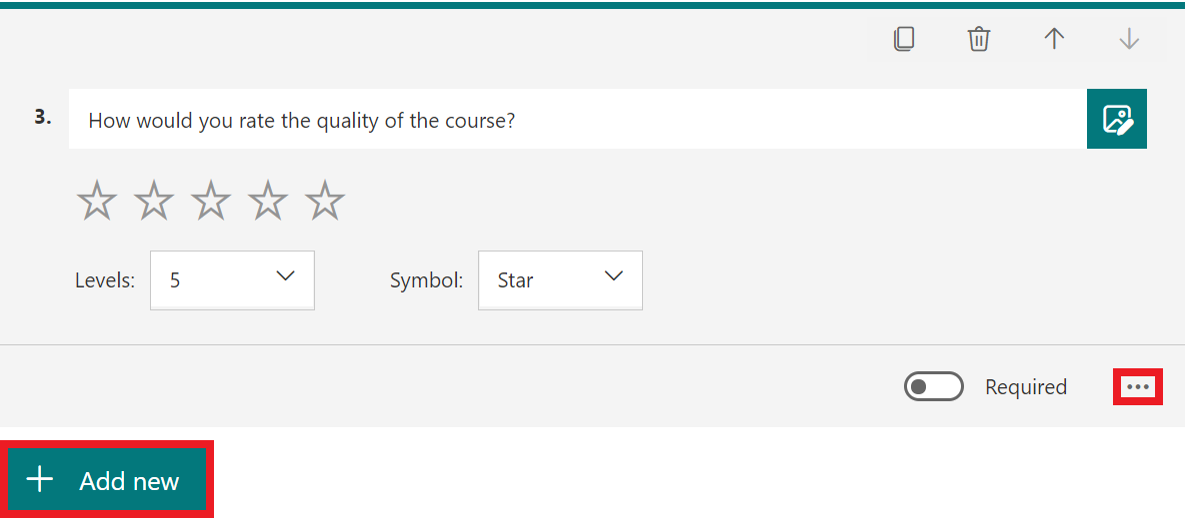
Rating question
A rating question allows the respondents to rate a statement from 1 to 10.

- Add your question.
- Choose the levels, the maximum level is 10.
- Choose the symbol, you can choose either stars or numbers.
- Select the three dots to add a subtitle, label or branching.
- Select Add new to save the question and add another one.
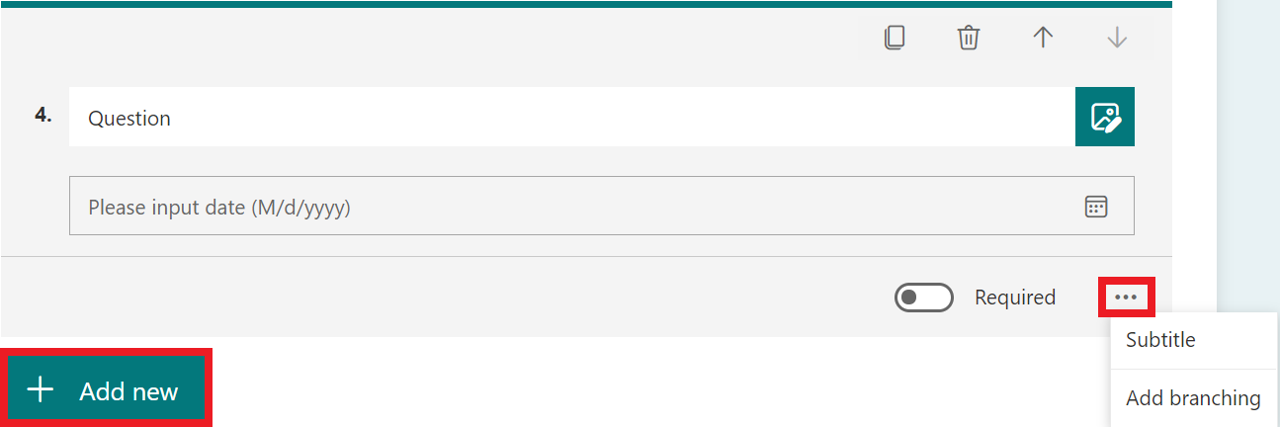
Date question
A date question lets the respondents choose a date to answer the question.

- Add your question.
- The respondent can add their answer by typing the date or choosing it from the calendar.
- Select the three dots to add a subtitle or branching.
- Select Add new to save the question and add another one.
Ranking question
A ranking question allows the respondents to grade the options by dragging and dropping them.
- Select the arrow, and then Ranking.
- Add your question.
- Select Add option to add more answer options. The maximum is 10.
- Select the three dots to add a subtitle or branching.
- Select Add new to save the question and add another one.

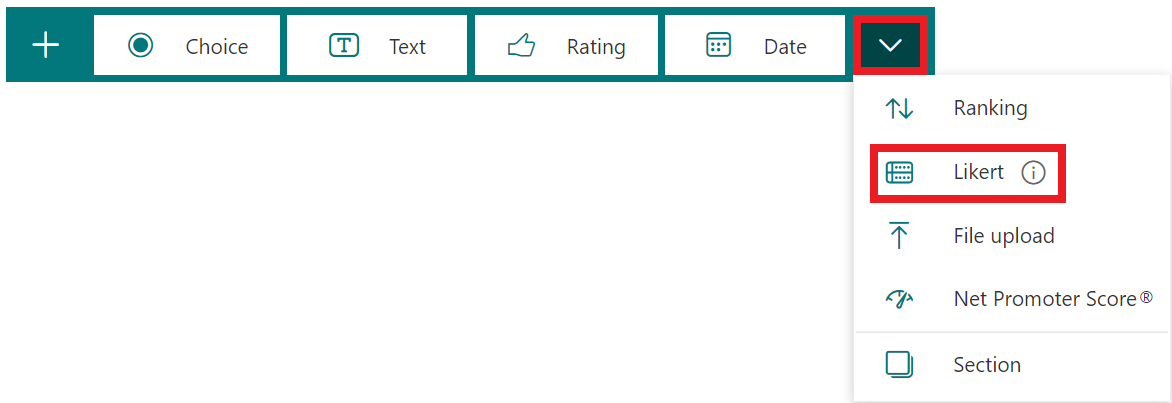
Likert question
A Likert question allows the respondents to grade their perception of something.
- Select the arrow, and then Likert.
- Add your question.
- Select the plus sign to the right to add more answer options. You can add a maximum of 7. Click on an option to edit or delete it.
- Select Add statement to add more statements (rows). You can add a maximum of 20. Click on a statement to edit or delete it.
- Select the three dots to add a subtitle or branching.
- Select Add new to save the question and add another one.

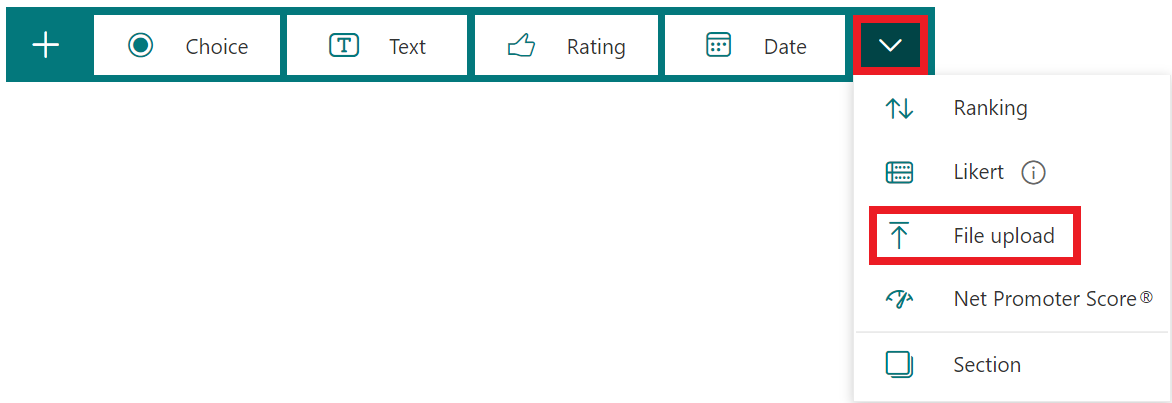
File upload question
A file upload allows the respondents to upload a file as an answer to the question.
- Select the arrow, and then File upload.
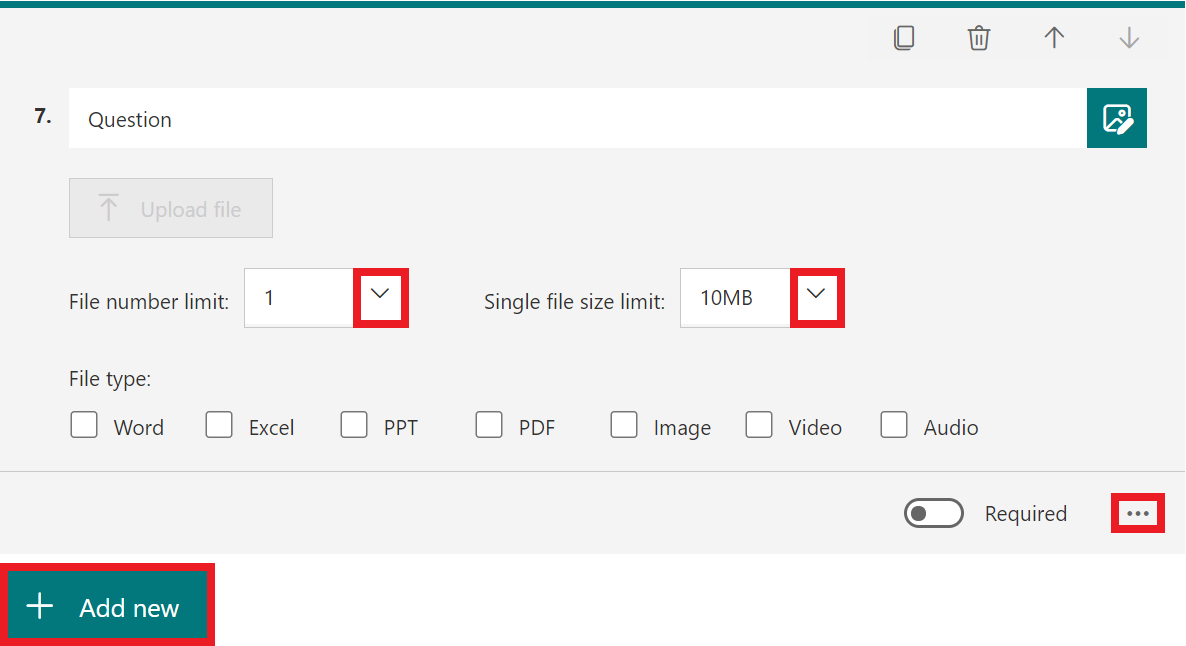
- Add your question.
- Select the arrow next to File number limit to decide how many files the respondent can upload. The maximum is 10 files.
- Select the arrow next to Single file size limit to decide the size limit (10MB, 100MD or 1GB).
- Select the tree dots to add a subtitle or branching. You can also choose the allowed file types (see picture).
- Select Add new to save the question and add another one.
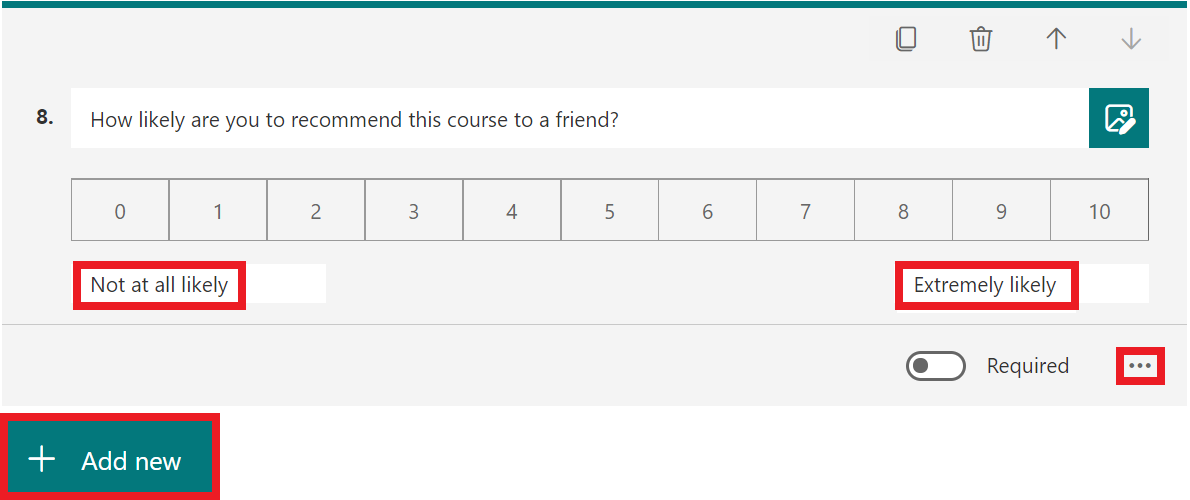
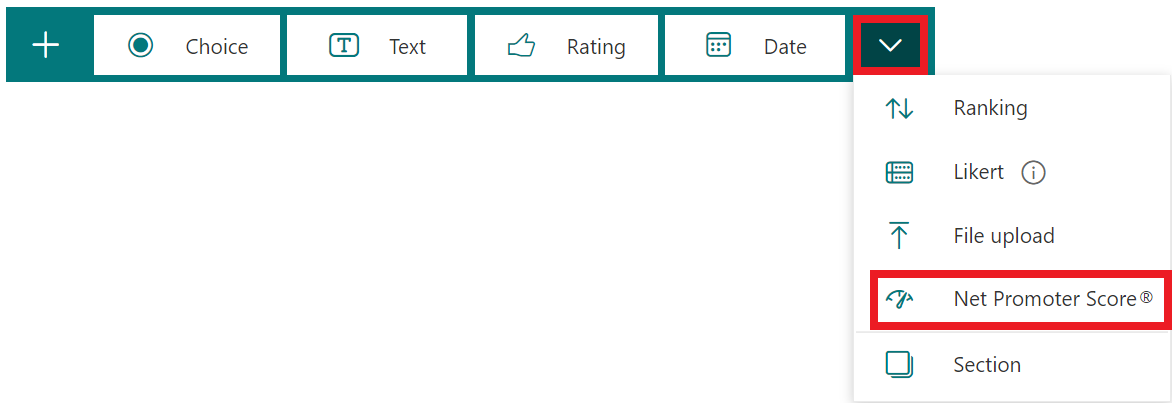
Net Promoter Score question
A Net Promoter Score question allows the respondents to grade a statement from 1 to 10.
- Select the arrow, and then Net Promoter Score.
- Add your question.
- Select Not at all likely and Extremely likely to change the text.
- Select the three dots to add a subtitle or branching.
- Select Add new to save the question and add another one.