Review results in Forms
In this manual we show how to review results in Forms. We also show the difference between reviewing results from a form (survey) and questionnaire (test, quiz).
Review results from a Form (survey)
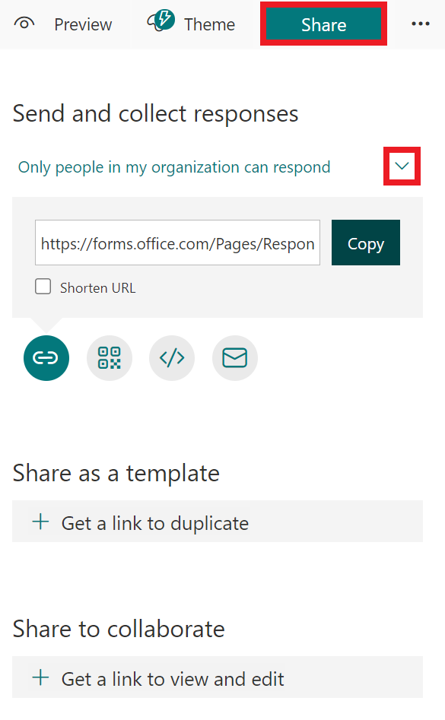
- Enter your Forms portal and select the form you want to view the results from.
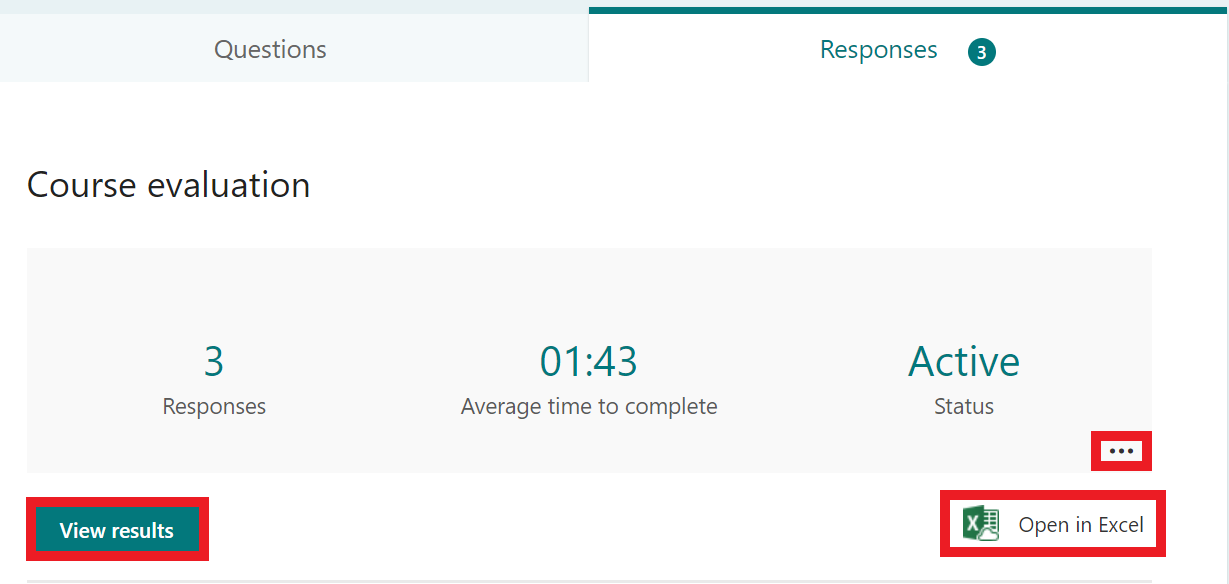
- Select the Responses tab.

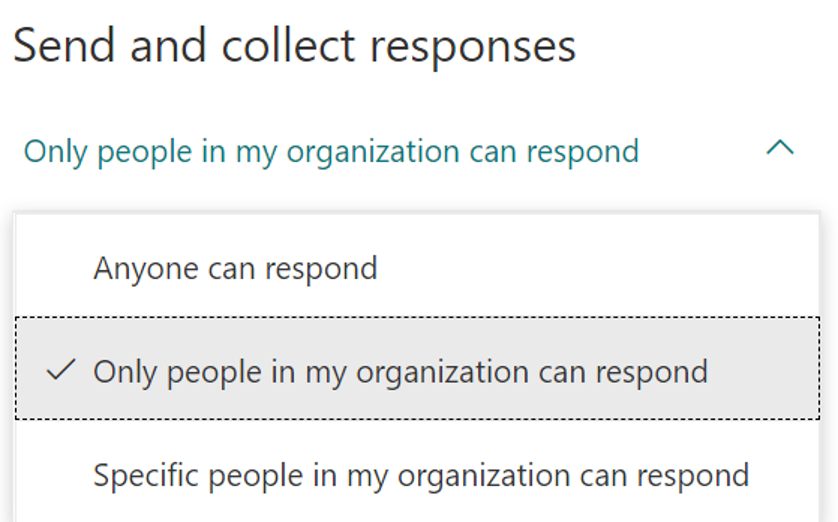
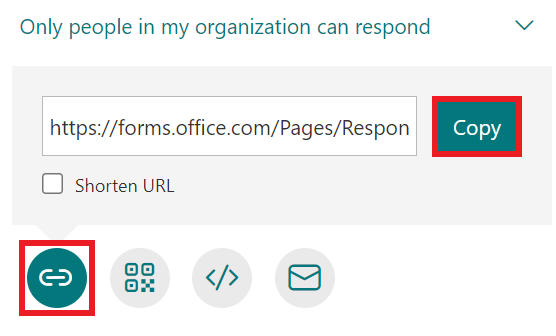
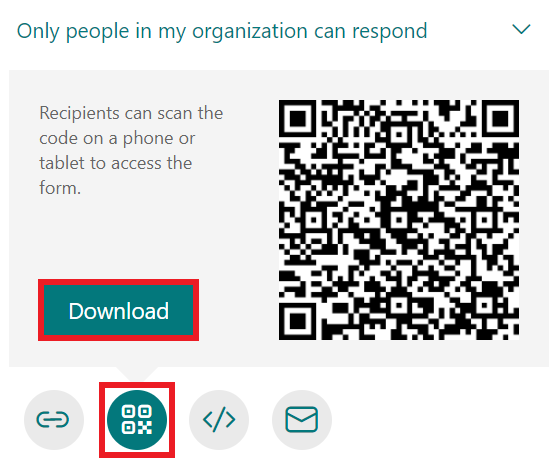
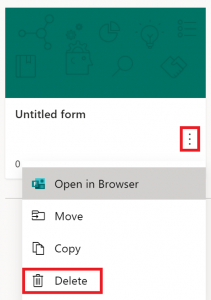
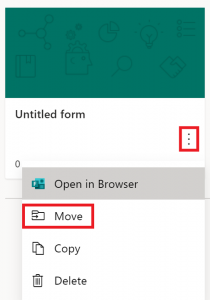
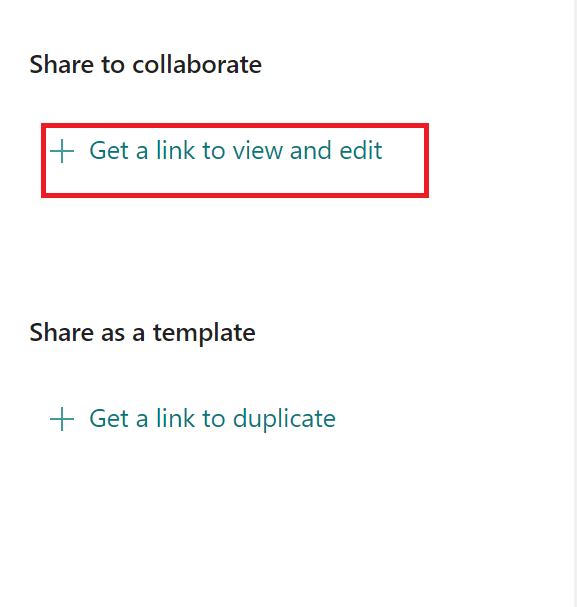
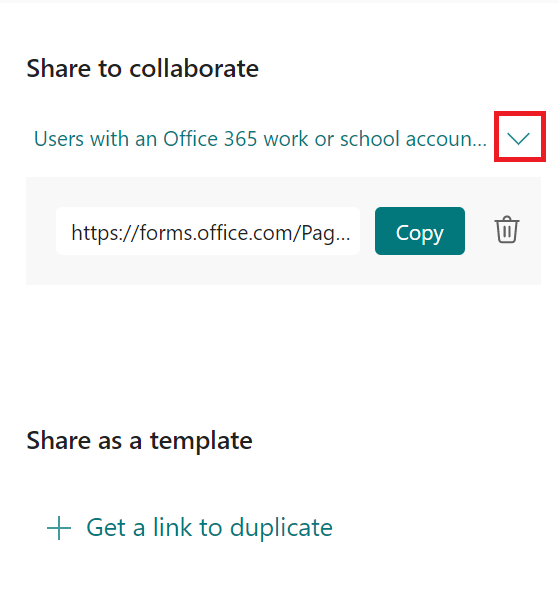
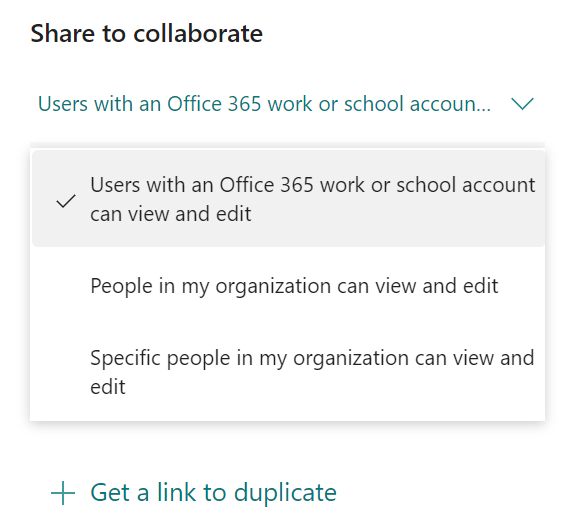
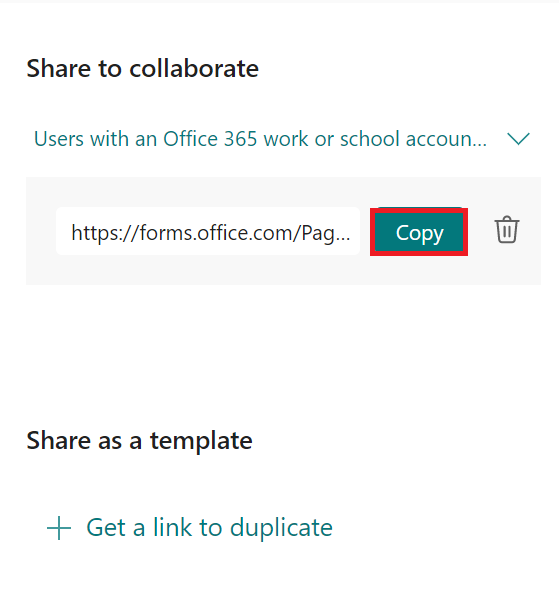
- Select the three dots to delete all responses, print a summary, or create a summary link.
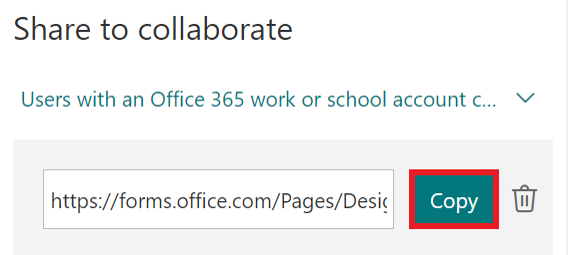
- Select Open in Excel to see the results in Excel. The questions will become columns and the responses will become rows.
- Note that if you change anything in Excel, it will not change in Forms.
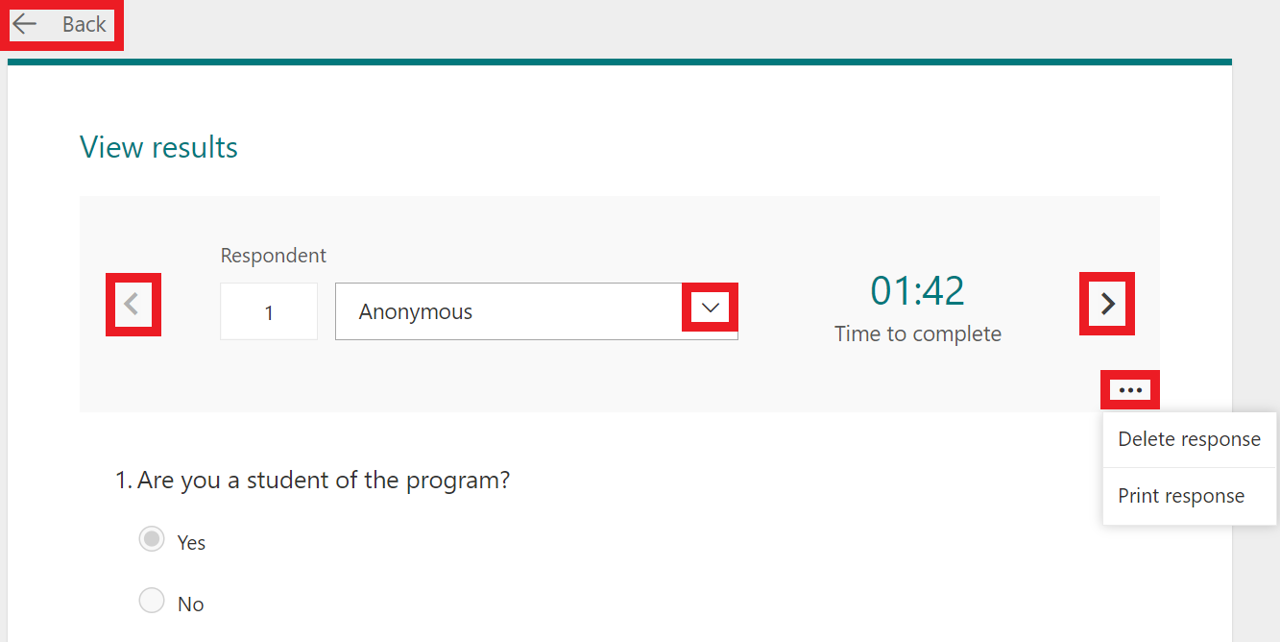
- Select View results to see each respondents’ answers.
- Select the arrows to view another respondent’s answers.
- Select the three dots and then Delete response to delete the respondents answers or Print response to print them out.
- Select Back to return to the responses tab.
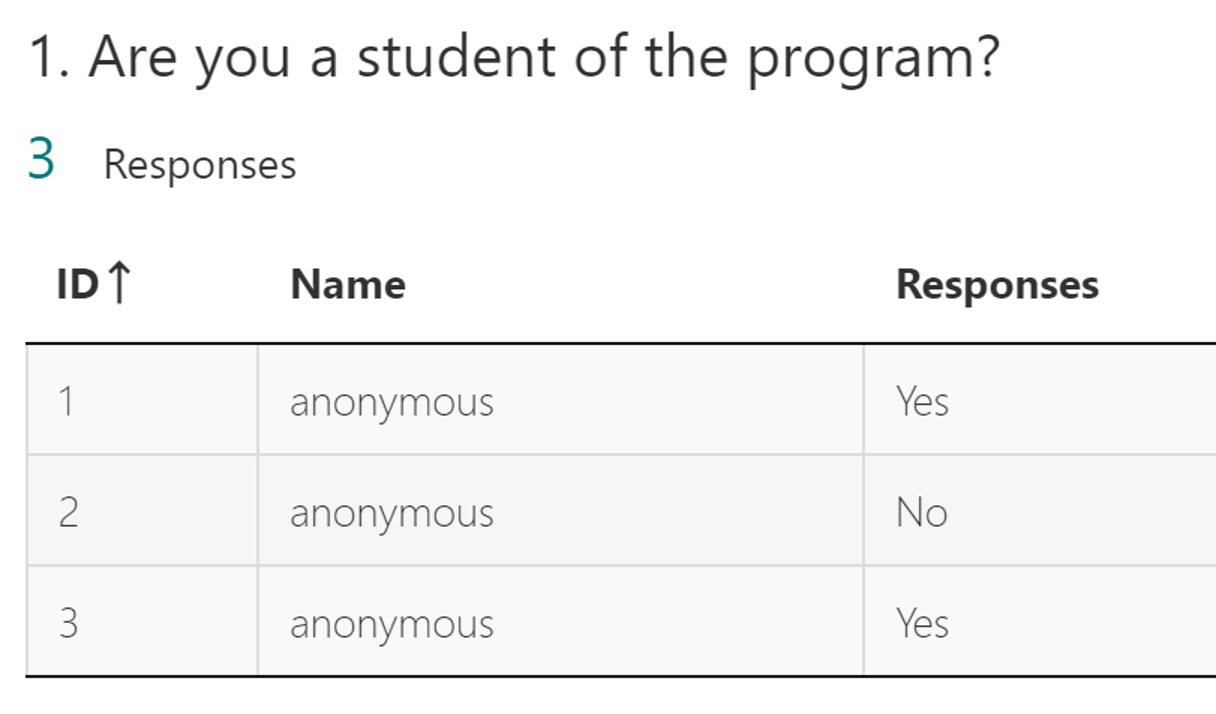
- There you can see all questions and a summary of the answers. Select More details below each question to see a list of all the answers to that specific question.
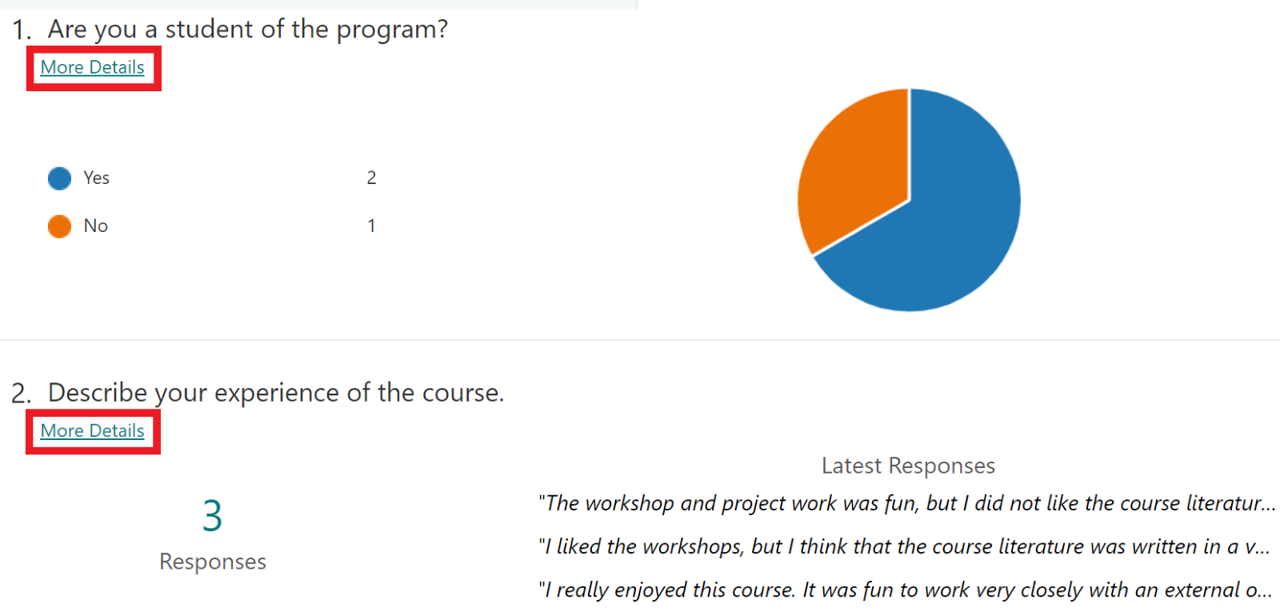
- The list shows the respondents ID, name and response.
Review results from a qestionnaire (test, quiz)
Here we will show the differences between reviewing a questionnaire and a form (survey).
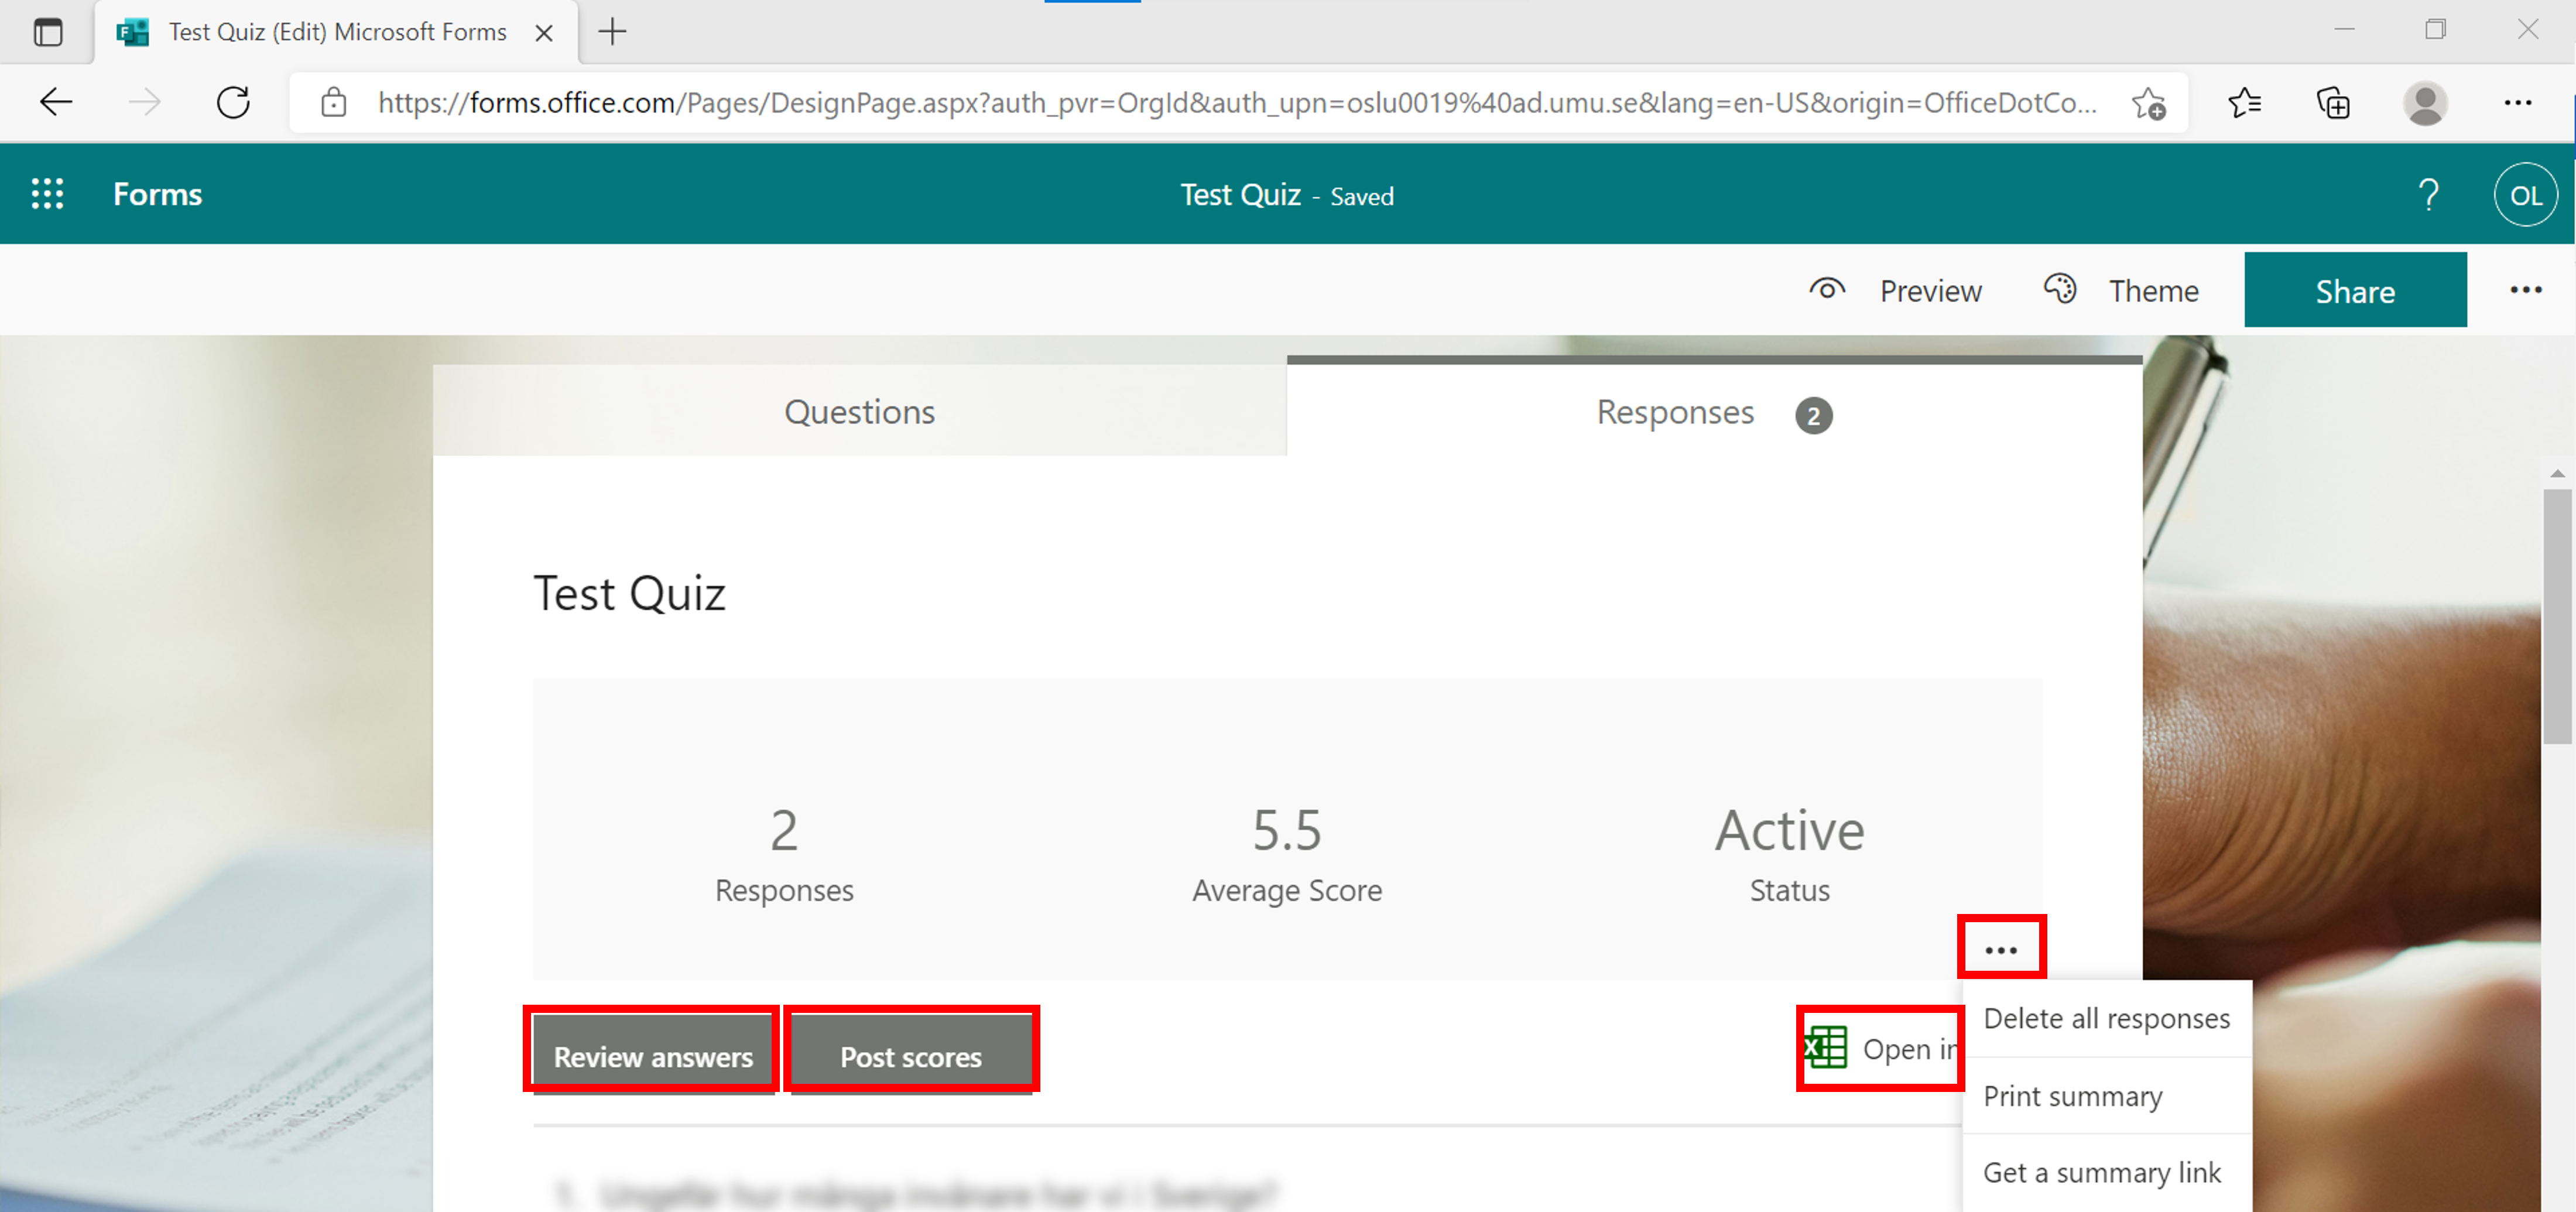
- Click three dots to delete all answers, print a summary or create a summary link.
- Click Excel Icon to open results in Excel
- In Excel, each question will become a column and each answer will be a row.
- The columns show start / end times, names, questions and answers.
- NOTE! If you change something in Excel, it is not reflected in Forms.
- Click Review Answers to review each person’s answers individually. (go to heading review answers)
- Click Post scores to select which results you want to publish. (go to the heading post scores).
- Scroll down in the answer file to see all the questions and answers, in a graphical layout.
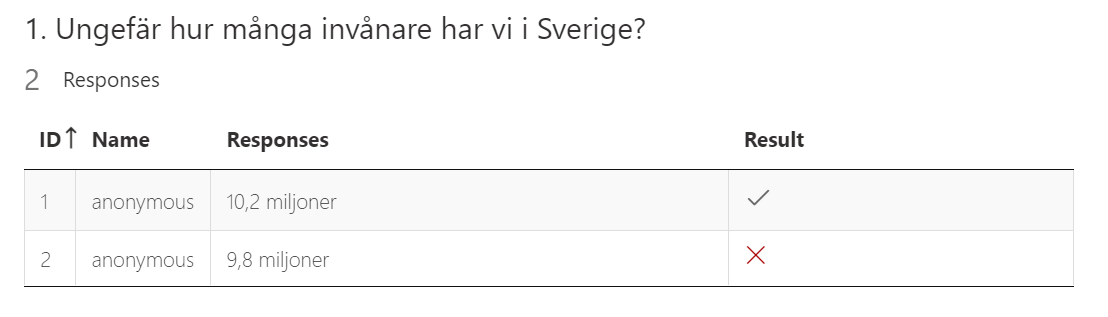
- Click on the link more details on each question, to see each person’s answers.
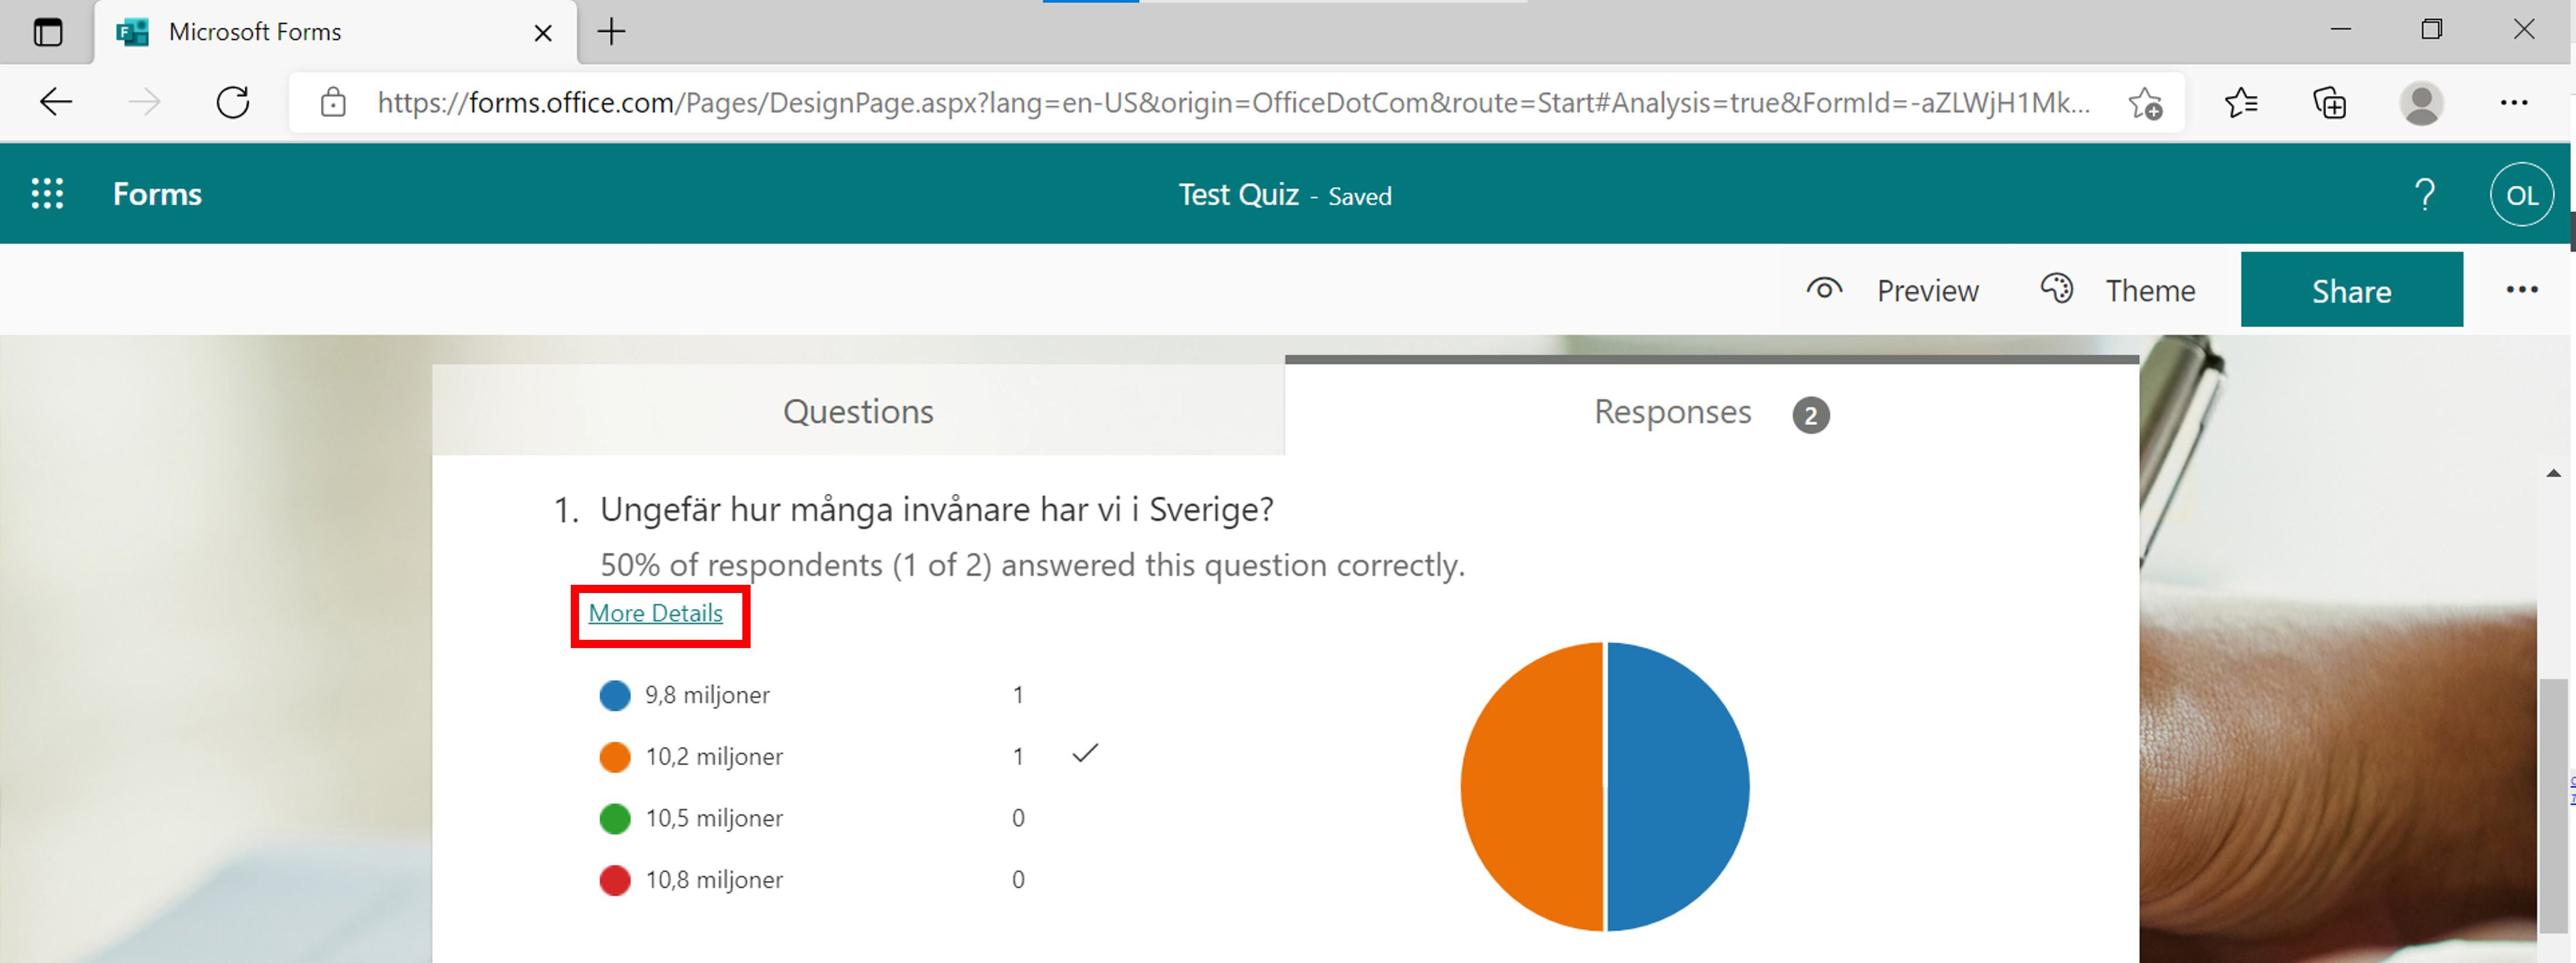
- A list of all participants’ answers to the selected question appears.
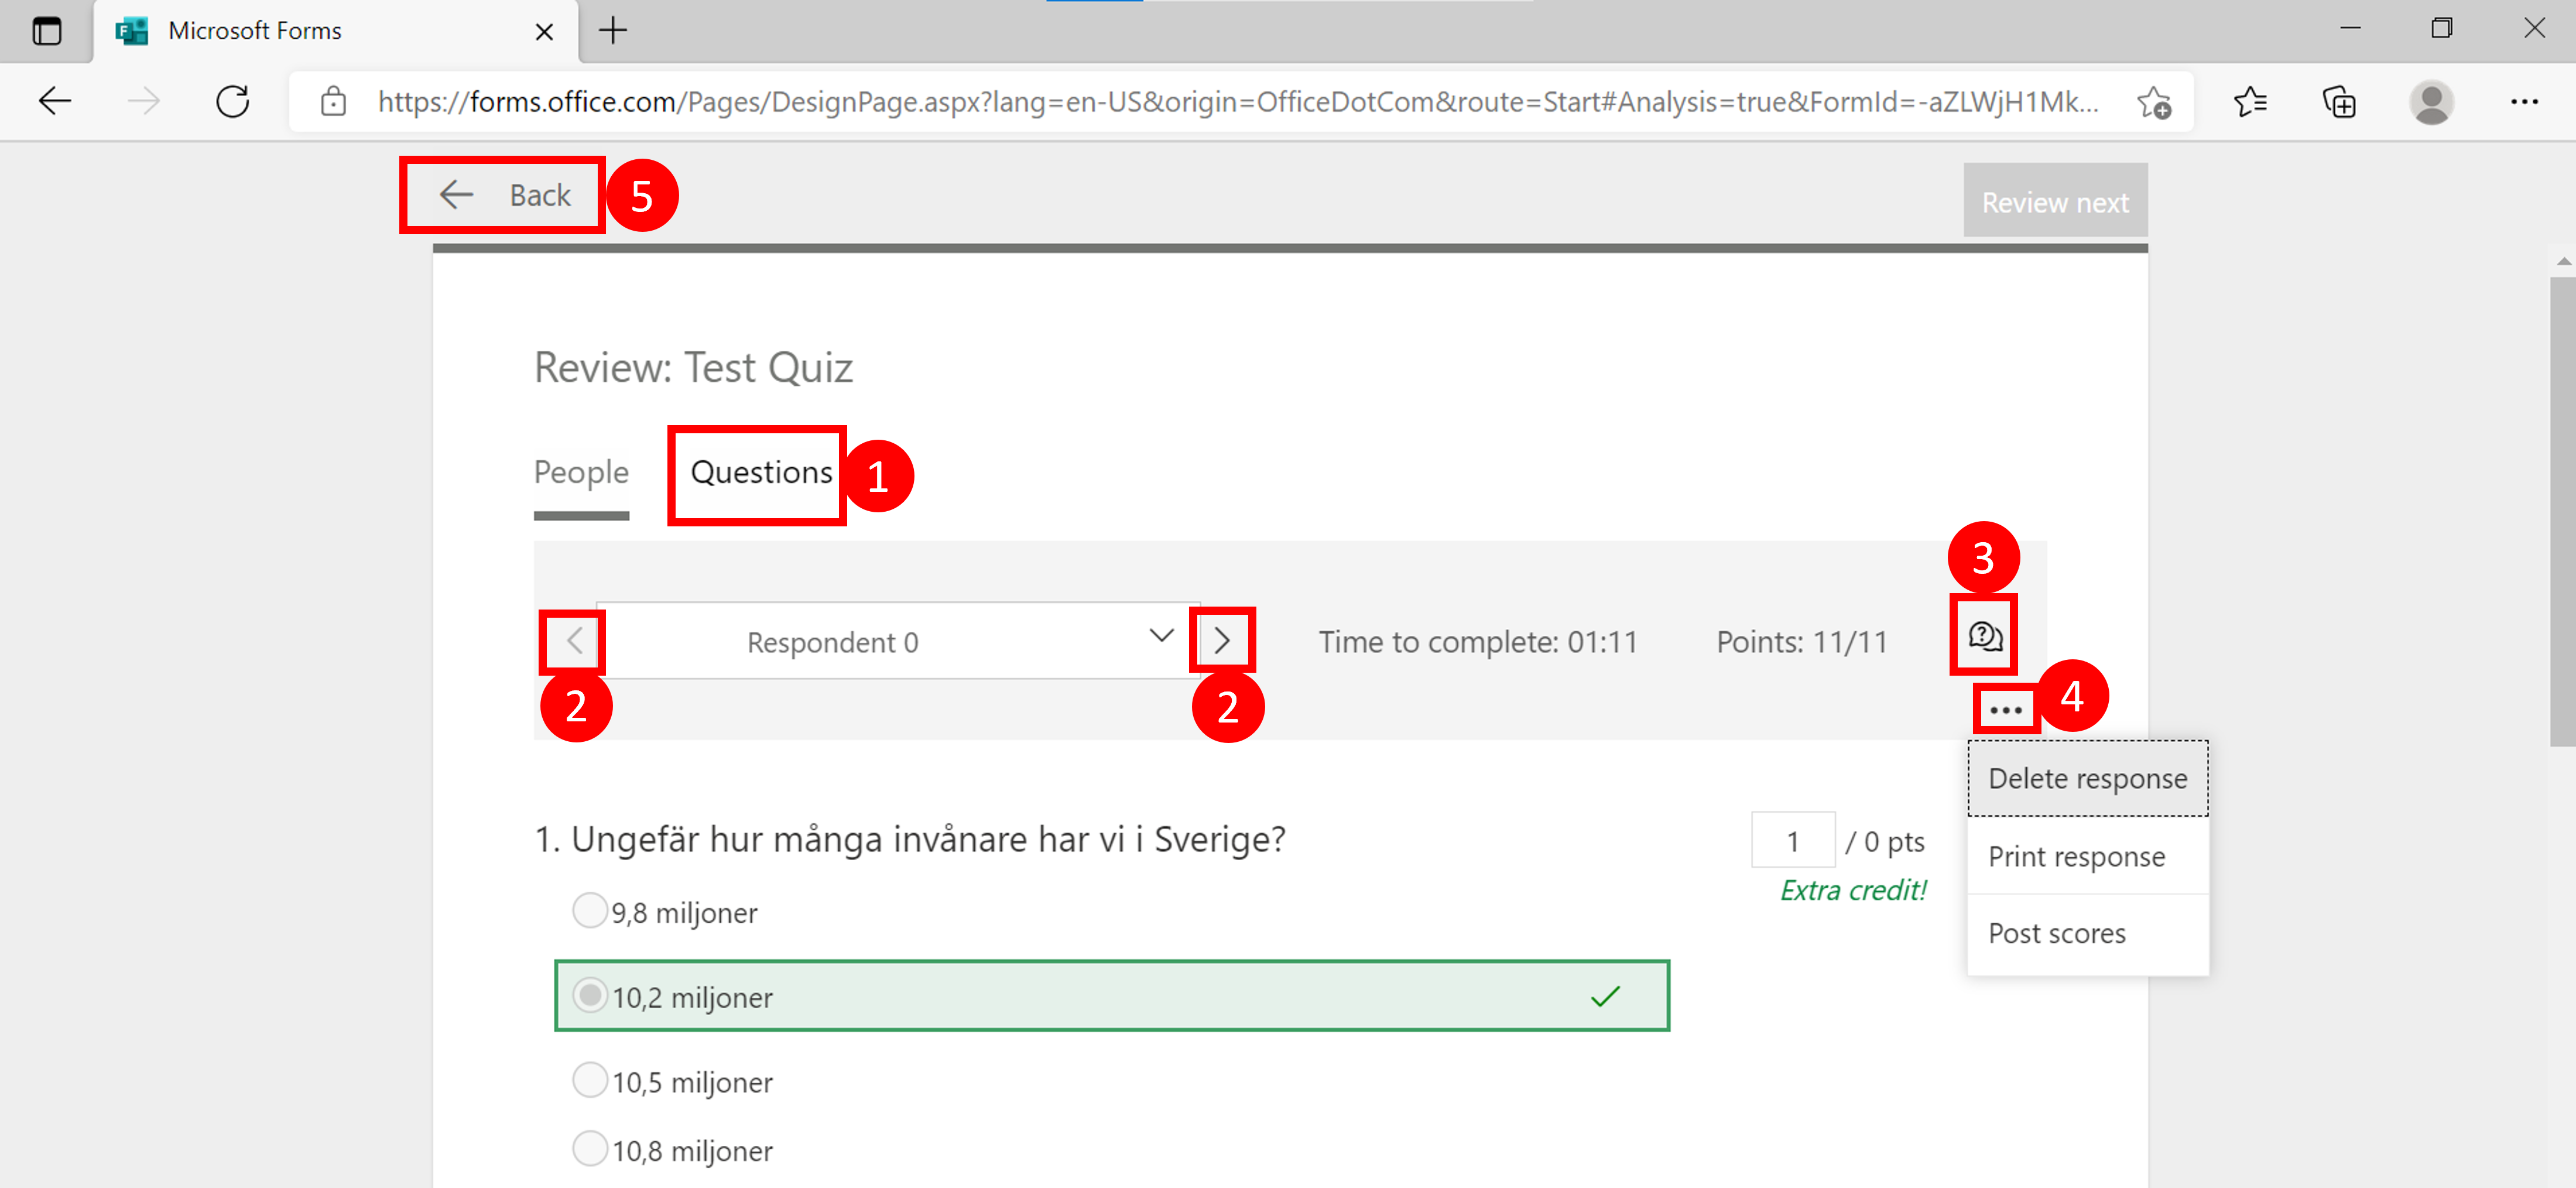
Review results
- Click on questions to change the review mode from questions instead of person.
- Click on the arrows to change the person/question you want to check results on.
- Click on the chat bubble with question marks to give feedback (maximum 1000 characters) on the selected person/question.
- Click on the three dots and delete or print answers or publish results on the selected person / question answer.
- Click Back to return to the answer file.
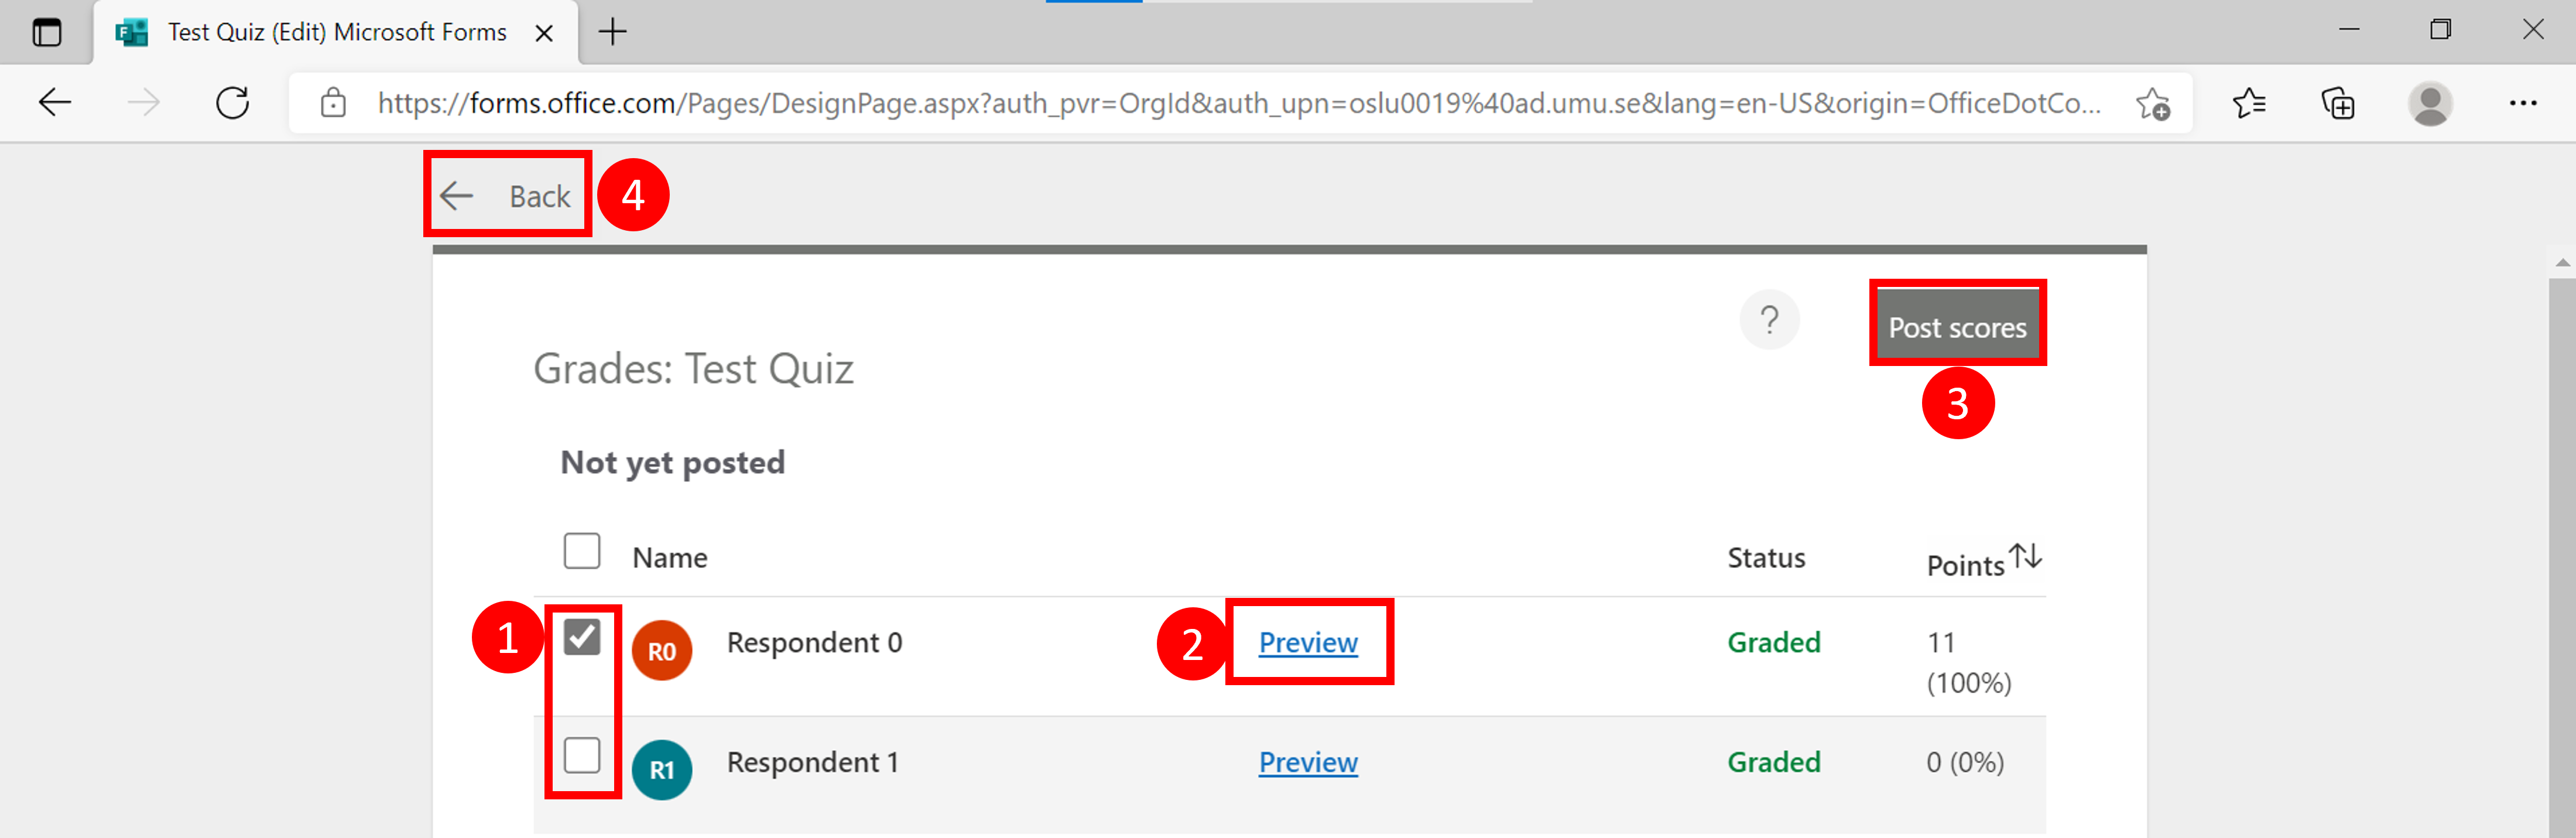
Post scores
You can only publish results if you have created a questionnaire (test, quiz).
- Select which person’s answer you want to publish by clicking in the checkbox.
- Click on preview to review the response you will send to that specific person.
- Click Publish scores to send the results to the person. Note: If you publish scores, respondents can view test feedback and results. The respondents can display the result with the same link that they use to start the test.
- Click Back to return to the answer file.