Change document liberary view in SharePoint
This manual shows you how to change document library view in SharePoint.
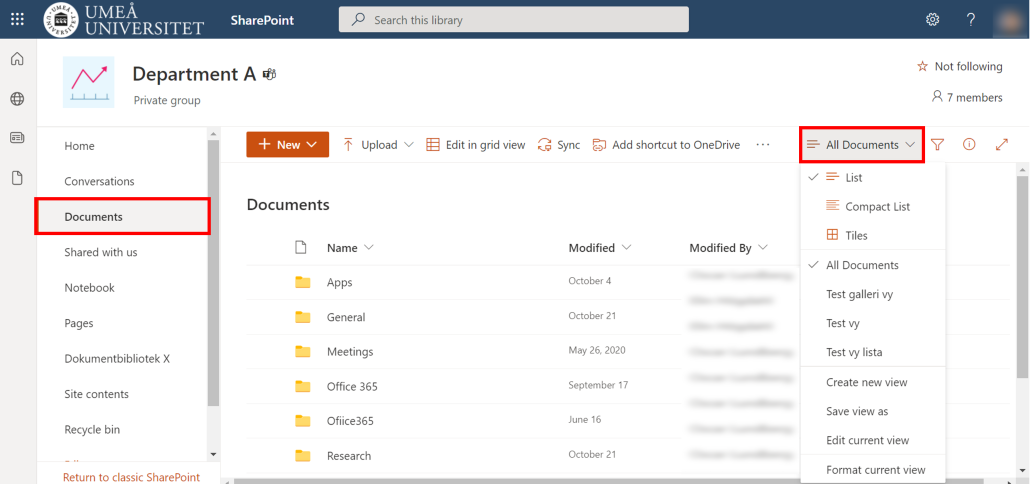
- In the SharePoint team site, select the Documents tab from the left menu.
- Click All Documents.
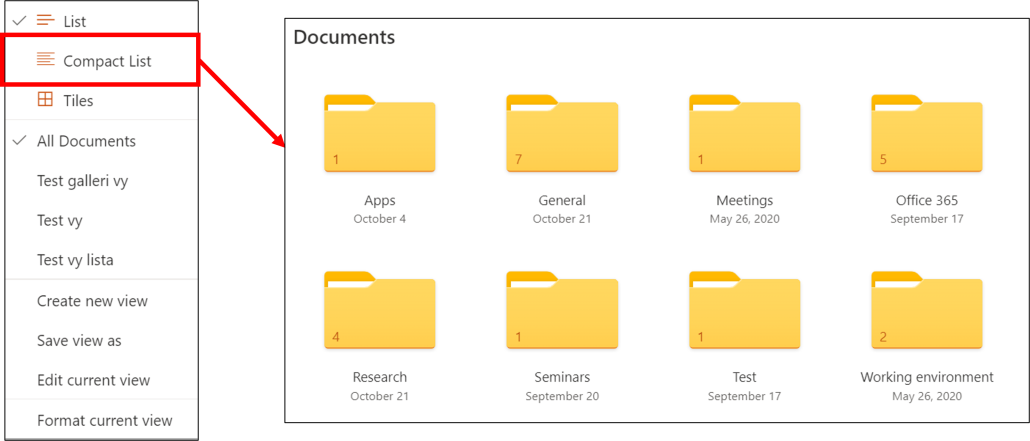
- Select Compact List to make your document library more compact. It looks like this:

- Select Tiles to turn the documents into larger icons. It looks like this:
- Observe! If you change the view within a document library and click on a folder in the same document library, that view will remain enabled. If you click down/update the Internet window instead, the view will return to the default view, i.e. List. This means that if you want to see your documents in for example a panel view all the time, you need to click All Documents and change each time you open a document library. To get the view by default, you must be the adminstrator of the SharePoint team site – create a new view – select the view and click Set Current View by Default. (See next heading).
Create new view
You can also create your own views and make them public to all members of the SharePoint team site.
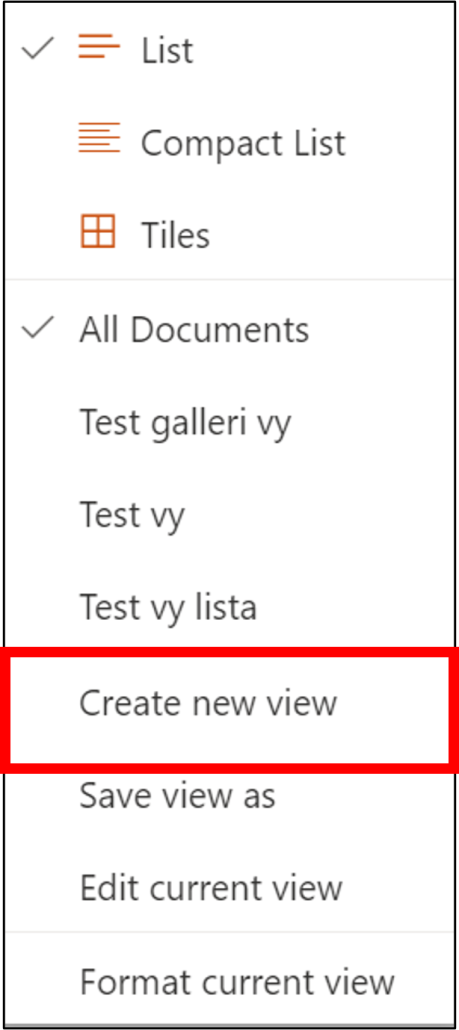
- Select Create New View
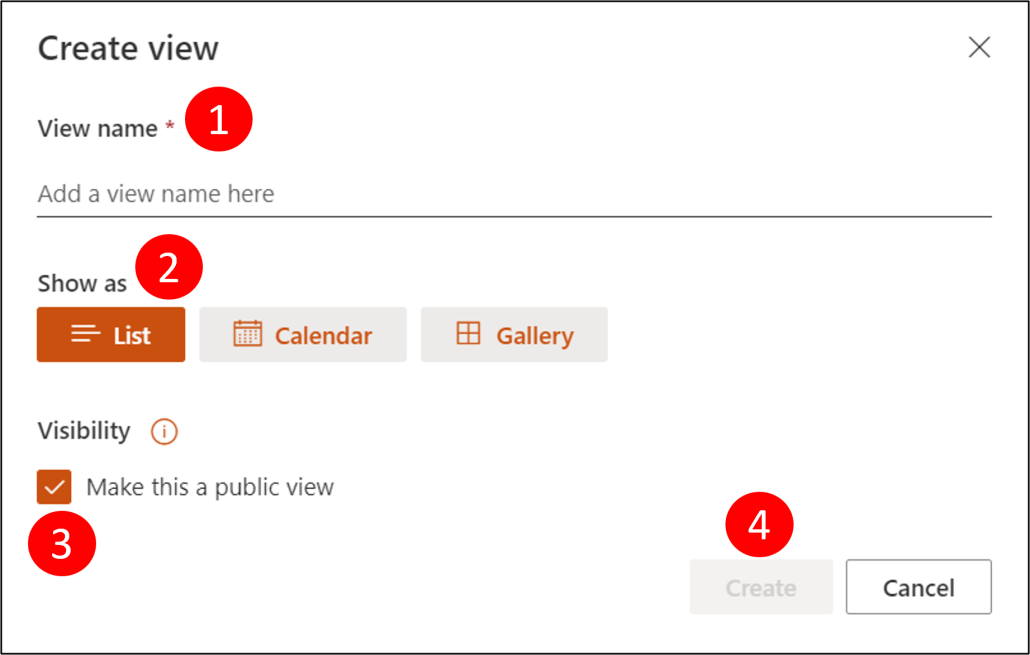
Dialog box appears.
- Type a name for your new view.
- Choose whether you want list view, calendar view, or Gallery (panel) view.
- Check the box to make it public to other members of the SharePoint team site.
- When you’re done, click Create.
- Your views are collected under the same All Documents tab. The image below shows that I have created three views.
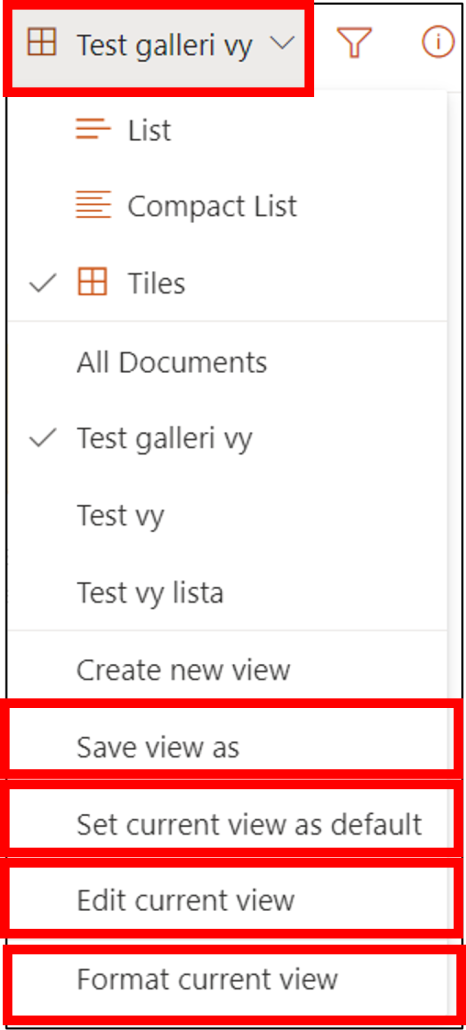
- Select your view
- Click Save view as to save your view.
- Click Set current view as default to make the view by default when the SharePoint document library is opened. (Note that you must be an administrator to do this).
- Click Edit current view to edit the view (for example, delete view, add, or sort columns).
- Click Format current view to format view (for example, row styles and rules).