
Get started with your personal booking page with Bookings with me
Bookings with me is a digital personal booking tool that integrates with your free/busy time in your Outlook calendar. The service can be used, for example, when you need to schedule employee meetings or want to offer tutoring sessions or coaching to students and colleagues. This manual guides you on how to get started with your personal booking page. If you want to know how to create and get started with a shared booking page, I recommend you to look at this page: Create a booking site in Bookings
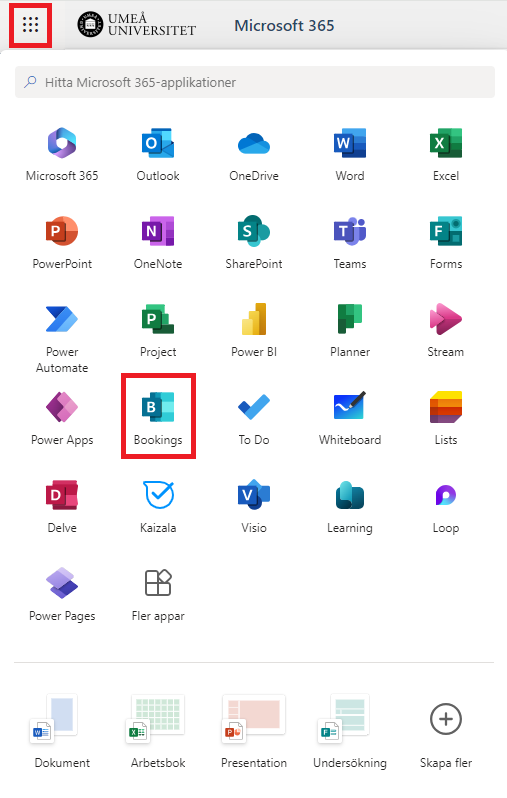
- Go to the portal at m365.umu.se
- Go to the menu in the top left corner and then click on Bookings.
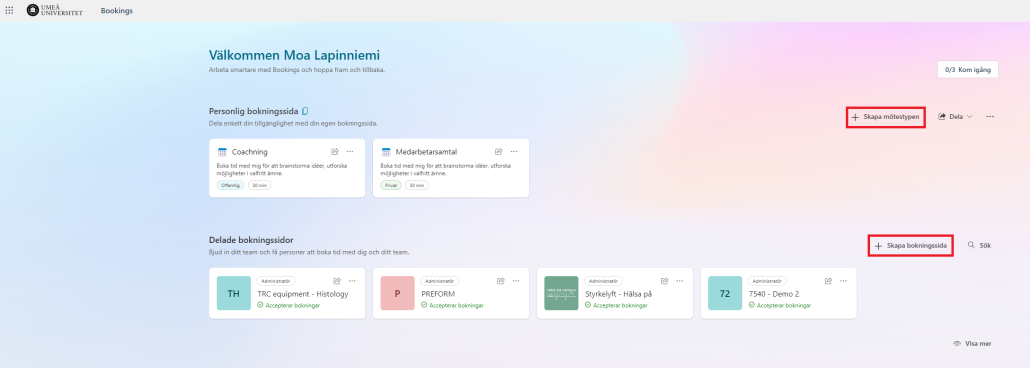
- You are now on Booking’s home page.
* To create an appointment type in Bookings for me, click Create appointment type.
* To create a new shared booking page, click Create booking page.
- Choose a title or a name for the meeting that can be booked and a short description if desired. Enter the location and how long the meeting should be
- Also choose whether the meeting should be of the type Public or private. You can read about the differences in Frequently Asked Questions about Bookings
Please note that your personal booking page is automatically added to your email signature unless you click out of it (during the selection of public and private)
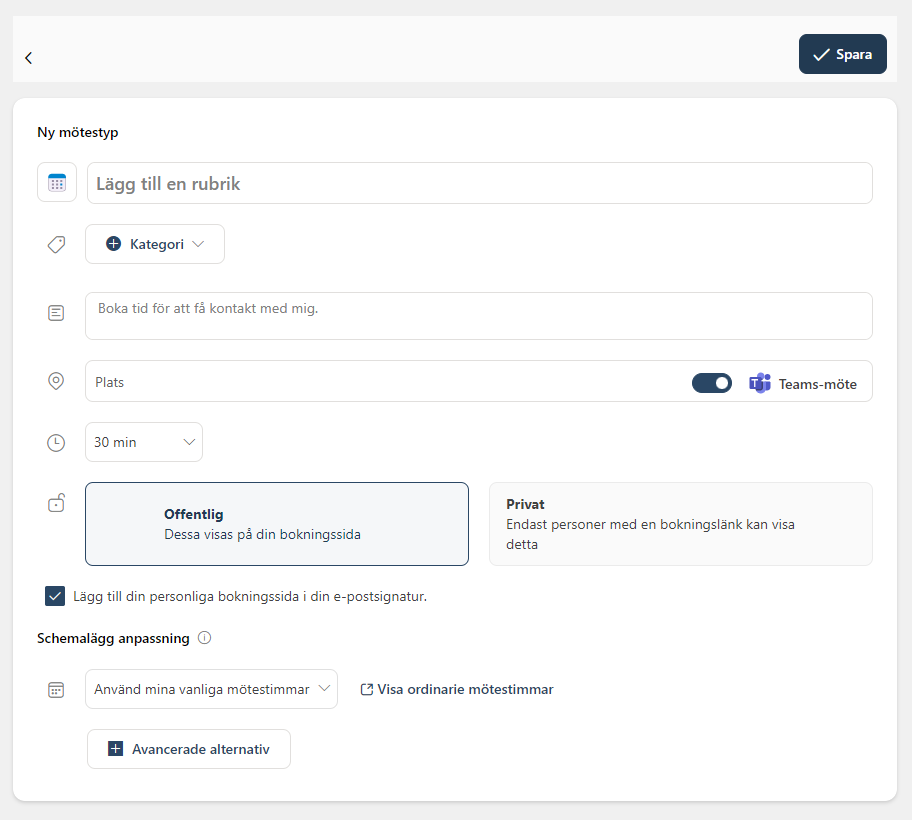
- Under “Schedule adaptation” you specify when you should be able to book
1: Use my usual meeting times: Suggested times to the booker are displayed based on your availability in the calendar. If you have a gap between two bookings in your calendar, that gap will appear as an available option on your booking page.
2: Use customized availability hours: Here you specify the date range during which it should go and book alternatively if there are any special time frames. Maybe it is only on Mondays that you want it to be possible to book? - Under advanced settings, you can set lead and buffer time as well as reminders and whether automatic follow-up messages should go out after the meeting. Read more about what this means under FAQs
- Click save at the top right when you’re done.
- You can now share a link to your booking page or meeting type and receive bookings. Depending on whether your meeting is private or public, you share in different ways. If it’s a public meeting, you use the Share button at the top, while if it’s a private meeting, you click the share button directly on the meeting type. Good luck!
