Install Umu-print
This guide will help you install Umeå University’s printing solution Umu-print.
Step 1 – Download
Download PaperCut Print Deploy Client from https://print.umu.se:9192/print-deploy/client/windows
Step 2 – Install
Open the file you downloaded and follow the instructions to install the PaperCut Print Deploy Client.
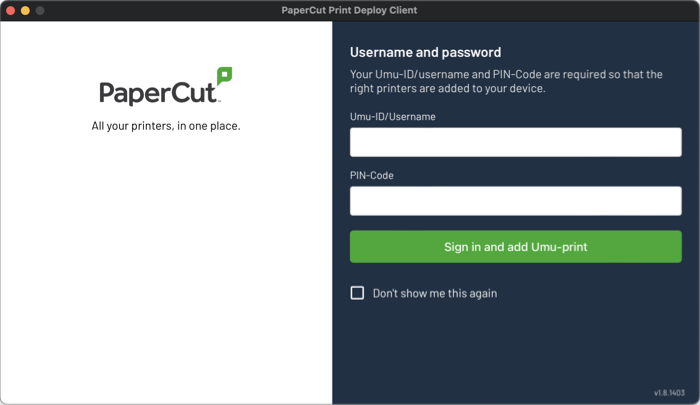
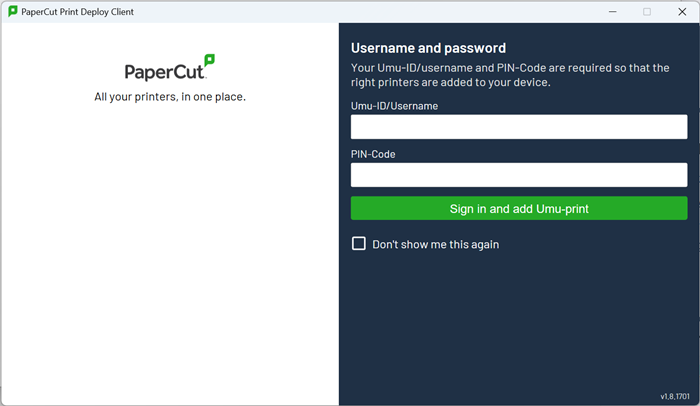
Step 3 – Login
When the installation is complete, you need to log in.
Enter your Umu-id (eg. abcd1234) and the PIN code is the four digit PIN code of your Umu card/access card.
Then click Sign in and add Umu-print.
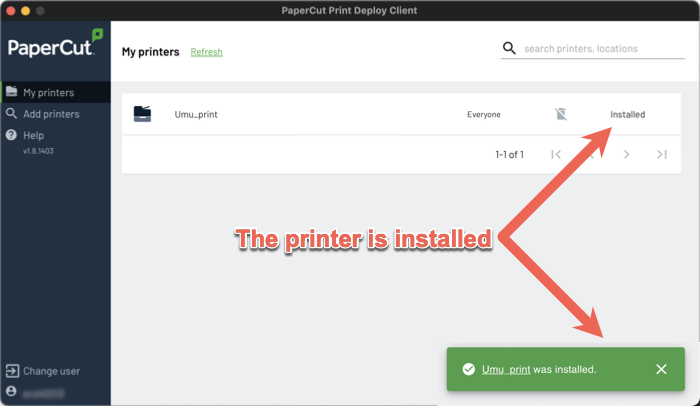
Step 4 – Install the printer
Once you log in, the printer will be installed automatically.
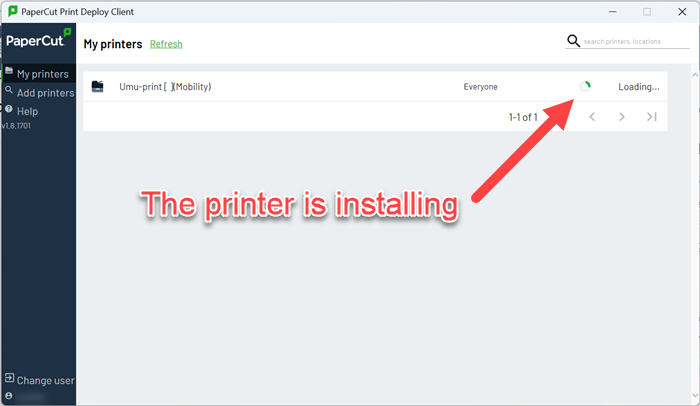
When you see a green box at the bottom right that says Umu-print[ ](Mobility) was installed, you are done with PaperCut Print Deploy Client.

Step 5 – Using Umu-print
Now that the printer is installed, just select Umu-print[ ](Mobility) as the printer. As an example, this is a screenshot from Word.
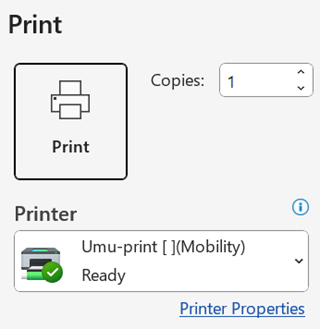
The printout is sent to the Umu-print server and on the printer itself you scan your Umu card and possibly enter the PIN code to retrieve the printout and print your documents.
Step 6 – Default printer
It may also be a good idea to set the printer as the default printer.
Open Settings > Bluetooth & devices > Printers & scanners.
Set Allow Windows to manage my default printer as Off.
Then click on Umu-print[ ](Mobility) and click the Set as default button.