How to use a template in the graphic design tool
This page provides information on how to use templates in the graphic design tool. This example uses the A4 sheet template, “A4-blad”.
General settings
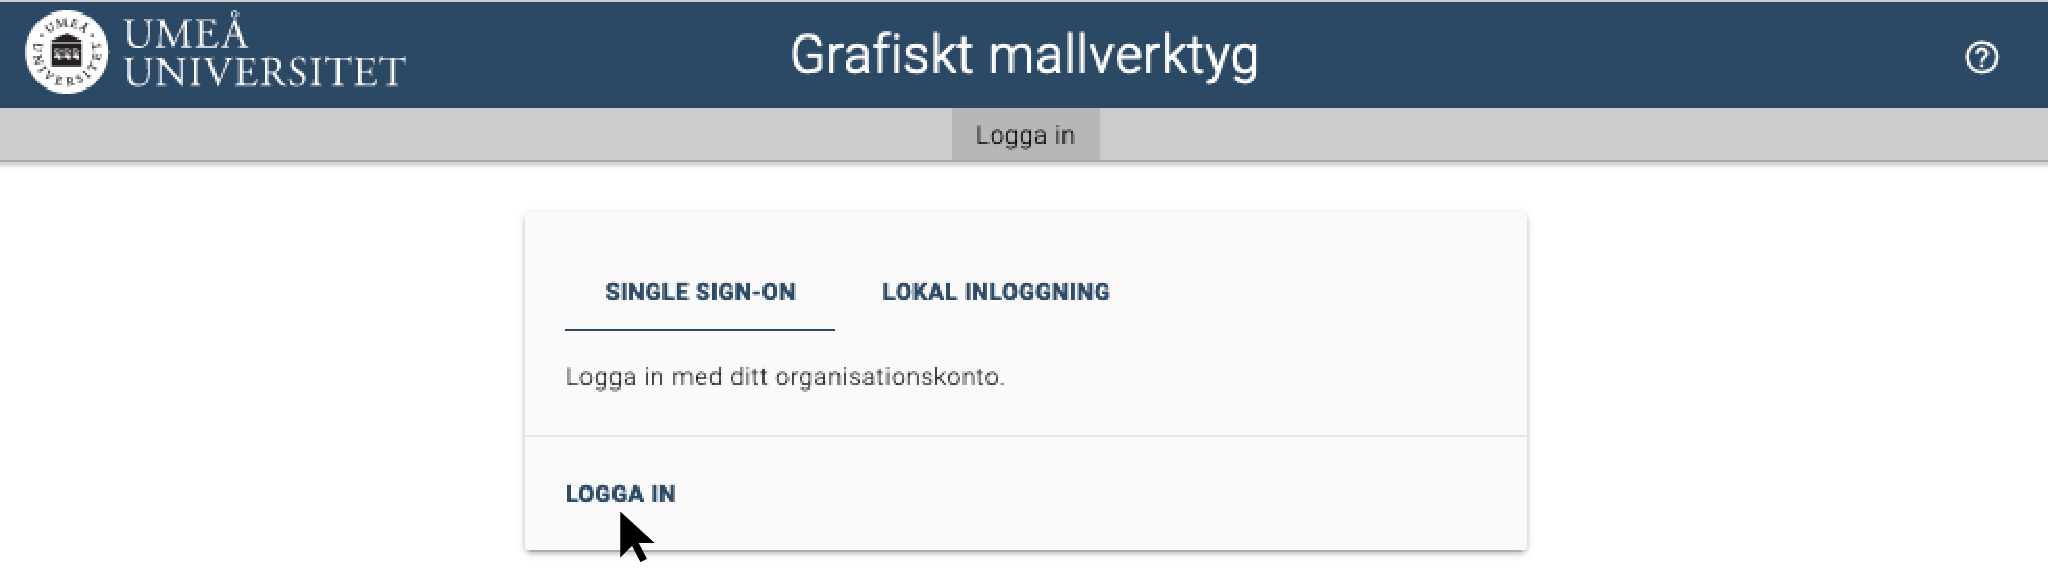
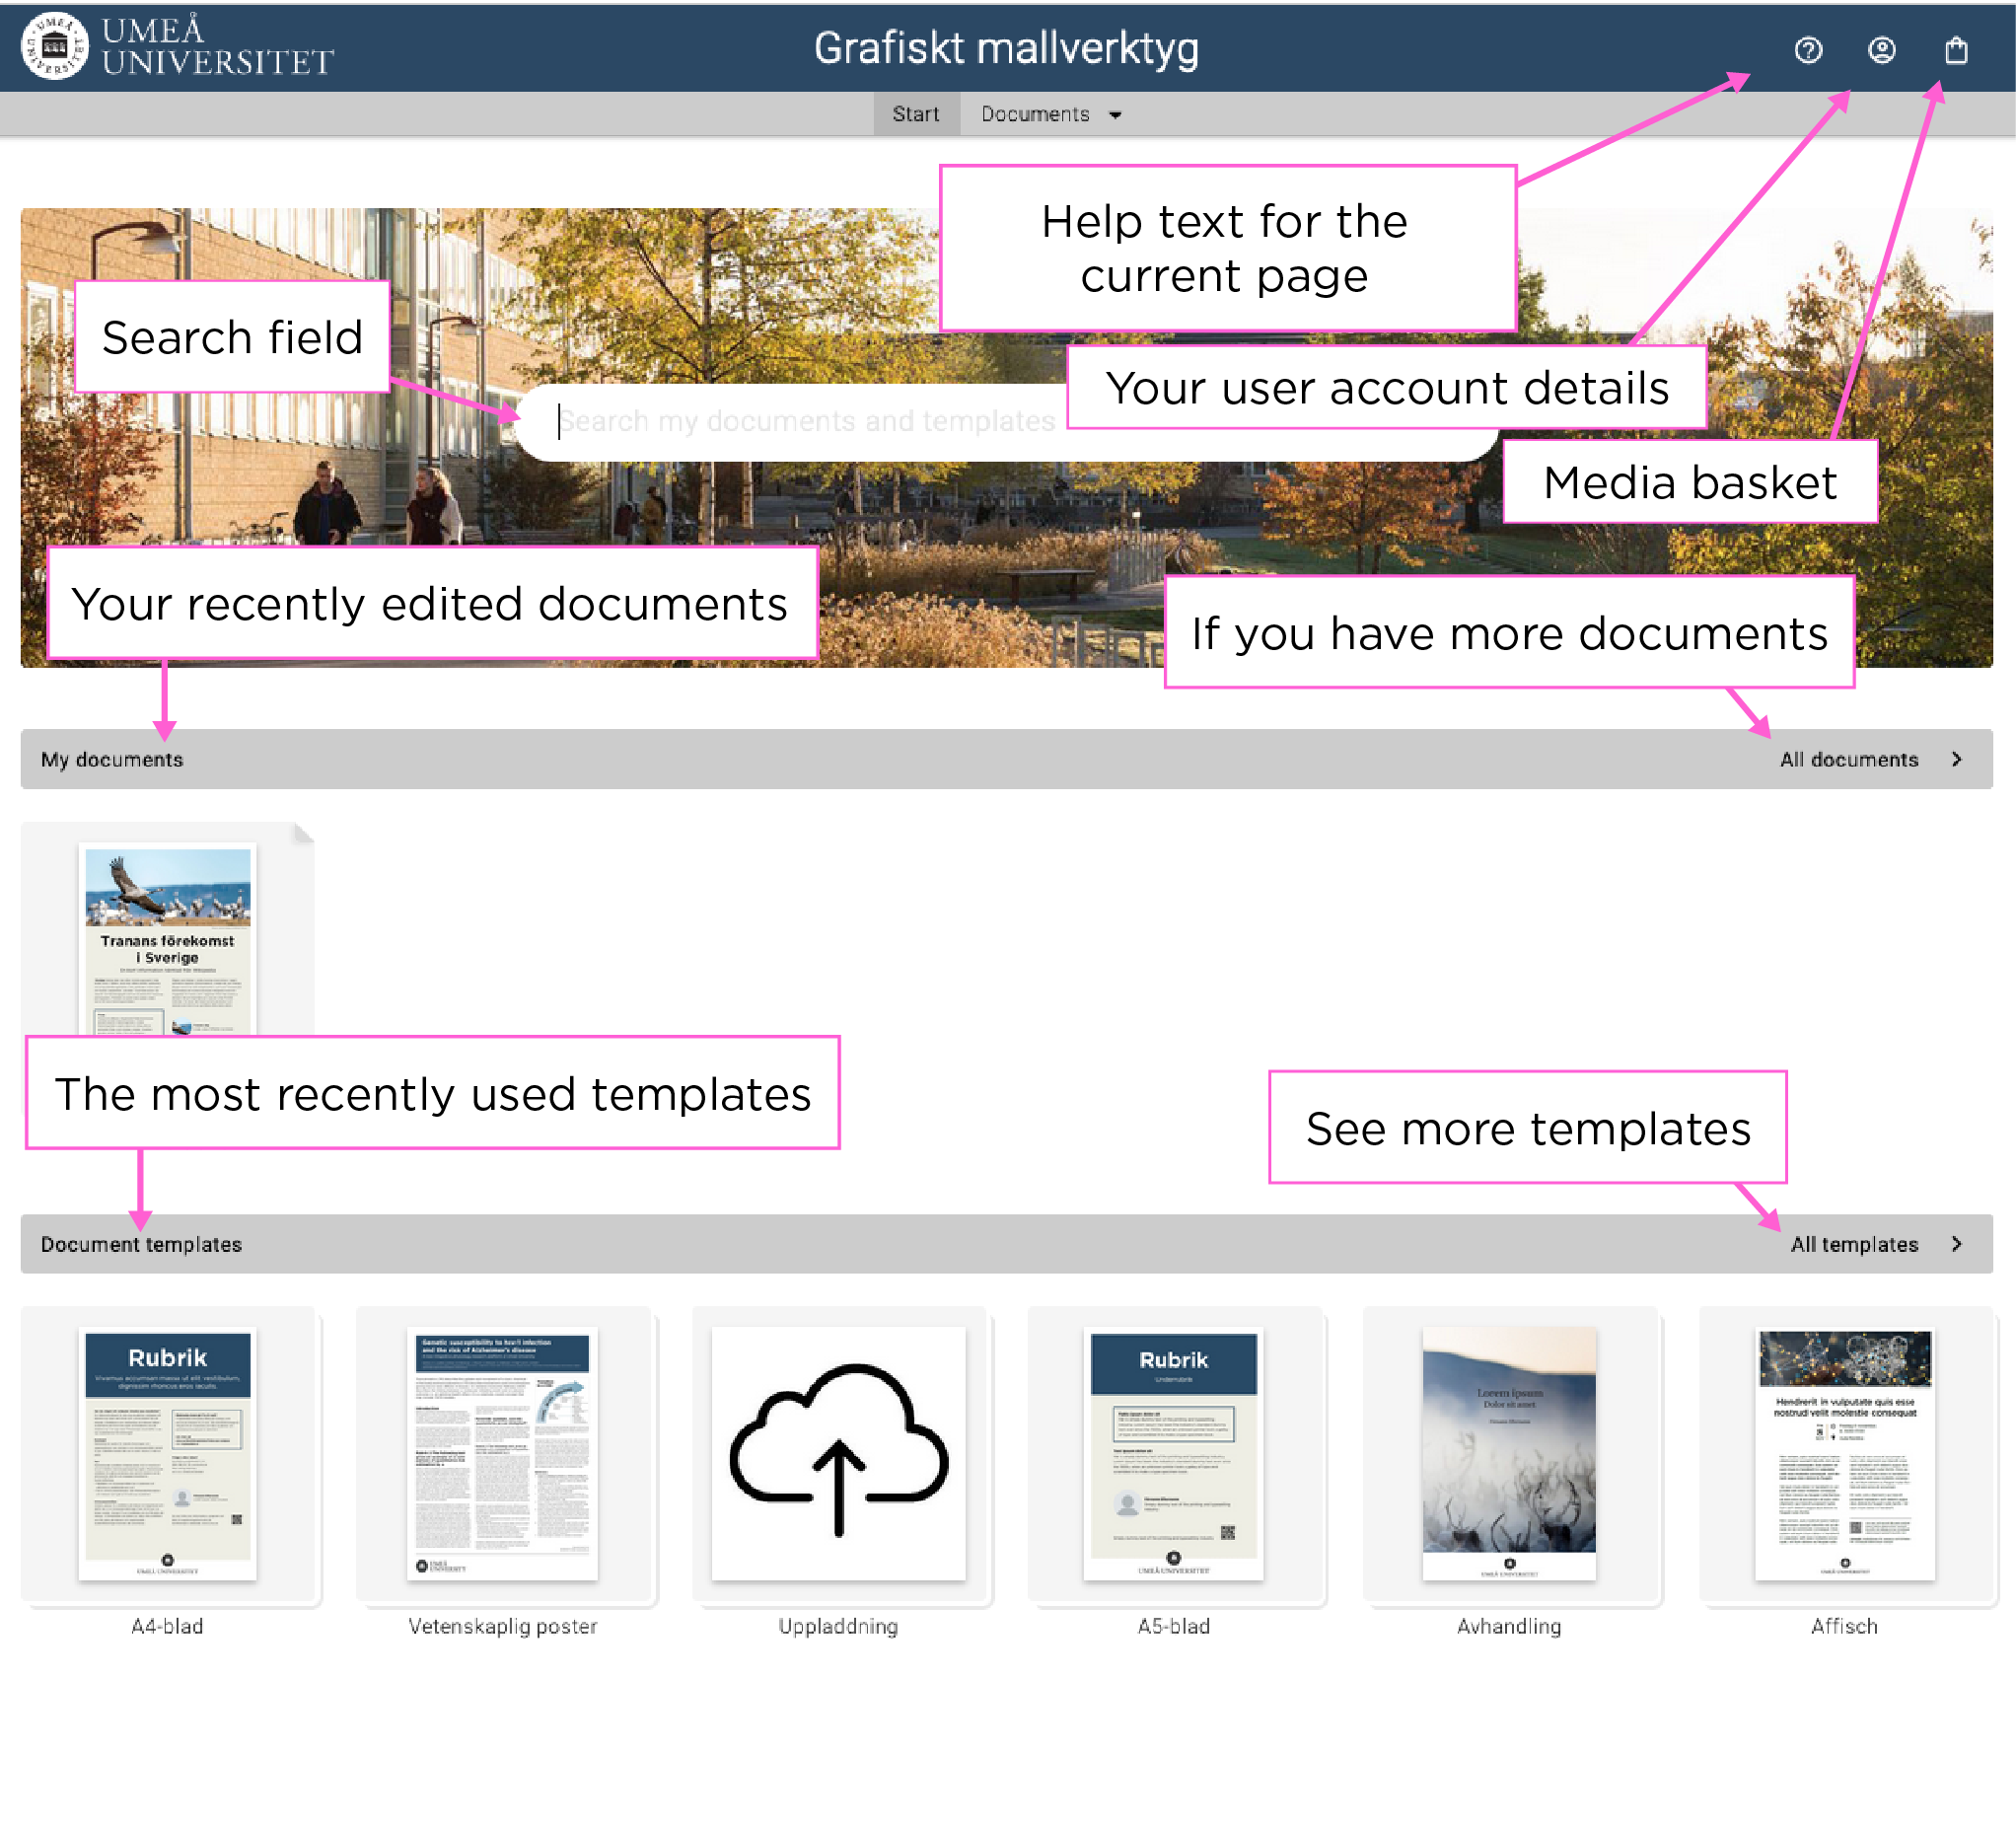
- Choose the A4-blad template under document templates on the start page of the graphic design tool.
- Once you have opened the template, you will find a form on the left-hand side next to the preview pane.
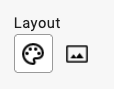
- Under “Layout”, you can choose to use a colour plate or an image.
- “Document language” means that you choose what language setting the document should have. Based upon your choice, the logo will switch between English or Swedish. If you choose “Swedish”, you can select the Ume Sami logo.
- Under “Layout”, you can choose to use a colour plate or an image.
- By clicking “Colour plate”, you can choose the colour of the headline background and fact box.
- As background colour, you can choose between the paper colour or the University’s light beige colour.
- If you wish to have a double-sided A4, select “2 pages”.

Select image
If you have chosen an image layout, the image settings will appear next. Find more details on selecting an image.
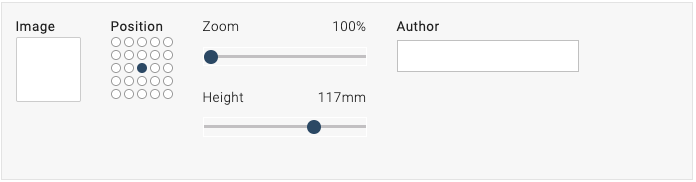
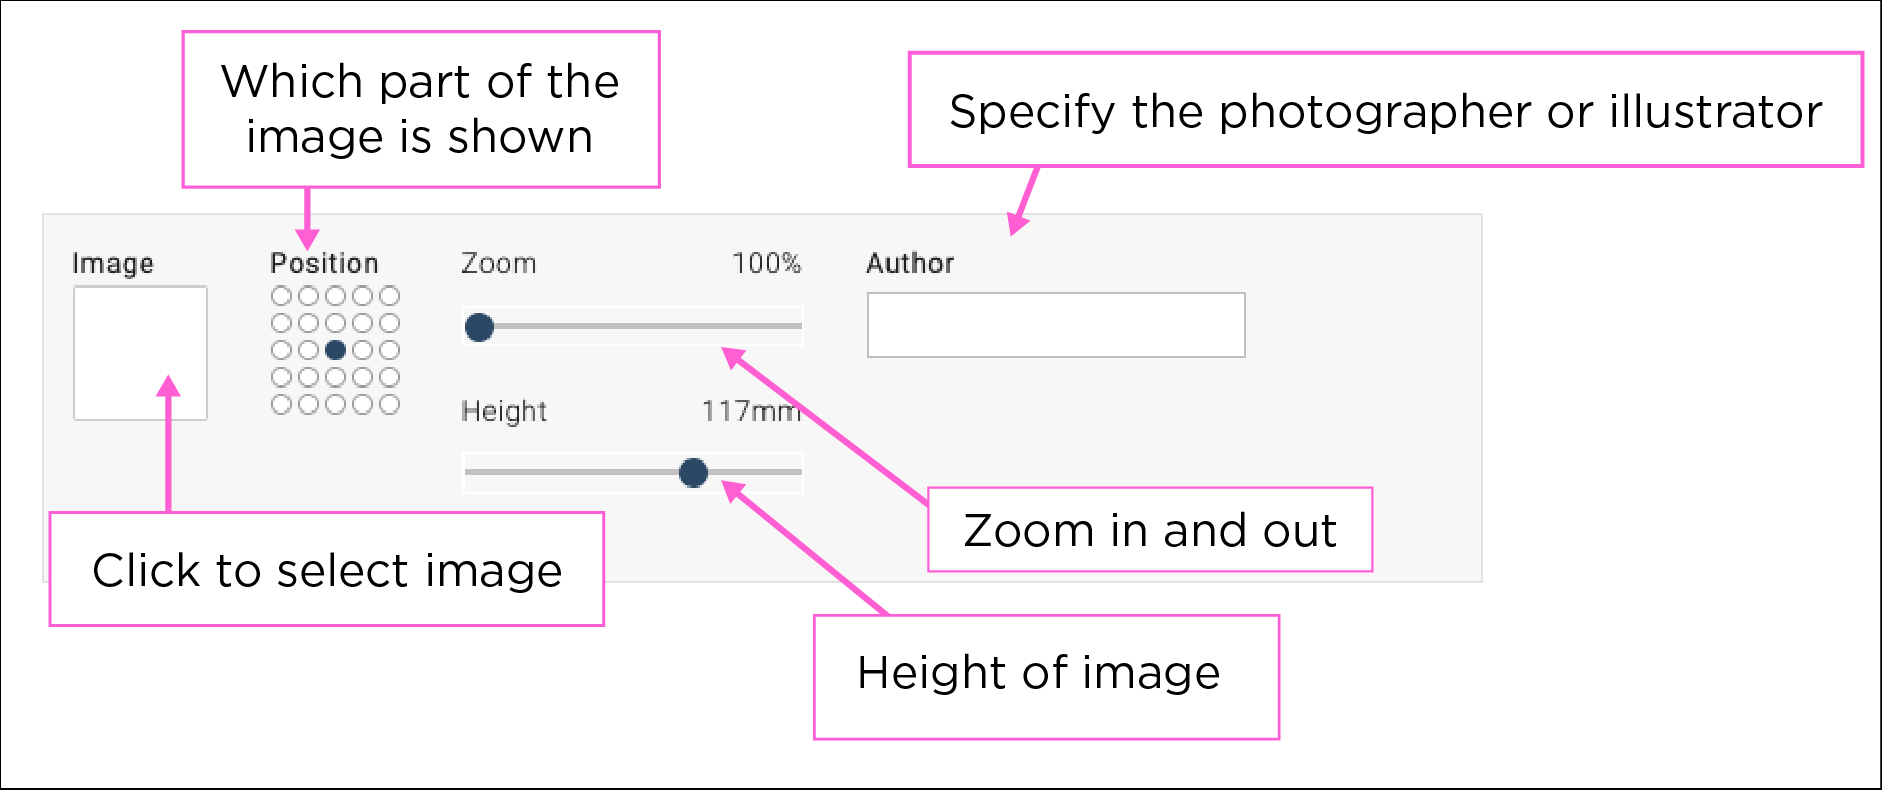
- Click the box under “Image” to select an image. You can choose to search for an image in the University’s image database, Mediabanken, or download your own image. Always check that you have the right to use the image. Go to Mediabanken to find information about right to use. Search for the image’s ID number in Mediabanken if you know what image you wish to use.
- To select which part of the image should be visible, use the grid under “Position”. You can also zoom in on the image and alter the height of the image.
- Always give credit to the photographer or illustrator under “Author”.
Add text
- Next up is adding text in the text boxes. The text boxes allow you to:
- emphasise text using bold or italics;
- create ordered and unordered lists;
- use subheadings.
- This template (A4-blad) also allows you to alter the size of the heading.
- If you add content under “Fact box”, a fact box will appear on the page. You can select the positioning of the fact box in relation to the main text through the grid. The border colour of the fact box is determined by the colour set under “Colour plate” at the top of the form.
Further settings
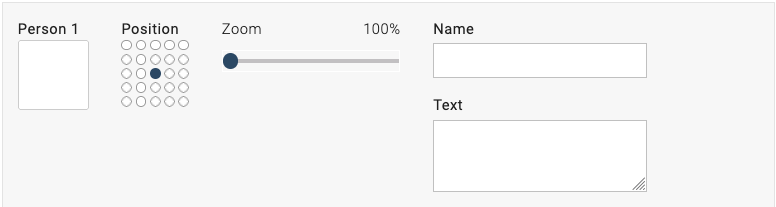
- The next part of the form is intended to be used to present lecturers, authors or similar. You can add an image in a circle accompanied by a headline and a short text.
- Click “QR code” if you wish to use a QR code to guide viewers to further reading, or to a registration page for an event, for instance. Paste a functioning web address in the field “Generate QR code, enter web address”. Write a descriptive text of where the link in the QR code leads to.
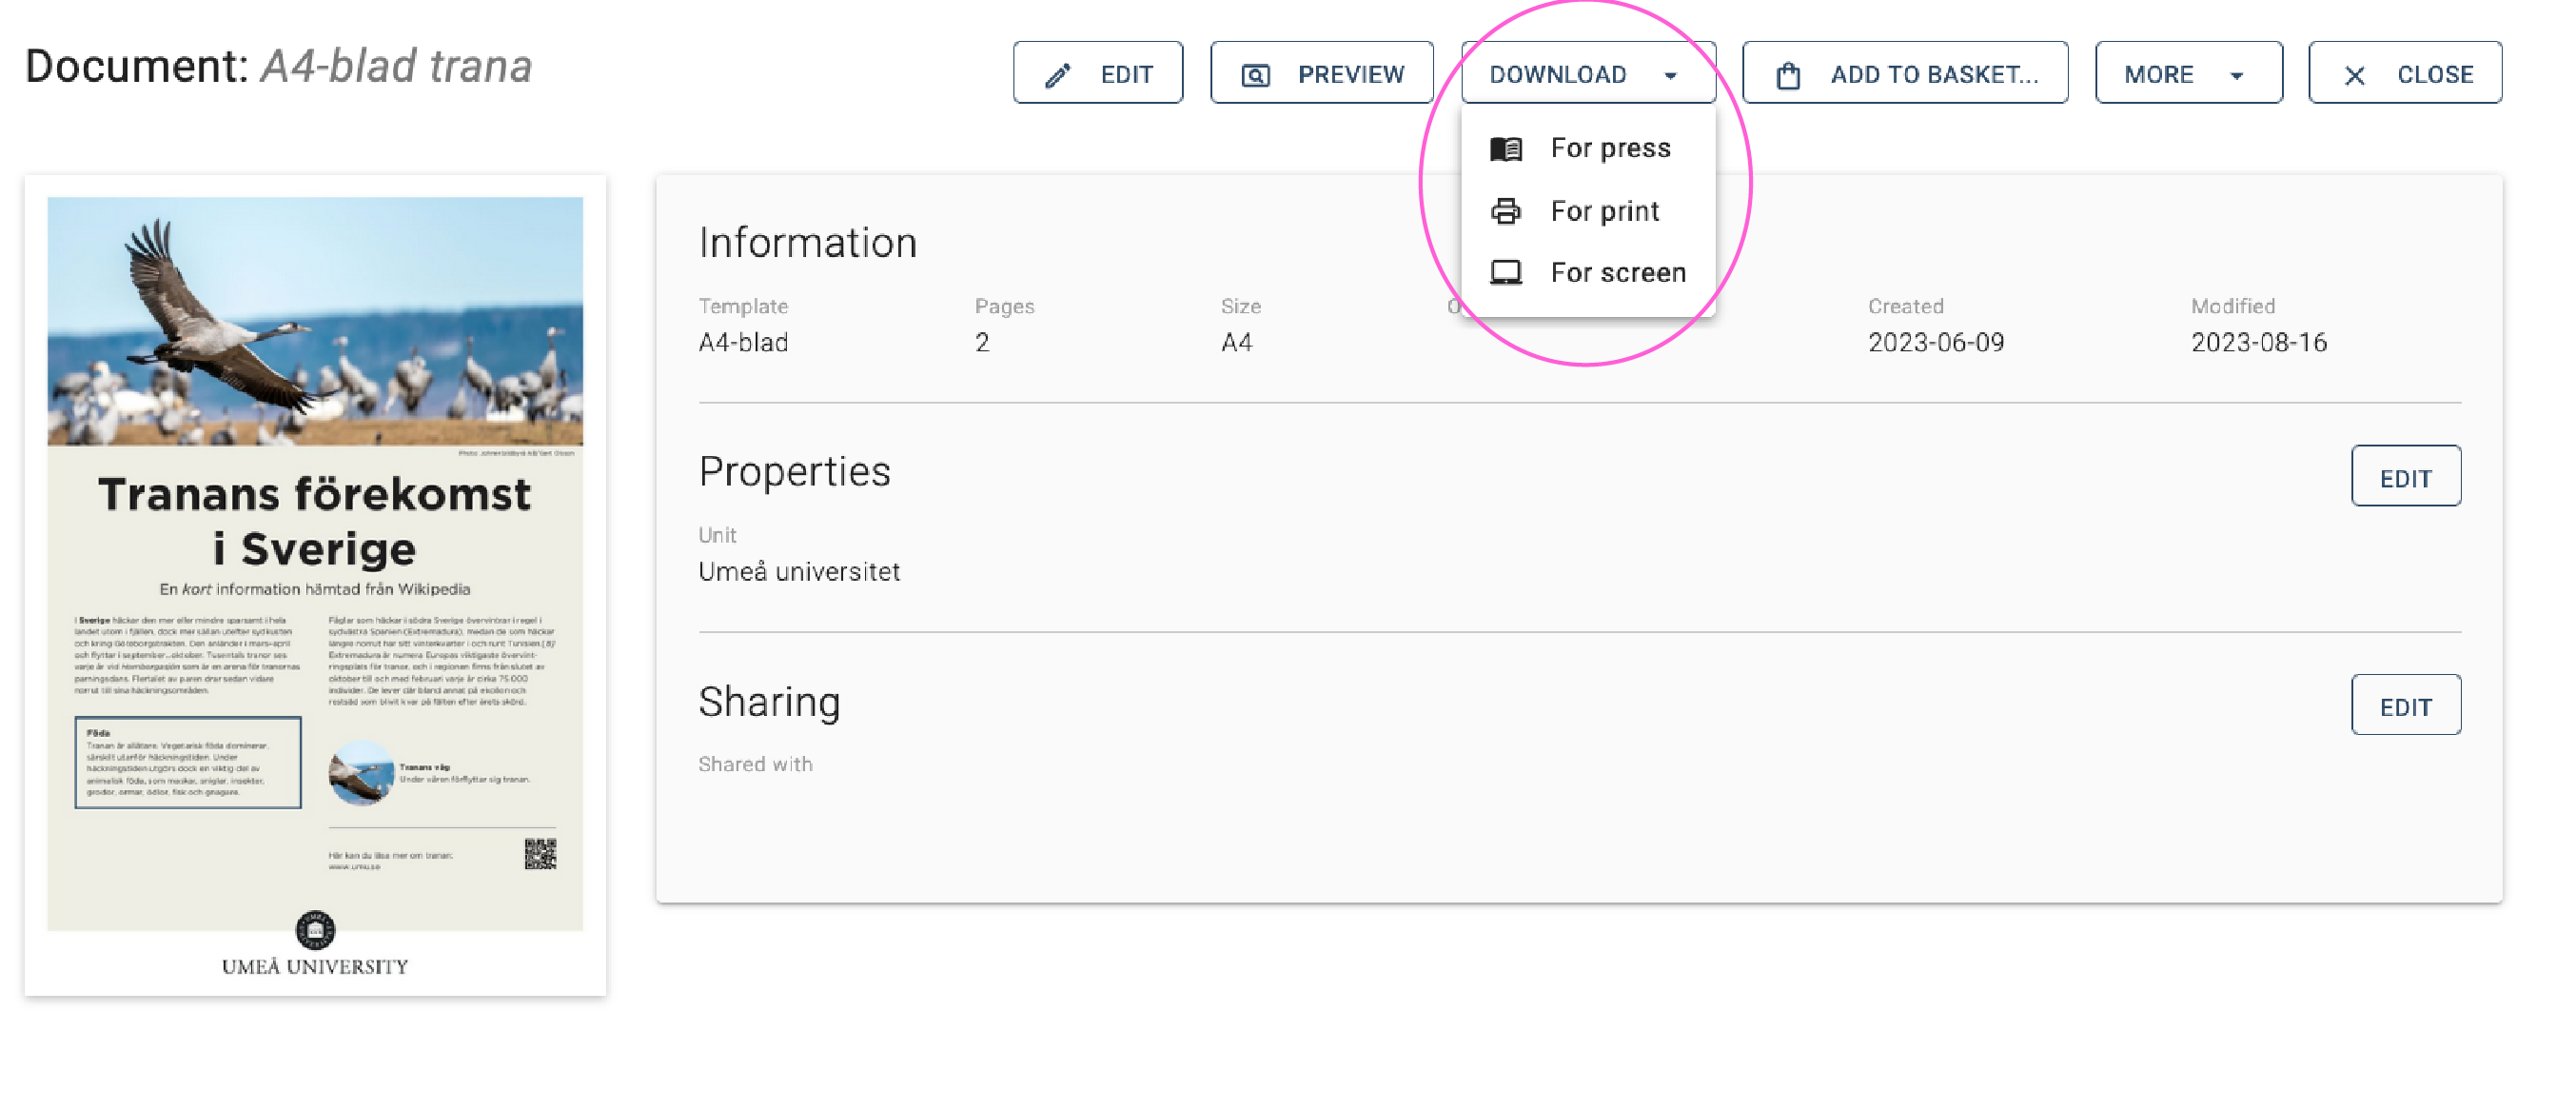
Download, print or order press
- Save the page by clicking “Save” and choose Umeå University. Name the document so you know which one it is. Specifying the template format in the name could be a good idea. Click “Close”.
- Once you have closed the document, you will access the document properties. From this page, you can choose to further edit the document or take other actions.
- Under “Download”, you can choose between three options. All options generate a PDF, but with varying properties. Learn more about downloading and printing a document.
- “For press” generates a PDF with crop marks that is larger than the final format. This is a good choice if you are sending your PDF to a printing office.
- “For print” generates a high-resolution PDF to be printed on your own printer. This provides that any images added to the document are in high-resolution formats.
- “For screen” generates a low-resolution PDF for digital use. If you plan to upload the file to a web page, you must first make the document accessible.
- Add the document to the media basket if you want to order professional printing.
- Under “More”, you can do the following:
- “Send proof” means that you will send a link to a PDF copy of the document.
- “Send document by email” means you send a PDF via email. You can choose which PDF version to send – for press, for print or for screen.
- “View document history” allows you to see when the document was saved, downloaded or sent.
- “Save copy” allows you to produce a similar document but with slight modification. You are asked to choose a new name.
- “Delete document” removes the document.
See a video of the content presented above
English subtitles can be enabled under CC in the bottom-right corner. Although the tool interface is Swedish in the film, the tool can be set to English under My user account.