Deactivate your units and your account in “My backup” (Crashplan)
- Log in to Crashplan via this page: Login (crashplan.com)Here you will be able to deactivate the units that you have saved in Crashplan. When you deactivate the devices, your account is also terminated. If you have not activated any devices, your account will be terminated anyway.
- Log in with your umu ID: umuid@umu.se
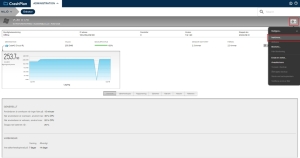
- Click on “Devices” and then on your computer name under “Device Name”, see the red marks:

3. In this view, click on the gear in the upper right corner and then “Disable”.
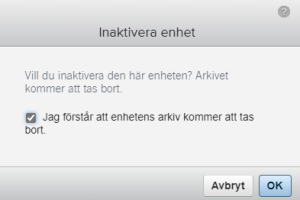
4. A box will appear asking if you want to disable the device. Check the box “I understand that the device archive will be deleted.” and then click OK and you are done!