
Add/remove members in a shared mailbox in Outlook (webmail)
If you own a shared mailbox, you should regularly check the members in the group. This is because members are not automatically removed from the group when someone, for example, changes departments or leaves the university. Here are instructions on how to add or remove members from a shared mailbox.
Manage via the Portal
- Go to the portal: Distribution groups – Outlook Web App (office365.com)
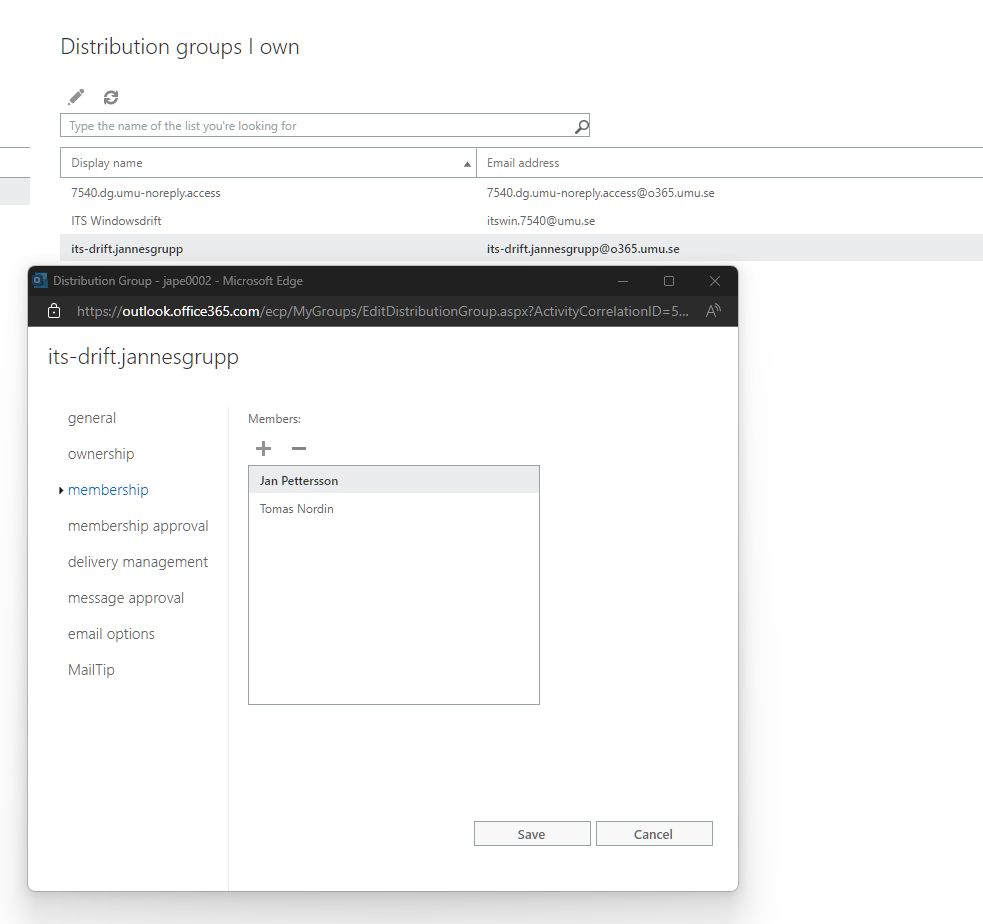
- Under Distribution groups I own, click on the group you want to manage, the group that manages access is named orgnr.dg.lådnamn.access. Then select Membership.
- From this view, you can remove and add members to the shared mailbox, click on the person’s name and then + or -. Save.
Manage via Email
As the owner of a shared mailbox, you will periodically receive an email asking you to review the members in the group. In the email, click on Start review.
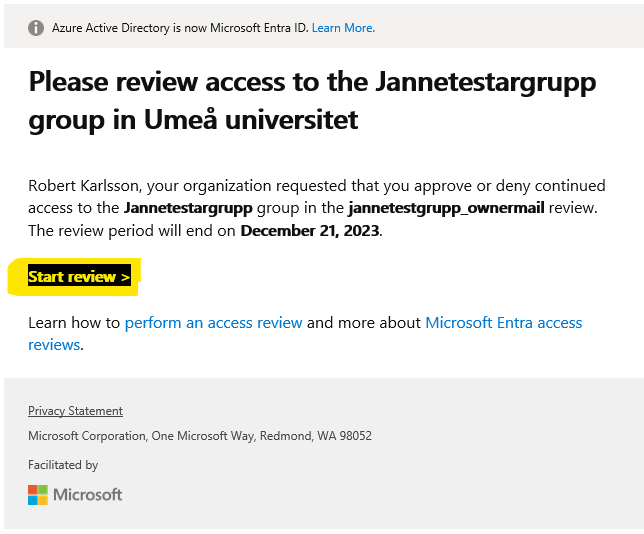
From this view, you can check a member and then Approve or Deny the member.
