
Add/remove members in a shared mailbox in Outlook (webmail)
If you own a shared mailbox, you should regularly check the members in the group. This is because members are not automatically removed from the group when someone, for example, changes departments or leaves the university. Here are instructions on how to add or remove members from a shared mailbox.
Manage via the Portal
- Go to the portal: Distribution groups – Outlook Web App (office365.com)
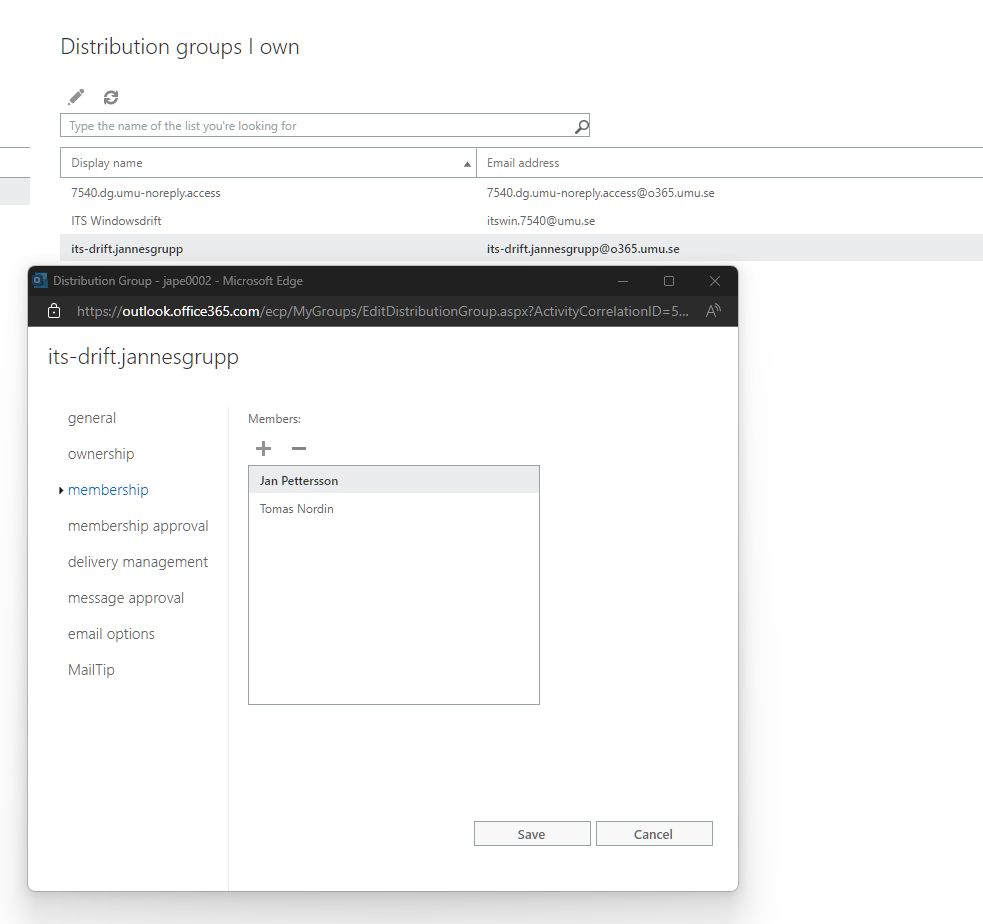
- Under Distribution groups I own, click on the group you want to manage, the group that manages access is named orgnr.dg.lådnamn.access. Then select Membership.
- From this view, you can remove and add members to the shared mailbox, click on the person’s name and then + or -. Save.
Manage via Email
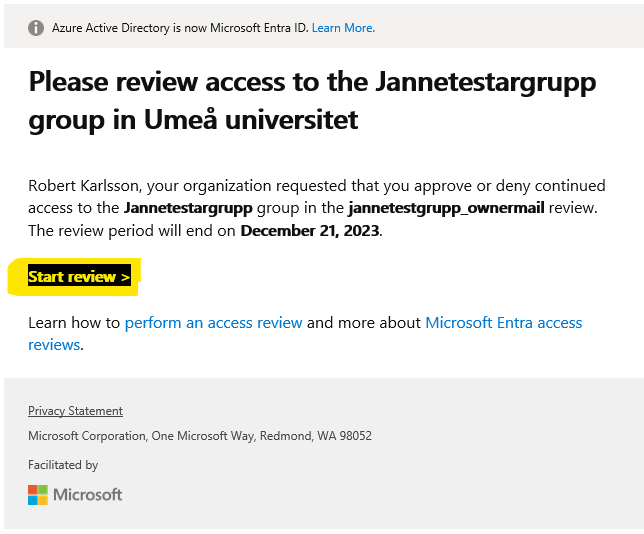
As the owner of a shared mailbox, you will periodically receive an email asking you to review the members in the group. In the email, click on Start review.
From this view, you can check a member and then Approve or Deny the member.

Block or release quarantined email
When an email has ended up in the spam filter, you will receive an e-mail from the sender noreply@umu.se that you have an email in quarantine. If you believe the message to be safe, you can choose to let it through so it ends up in your inbox. If the message is spam, you don’t need to do anything, it will be automatically deleted in 30 days.
This is what the message looks like:
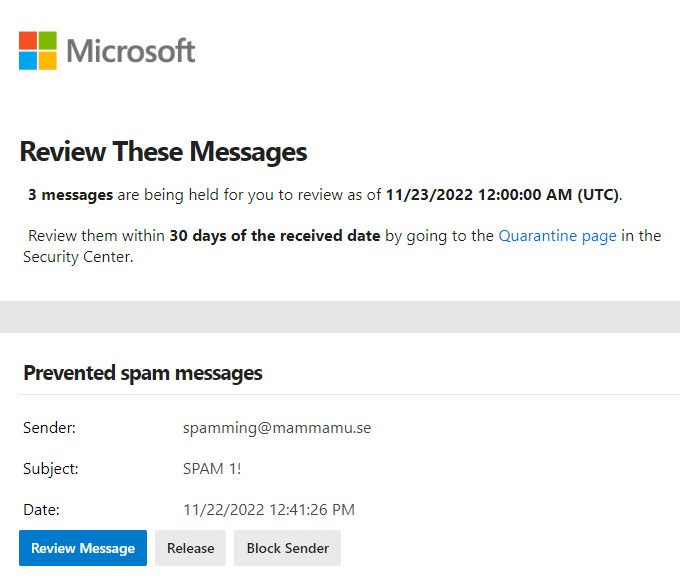
Select Release to send the message to your inbox.
Select Block sender to block the sender.
Select Review Message to review the message to decide whether or not to let it go through. You will then see this view:
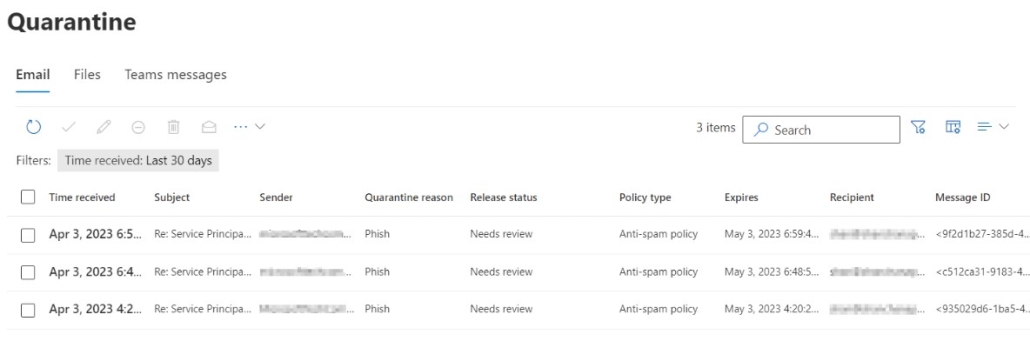
Select the message and whether you want to release or delete it.
Show week numbers in Outlook
Manuals showing how to enable week numbers in Outlook.
Configure Outlook with an M365 account
Manuals that describe how to set up email in Outlook on different operating systems/devices.
Send from alias in your e-mail in Microsoft 365
- Create new mail
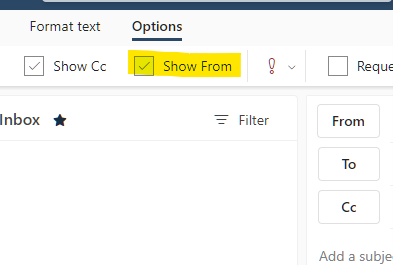
- Choose Options.
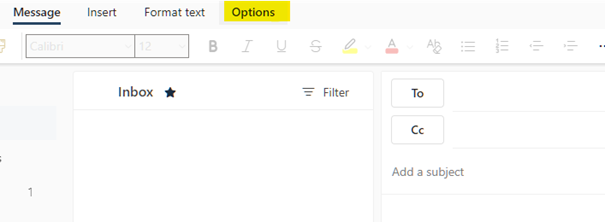
- Choose Show from, this field is then added.
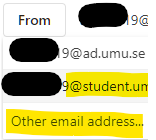
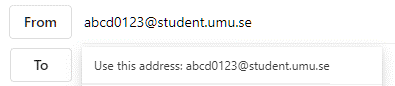
- Click on From in the mail.If it is your first time doing this, you need to state you student e-mail adress. Choose From, and then choose another e-mail adress and state your studentmail in the format: umuid@student.umu.se.Next time the mail adress is going to be avaliable as an option when clicking on From.
Create a response template with the help of quick parts in Outlook
In this guide we describe how to create response templates with the help of Quick Parts in Outlook, that can be inserted directly into your emails.
- Create a new email. You do this by choosing New Email in your inbox.

- Write your email as usual.
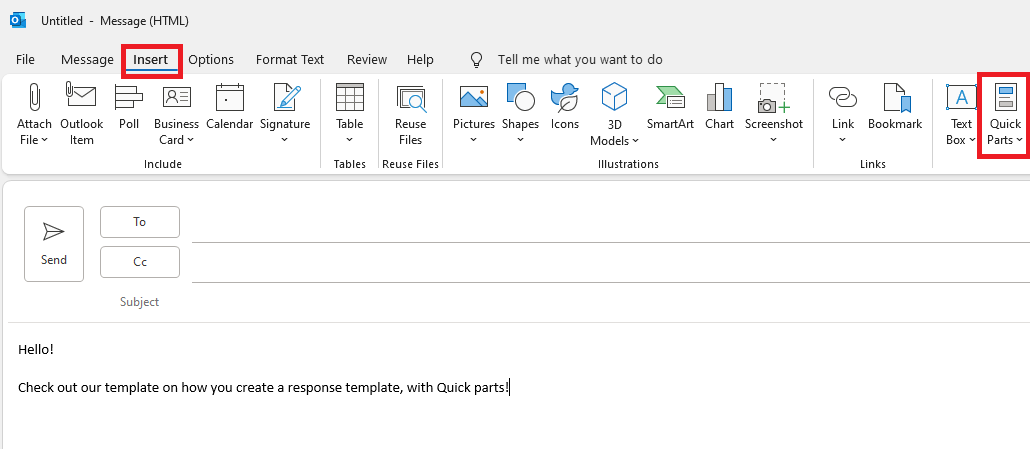
- Mark the text in the email that you want to use in your response template.
- Go to Insert in the upper menu bar, and then click on Quick Parts.
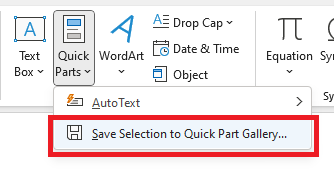
- When you have chosen Quick Parts, you then click on Save selection to Quick Part gallery…
- Now you choose a name for your response template. This is the name you use later, when using your response template. Leave the remaining boxes unchanged.
- Click OK when you have chosen your name.

- Now your have created your response template, and it is ready to be used.
To use your response template, you write the name of the template in the email and click enter to insert your respond, or go to Quick Parts and insert your template from there.
Create a vote in your e-mail in Outlook with Microsoft Forms
In this guide we describe, with the help of Forms, how to create a vote directly in you email from Outlook.
- Start by creating a new e-mail. You do this by clicking on New Email.
- Write you email as usual.
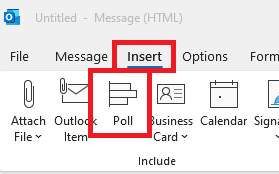
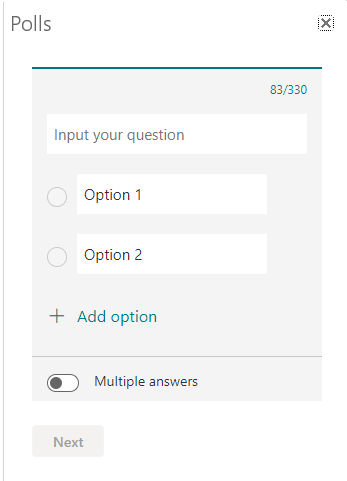
- Go to Insert, and then choose Poll.
- To the right in your window, a field is now inserted where you write your question, and the options the receiver can choose between. Choose Multiple answers if they are allowed to choose multiple options.
- When you are happy with your question, you click on Next.
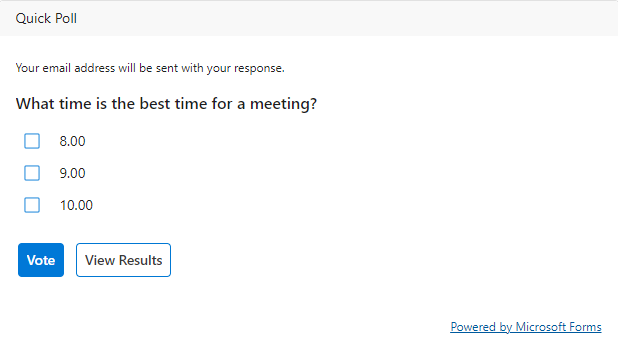
- In this step you see how the vote will look in the email. If you are ready, you choose Add to email. If you want to make changes, choose Edit.

- When you have added the vote to the email, the question, and a link to the form is going to show. Now you can send your vote in the email.
- When the receiver has gotten your email, they can answer the question directly in the email. The result can easily be found with your other forms in Microsoft Forms (forms.office.com) or directly in Outlook if you put yourself as a copy. Then choose View result.
Outlook 365 email forwarding
Guides users on how to forward emails from Outlook 365.