Create a booking site in Bookings
Bookings is a digital booking tool where you can both book other people’s services and create your own pages where people can book your services. For example, it can be tutoring times, counseling, meetings, or other services of your choice. Below you can see a description of how to create your own booking page.
Go to the portal at o365.umu.se
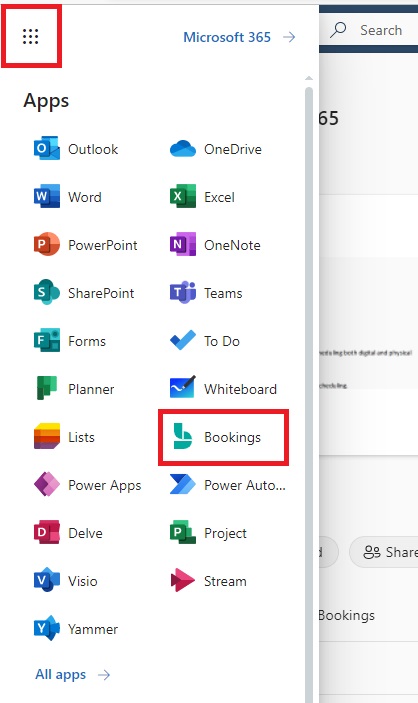
- Go to “the waffle” in the top left corner, and then click on Bookings.
- Now, you are on the Bookings start page. To create a new booking site, click on Create.

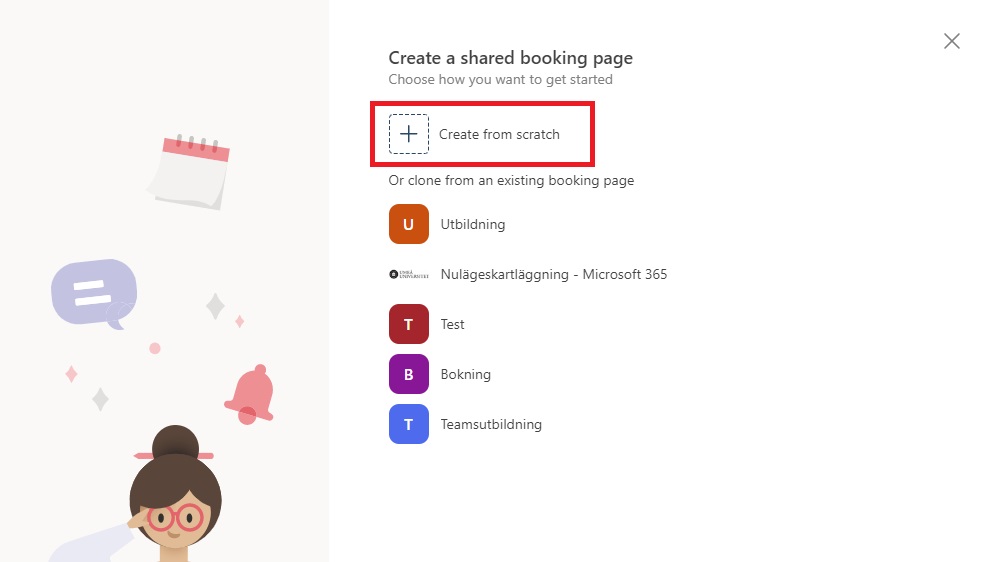
- Now you can choose if you want to create a new booking site, or if you want to clone an existing calendar (booking site). To create a new, you click on Create from scratch.
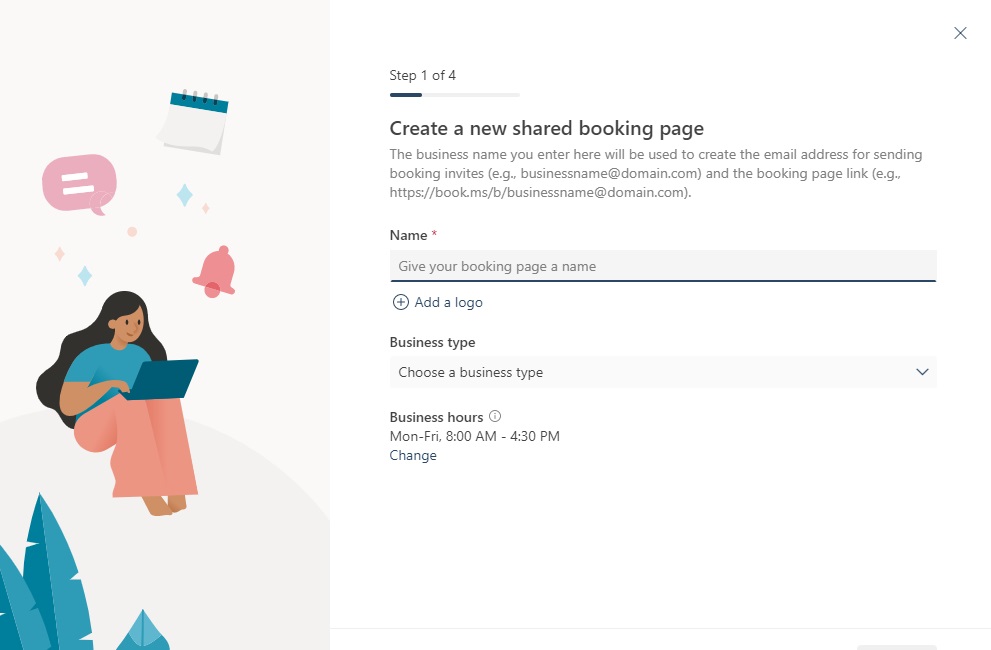
- Now you choose a name for your booking site, the display name can be changed afterwards, however, the address name cannot be changed, so remember that if you change the name on your booking site, only the display name changes. You can also add a logo that will be shown on the start page of your booking site. On “Business type” you choose whatever fits your service the most.
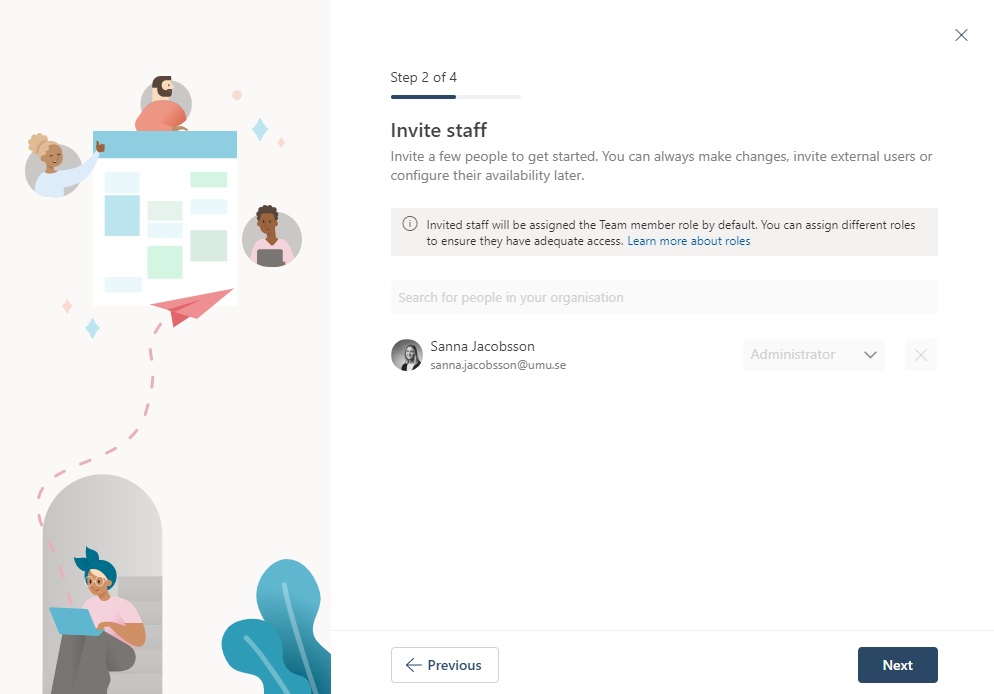
- Here you can choose if you want to invite another person to manage your booking site. In the search bar you can search for people in the organization. Afterwards, you can add more people that get access to the booking site. The one that creates the booking page, get the title: “Administrator”, and can manage and edit the site. The people you invite, is “guests”, and do not have the permissions. This can be changed when the site is created. You can also set up room and resources as staff if you want a booking calendar for them.
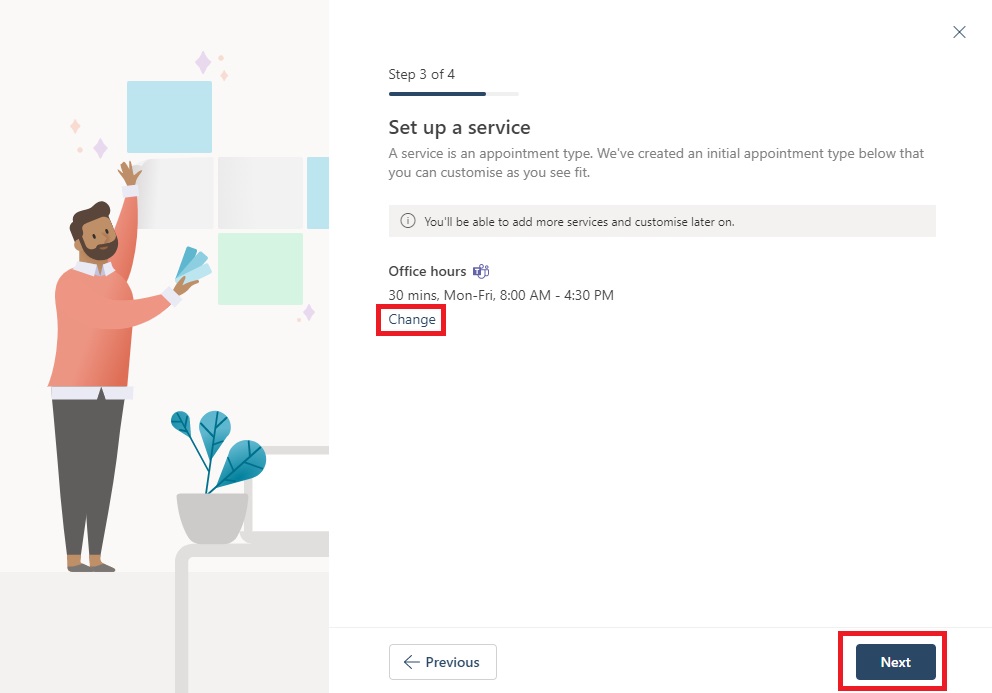
- Here you can adjust your times for your service. Click on Change if you want to change the pre set times. This can also be changed once you have created your booking site. Click on Next to continue creating the site.
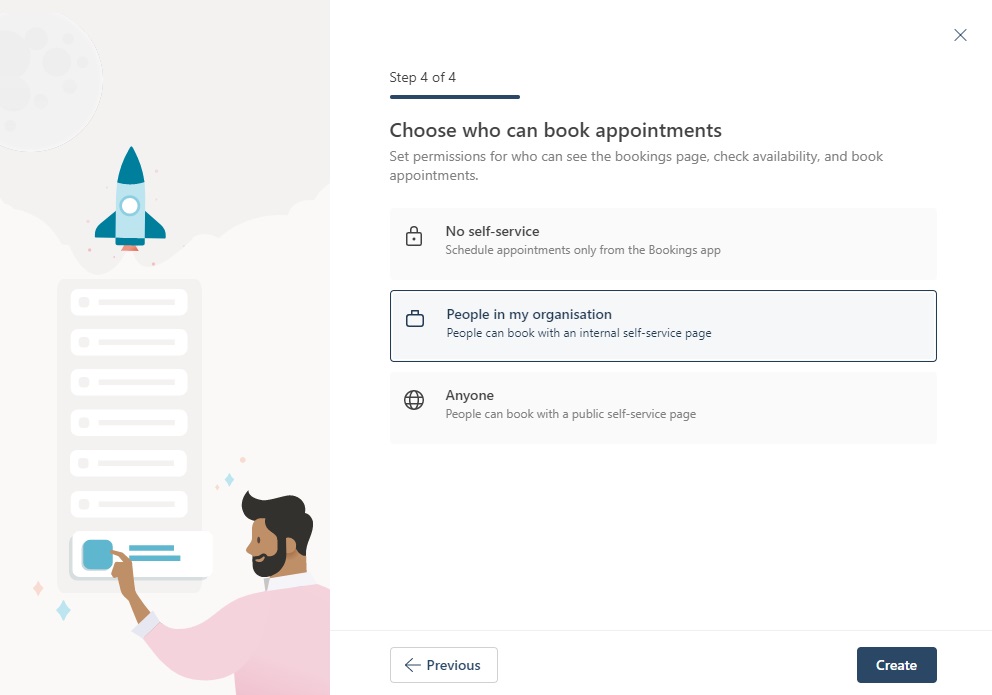
- Now you can choose who are going to be able to book your services. When you have chosen, click on Create.
– No self-service: This means that only staff can book appointments.
– People in my organization: This means that a Umu-id is required to be able to book.
– Anyone: This means that anyone can book your services both inside Umea University and externals.
- Done! Now your booking site is created.
