
Installing “My Backup” (Crashplan) for Windows
This manual helps Windows users to install and log in to the cloud-based service “My Backup” (Crashplan) There are two ways to do this, and both methods are described below.
Method 1 – if you have the Software Center program
- Open the Software Center program by clicking on the “Start” button at the bottom left of your screen and locating the search box, or go directly to the search box at the bottom left. Enter “Software Center” in the search field and then open the program.
NOTE: If you do not have the “Software Center” program on your computer, scroll further down this instruction page to Method 2.
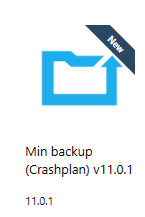
- Click on “Applications” in the list on the left side of Software Center. The “My Backup”(Crashplan v11.x) program should be found there. Click on the program and press install. The old Code42 program should then disappear from your computer and the new one installed instead. This takes about 2–5 minutes.
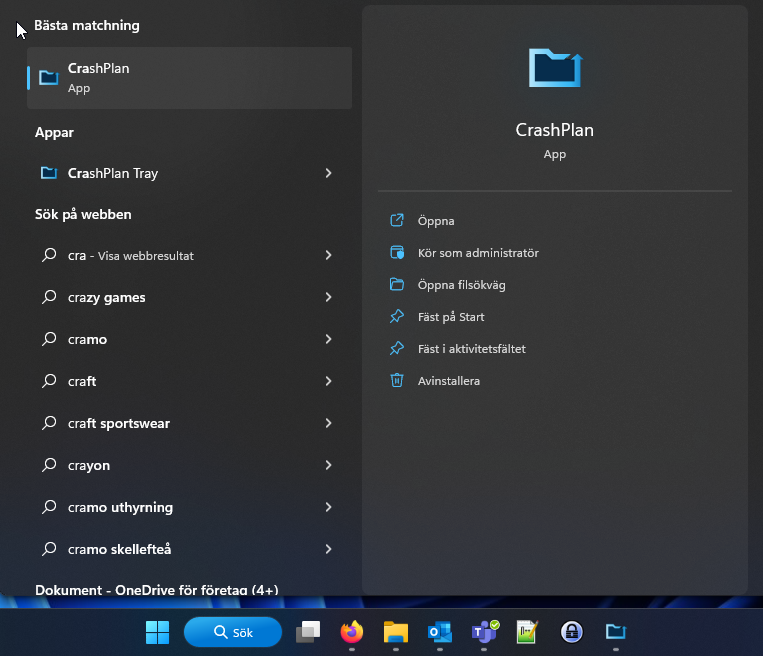
- Once installation is complete, search for My Backup (Crashplan)in the search box at the bottom left of your computer or via the “Start” button, and then open the program.
- My Backup (Crashplan) will ask for your username and server name
- The username is: Umu-id@umu.se
- The server name is clients.eu5.cpg.crashplan.com:4287
Once you have entered this, you will be directed to the Umeå University site, where you log in with your Umu-id and password.
- After about 10–20 seconds, you will be logged in to My Backup (Code42 Crashplan). Open the program and click on Manage Files. Make sure that you tick the folders that you want My Backup (Code42 Crashplan) to backup (the Documents folder is default). If you save files to your Desktop, you need to click for that option as well.
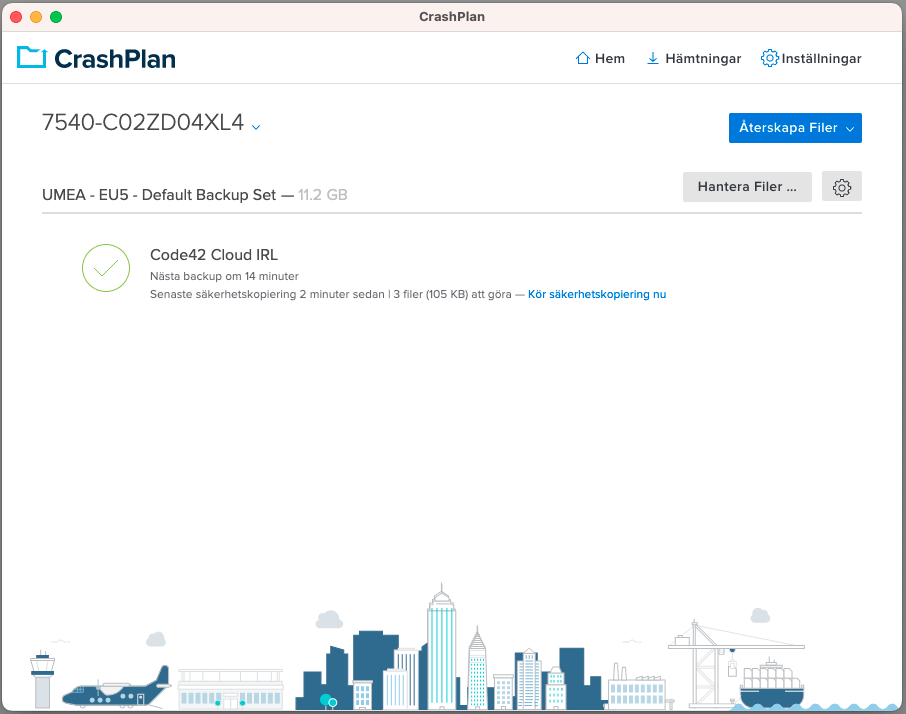
Do not forget to click on Save at the bottom right corner after you have finished selecting the files you want backed up.
Method 2 – if you do not have Software Center on your computer
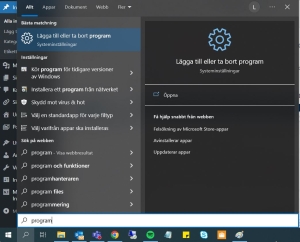
- The old version must first be uninstalled. This is usually version 7 or 8 of My Backup (Code42 Crashplan). The easiest way is to click on the “Start” button at the bottom left of your Desktop or to search for the word program using the search box at the bottom left. Then select Add or Remove Programs from the list menu. Go in there.
- Inside Add or Remove Programs, scroll down until you see My Backup (Code42 Crashplan). Click on it once and you should see the version name.
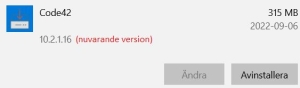
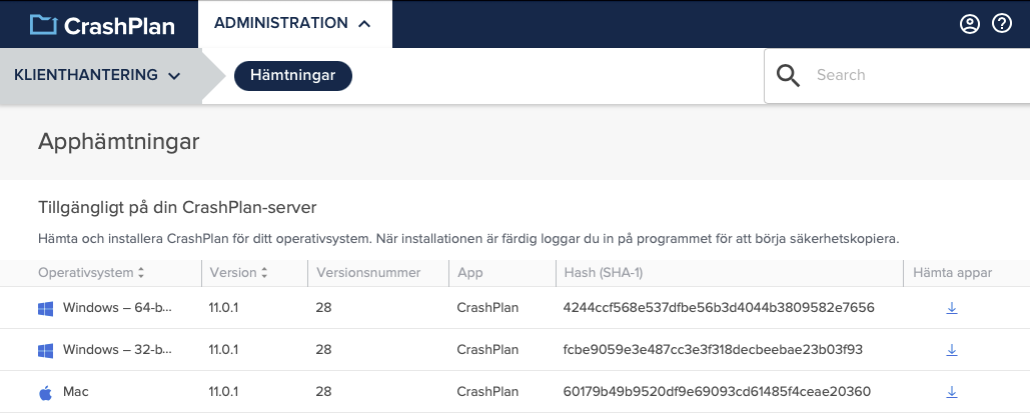
If you have an older version, such as one starting with 7 or 8, you can uninstall that program. - Once the outdated and old version of My Backup (Code42 Crashplan) is removed, go to the address https://console.eu5.cpg.crashplan.com/ and log in with your umu-id@umu.se
- Click on Administrationat the top left and then on Downloads
- Download the latest version of Windows – 64-bit version 10.x (click on the blue arrow on the far right)
- The download can take anywhere from 1 to 4 minutes in most cases. The installation file for My Backup (Crashplan) can be found under “Downloads” in your File Explorer.
- Double-click on the installation file and run through it (press Next a few times, install and complete the installation).
- Once installation is complete, search for My Backup (Crashplan)in the search box at the bottom left of your computer and open the program.
- My Backup (Code42 Crashplan) will ask for your username and server name
- The username is: Umu-id@umu.se
- The server name is clients.eu5.cpg.crashplan.com:4287
- Once you have entered this, you will be directed to the Umeå University site, where you log in with your Umu-id and password.
- After about 10–20 seconds, you will be logged into My Backup (Code42 Crashplan). Open the program and click on Manage Files. Make sure that you tick the folders that you want My Backup (Code42 Crashplan) to backup (the Documents folder is default).
Do not forget to click on Save at the bottom right corner after you have finished selecting the files you want backed up.If you need more help, contact the Service Desk!