
Share files in Microsoft 365
To share files/folders, change settings for sharing, or stop sharing files/folders in Microsoft 365 you can use m365.umu.se. There you can choose if you want to share files/folders from SharePoint (i.e., Teams) or OneDrive. This manual shows how you do it in SharePoint, but the same settings work for OneDrive as well.
Recommendation storage and sharing
- Use the tools in Microsoft 365 to store and share files.
- Use OneDrive to store your own files, this service automatically backs up everything you save there.
- Use SharePoint or Teams to store common files for collaborations.
- Be careful not to store files containing sensitive personal data or confidential information in these tools.
Share file or folder
- Open m365.umu.se and sign in using your Umu-id.
- Click on the icon for SharePoint in the left menu.
- Select the SharePoint team where the files/folders you want to share are located.
- Select Documents in the left menu to view all existing folders and document on the SharePoint team. A channel in Teams is viewed as a folder in SharePoint.
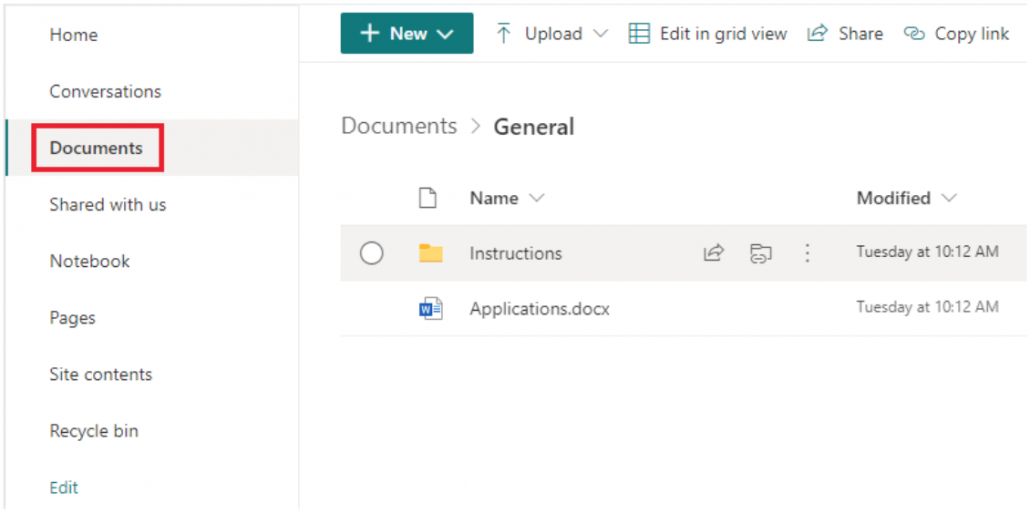
- Go to the folder or file you want to share. Place your pointer on the file/folder to view a hidden menu.
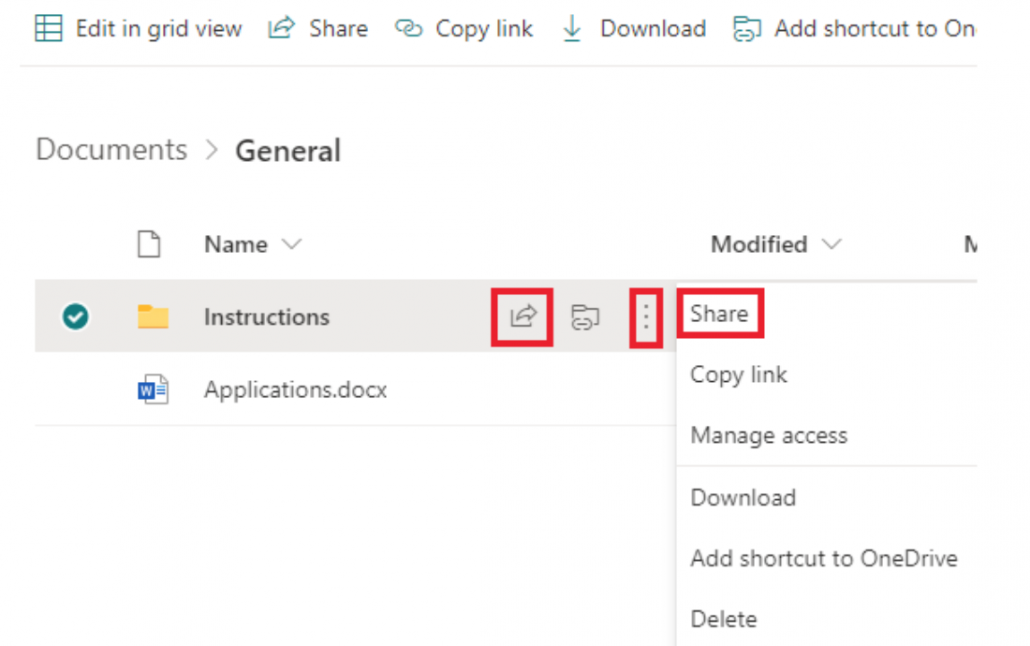
- Click on the three dots and select Share in the menu. You can also click on the icon with the arrow to go directly to share.
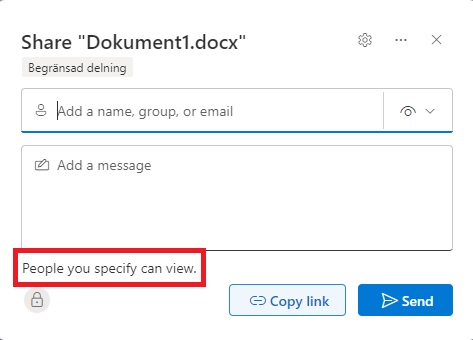
- Here you will find settings for sharing the file/folders. Begin by clicking within the area showed below to manage who will have access to the file/folders.
- There are three options on how to share the file/folders:
- People in Umeå University with the link – everyone within the organization who has the link can access the file, regardless of whether the link was distributed by you or someone else.
- People with existing access – the file can only be accessed by those with current access. Only use this option when you want to send a link to someone who already has accessed to the file.
- Specific people – the file can only be accessed by the people you choose, even if others may already have access.
- Below More settings you can choose whether it should be possible to only read the file or be able to edit is as well. Click on the pen to the left if you want the receiver to be able to edit the file. This setting does not affect those that you’ve allowed to edit previously. You can also change if you want the receiver to be able to download the file.
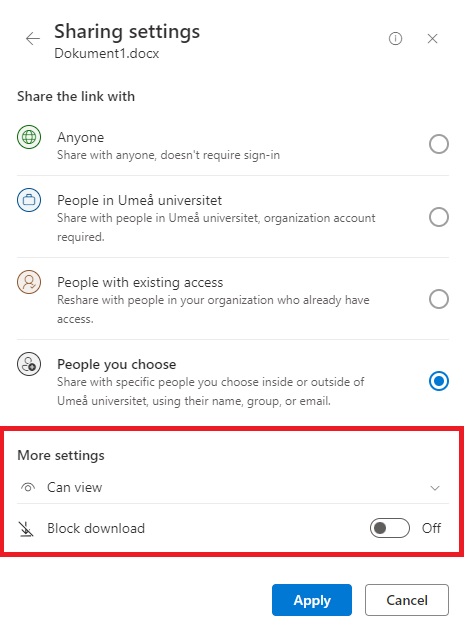
- Select Apply when your done with the settings.
- Enter the name of the person, group or email address you want to share your file/folder with. The options will appear automatically when you start typing. You can choose to share the file/folder with several people at the samt time.
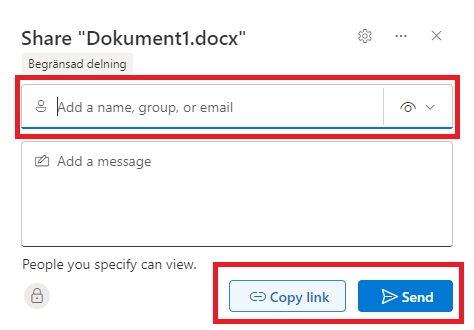
- When you’ve chosen who you want to send the link to, there are two options for how to share the file/folder.
Send – The recipient will then receive an email that gives them access to the file/folder. You will also receive a confirmation via email.
Copy – you get a link that you can send via email or chat. - Done! You have now shared your file/folder.