Get started with the new Whiteboard
Find Whiteboard
- Open your browser and go to www.m365.umu.se.
- In the panel to the left, click on the icon at the bottom More applications.
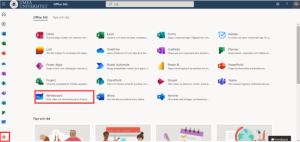
- Choose Whiteboard.
Whiteboard portal
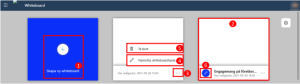
After you’ve clicked on Whiteboard you will get to Whiteboard portal. You’ll se all of your current Whiteboards.
- Click on Create a new Whiteboard to create a new.
- If you have made Whiteboards before, you can click on them to keep working on them. On the Whiteboards you’ve worked on before, if you click on the three dots you can Delete it or change name.
- If you have a whiteboard with a little blue circle at the corner, you’ve shared the Whiteboard with more people.
Whiteboard settings
- Click on the settings wheel in the upper corner on a whiteboard.
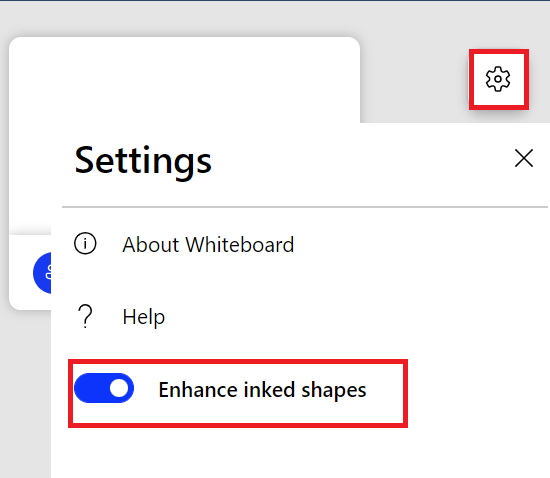
2. Choose Improve the shape of pens automatically (example if you draw a circle, the circle will be adjusted no a nice form automatically).
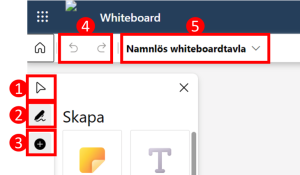
Whiteboard settings in the left head menu
Before you start using whiteboard it’s good to be familiar with the settings and icons. Here are some of the most used settings.
- The arrow is the standard choice. You can move around the canvas, mark and move the objects you’ve created.
- If you click on the pen you can choose between different pens on your canvas.
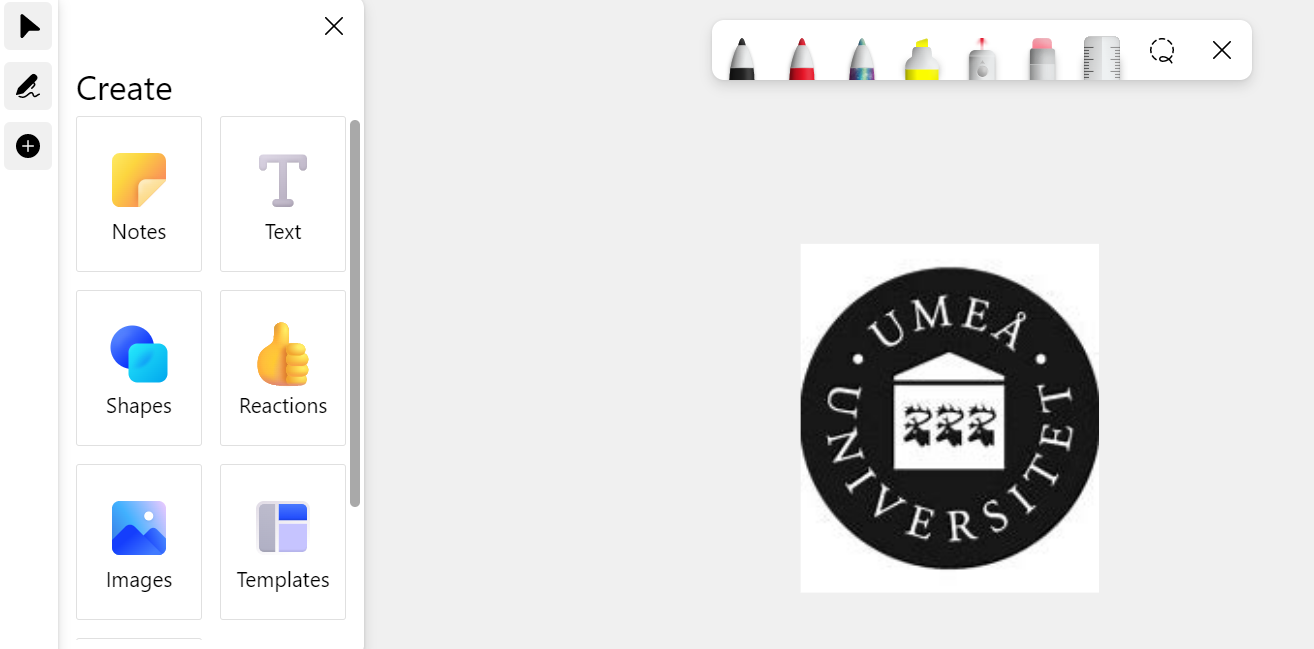
- If you click on the + the menu Create will be shown. Here you can choose between different objects that you can place on your canvas. (These will be explained longer down in this manual).
- The two arrows next to the little house menas that you can regret something you’ve done. Go backward and then forward if you regret your regret.
- Here you can change the name of your Whiteboard.
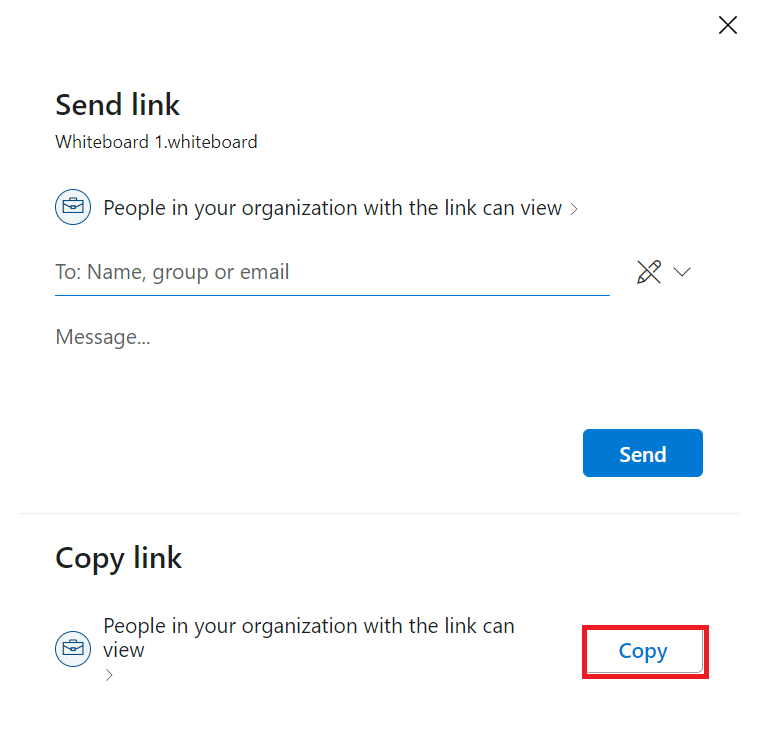
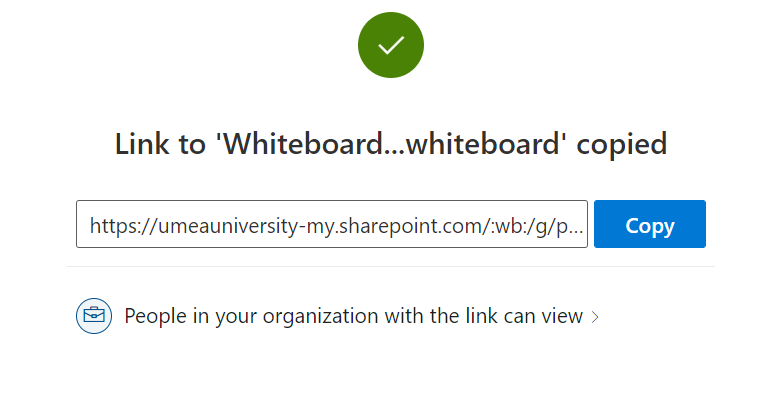
Whiteboard right menu: Share and settings
In the right corner under your profile there are two icons.
- Click on the Share icon to create a link that you can share.

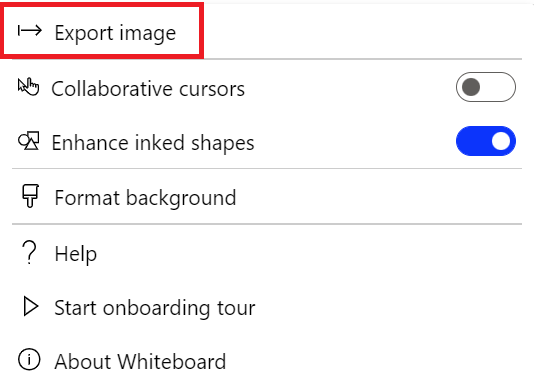
2. Click on the wheel to see settings. In the menu that pops up if you click on the wheel, you can export your whiteboard as a picture, click on or of automatically lines, change if the participants can edit and more.

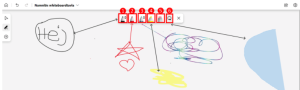
Use pen notes
- Choose the black pen to make black notes.
- Choose the red pen to make red notes.
- Choose the multicolored pen to make notes with many colors.
- Choose the yellow pen to underline.
- Choose the gum to delete your notes..
- Choose the ring to mark objects or notes that you want to delete.
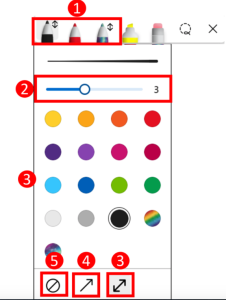
Change size, color and create arrows with your notes
- Double-click on some of the left pens.
- Change size on your notes.
- Change color.
- Create a one-way arrow
- Create a two-way arrow
- Stop the arrow.
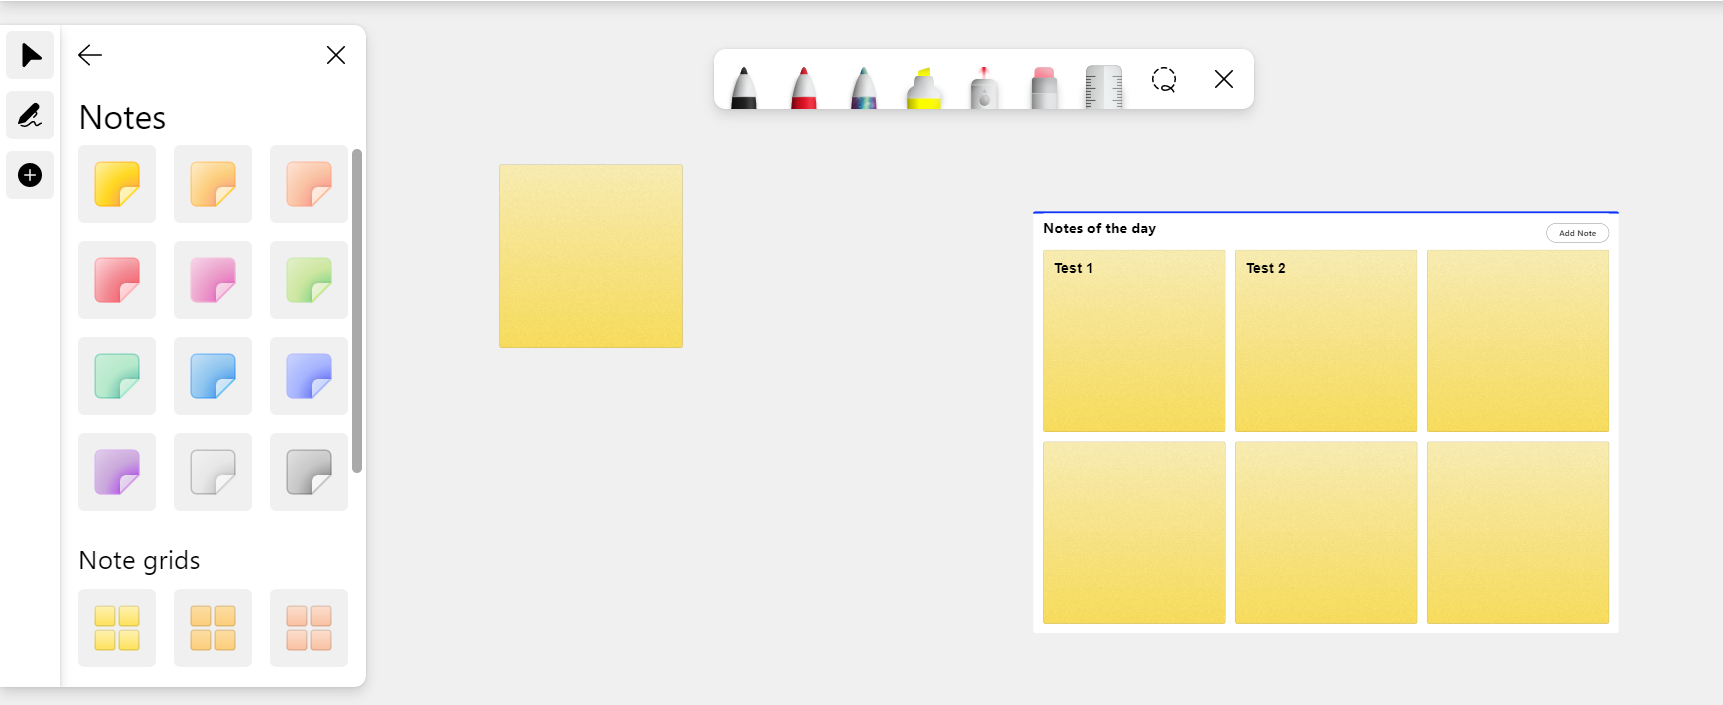
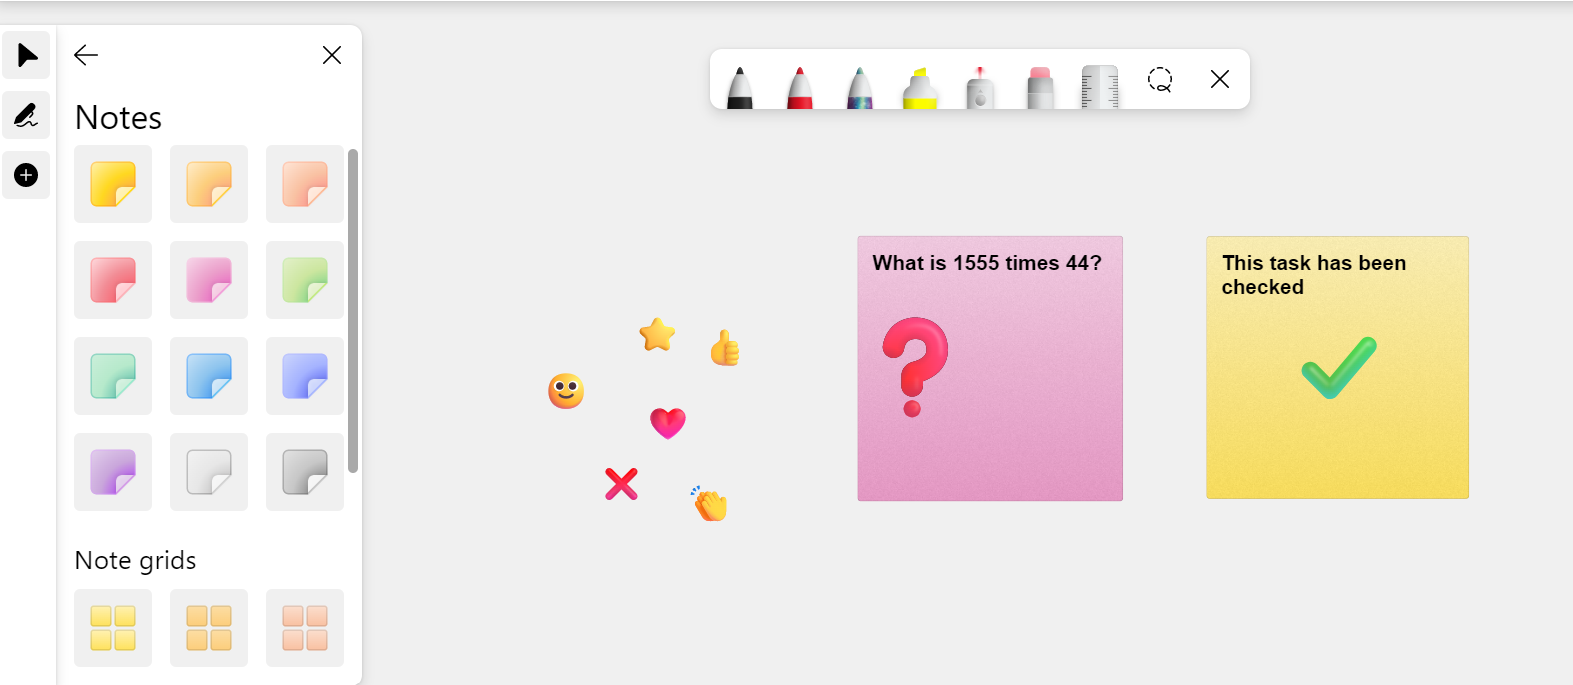
Create post-it
Go to the right menu, click on the icon to Create and choose Notes.
- You can choose simple post-it notes with different colors.
- You can create post-it notes in grid with different colors.
- Click on Add notes to create more post-is within the grid.
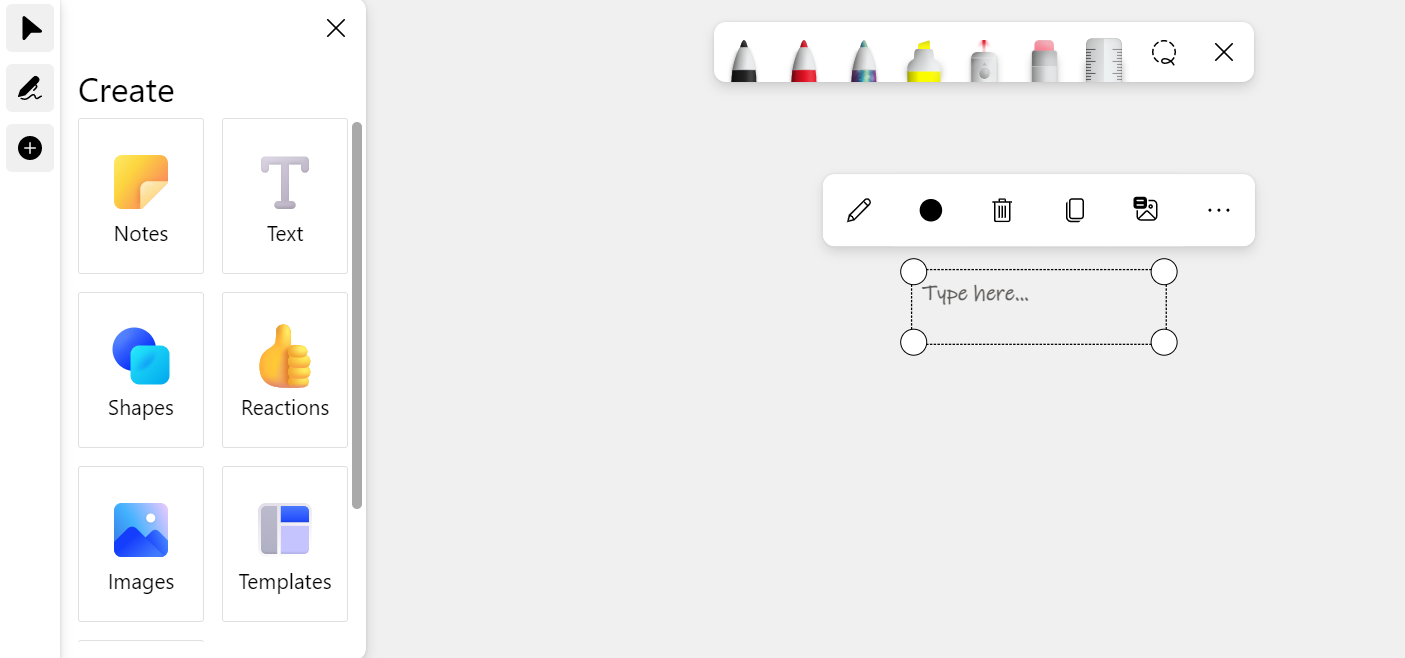
Create text
Go to the right menu, click on the icon for Create and choose Text.
- Write your text in the square.
- Pull in the lines to make the square bigger or smaller.
- Mark the square to:
-Write in it
-Change color of the text
-Delete it
-Write a text that explains the text in the square
-Click on the three dots to place the text forward or backward.
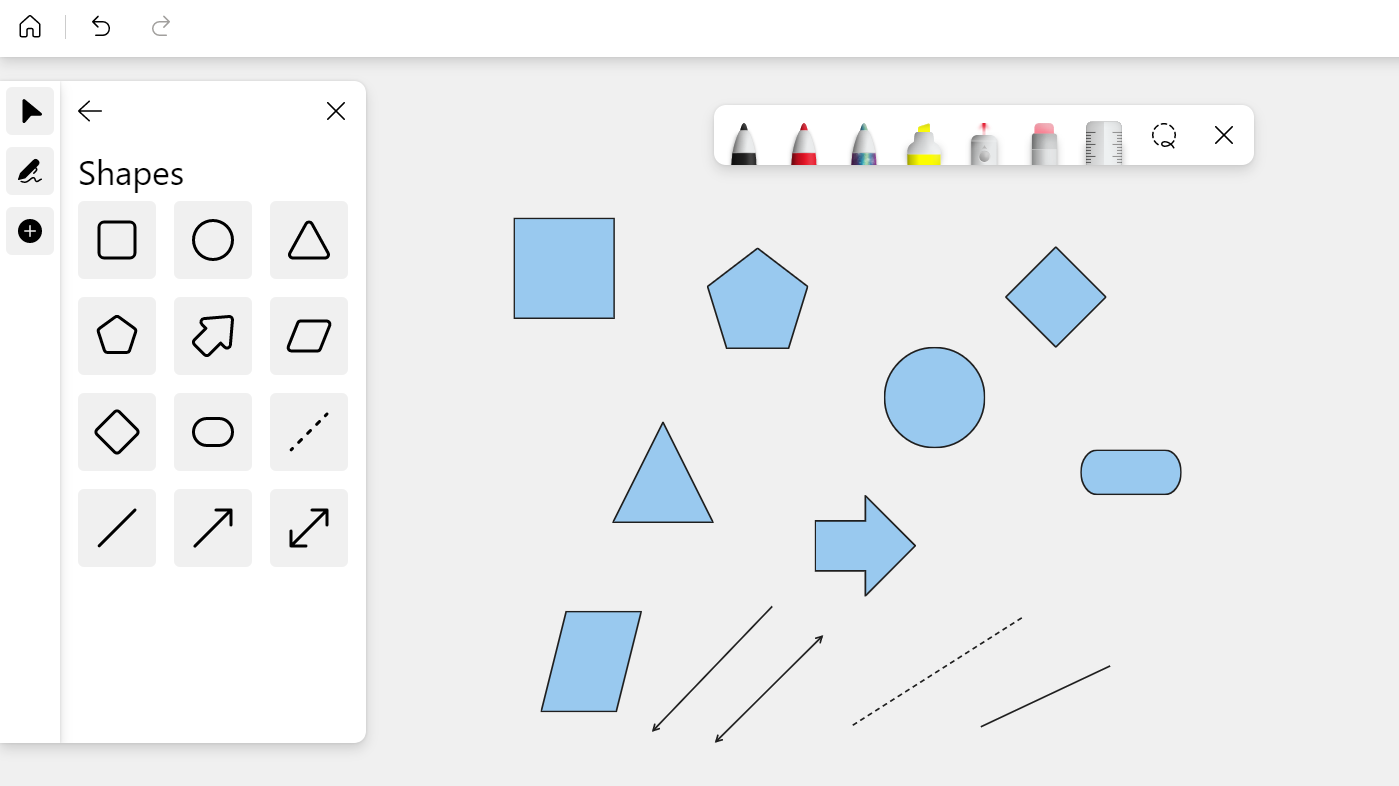
Create forms
Go to the right menu, click on the icon for Create and choose Forms.
- You can choose between 12 different kind of forms.
- Pull in the lines around the form to make the form bigger or smaller.
- Mark form to:
-Change color
-Delete lines
-Delete form
-Write a text to explain the form
-Click on the thee dots to place it forward or backward.
Create reactions
Go to the right menu, click on the icon for Create and choose Reactions.
- You can choose between 8 different kinds of reactions.
- Pull in the line to make them bigger och smaller.
- Mark the reaction to:
-Delete it
-Write a text to explain the reaction
-Click on the three dots to place it forward or backward.
Tip! Use reactions to react on post-it notes.
Upload photos
Go to the right menu, click on the icon for Create and choose Photos. Then you’ll choose a photo from your computer.
- Pull in the lines to make the photos bigger or smaller.
- Mark the photo to:
-Delete it
-Write a text to explain the photo
-Click on the three dots to place it forward or backward.
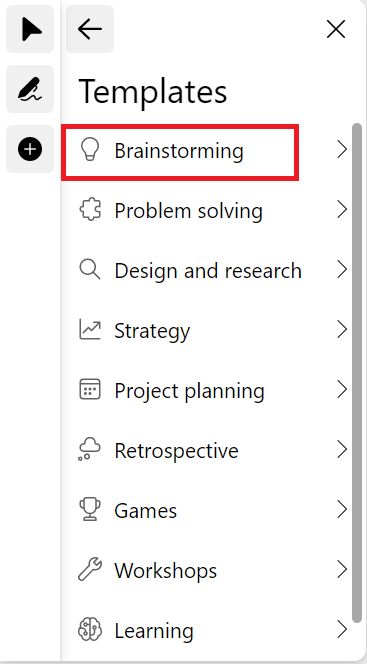
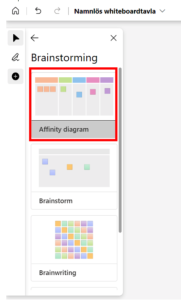
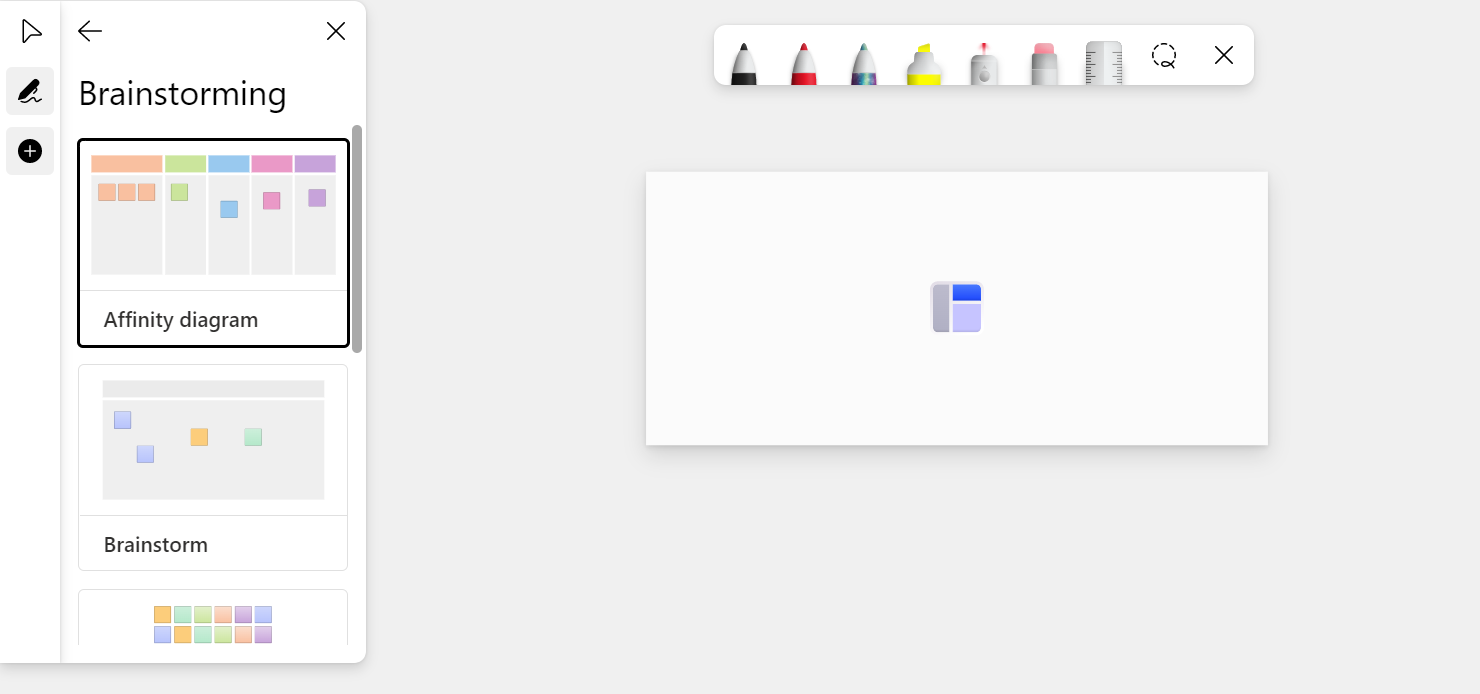
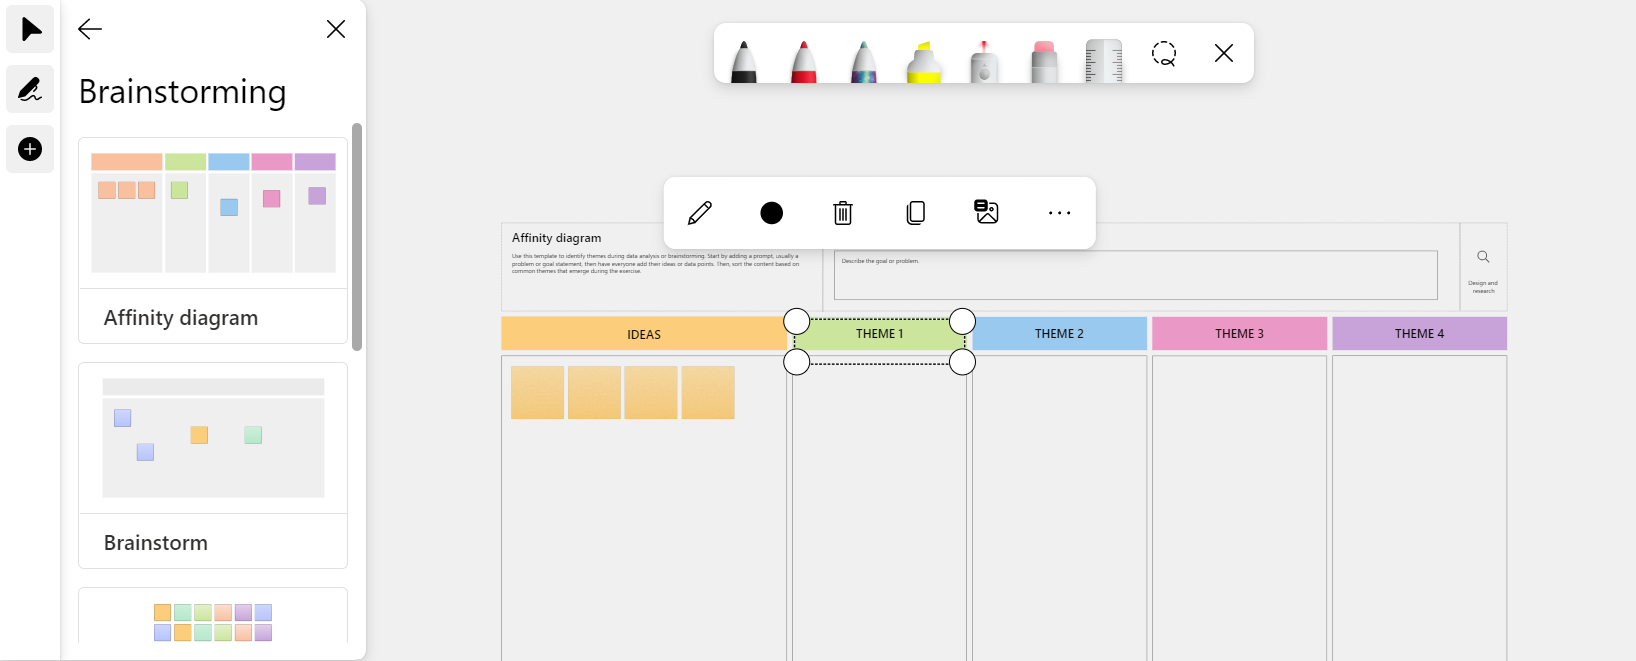
Use templates
Go to the right menu, click on the icon for Create and choose Templates.
- Choose what kind of category you want for your template. You can choose between 9 different categories, and then between 5-10 templates within every category.
- Scroll down to se different templates within the category.
- When you’ve chosen the template you want, place it on the canvas.
Tip for when using templates
- Use the template as a starting point. You can always edit objects like text and colors by mark the object you want to change.
- Add object to your template like post-its, text, reactions and forms.
- Scroll on you mouse to make the canvas bigger or smaller. You can’t make the whole template bigger och smaller.
- Mark an object on your template and press on the delete-button on your keyboard.
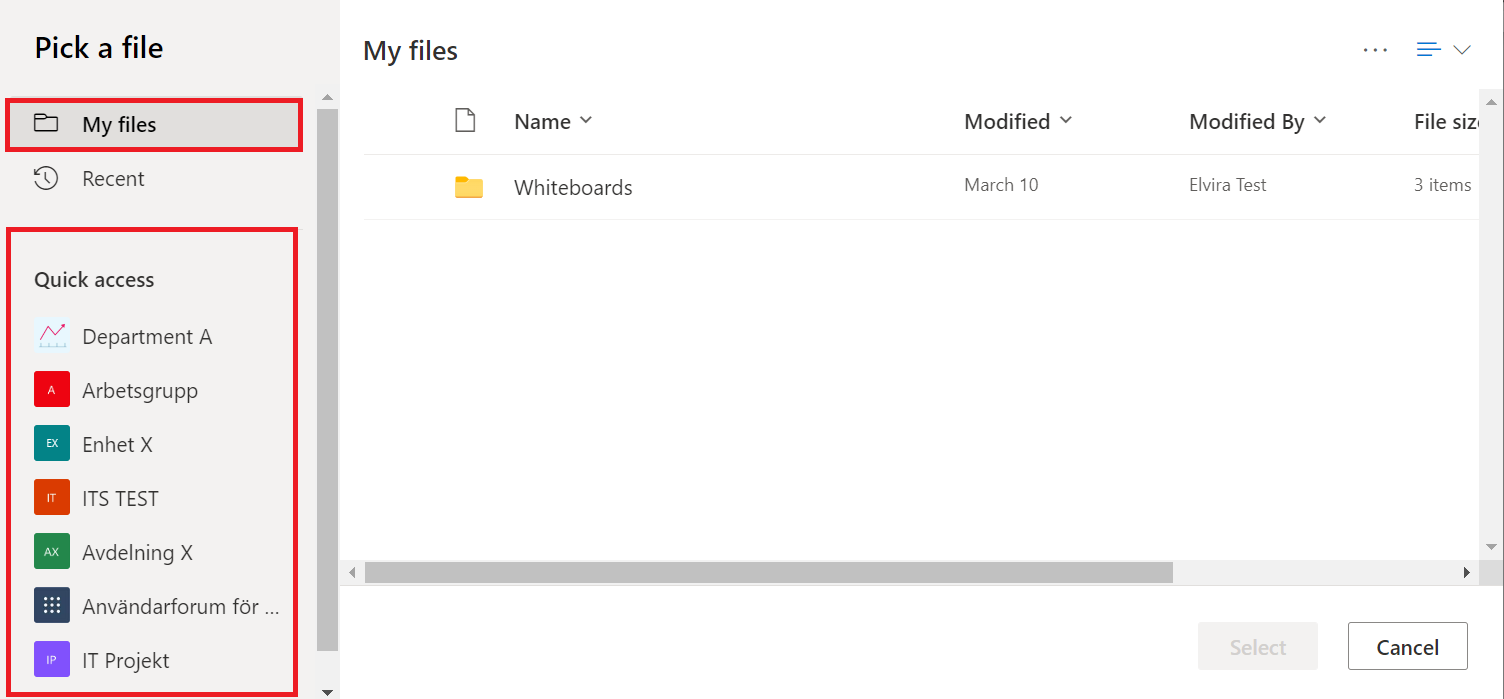
Add documents
- Go to the right menu, click on the icon for Create, and choose Documents.
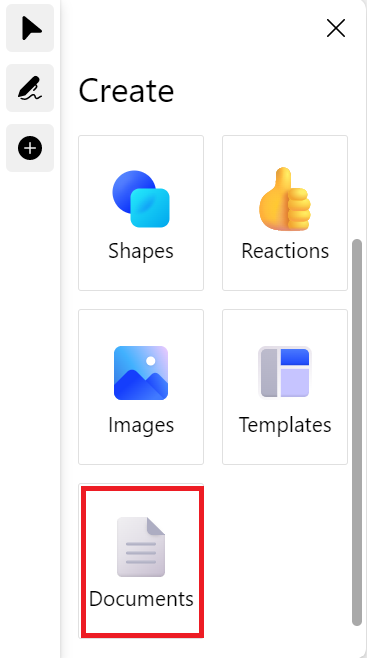
2. A dialog square will show. Here you choose what kind of document you want to upload.
3. Click on My files to choose files from your OneDrive.
4. Click on Latest to choose among recent edited files.
5. Under Quick Access choose what Team/SharePoint document library you want to upload a document from (You can only upload a Powerpoint or PDF).
6. For example, this might look like if I have chosen to upload a PowerPoint file on my Whiteboard. (Note you can only upload PowerPoint, PDF documents).
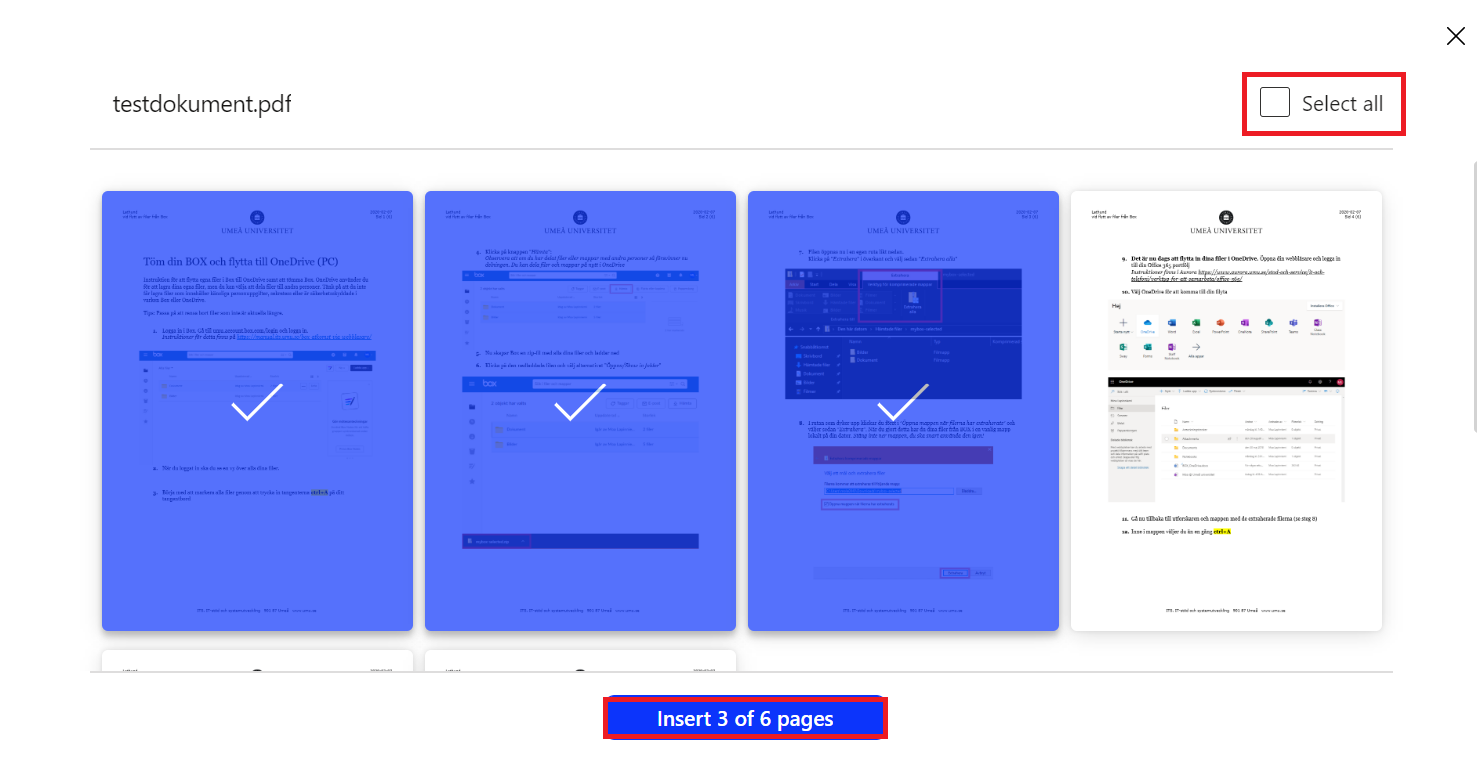
7. Select the slides you want to upload.
8. Click Select All to upload all slides.
9. Click Insert.