Find your welcome letter
Information on how to find your Welcome Letter.

Engelska kategorin för studentinformation.
Information on how to find your Welcome Letter.
This instruction shows how to turn on the Microsoft editor in the Edge browser. To access the add-on, you must have an A5 license in Microsoft 365, all employees and students and affiliates who have purchased it have it.


When you create group forms in Forms, and want to receive email notifications when a response is submitted in the form, you need to make additional settings than just in the form. In this manual, we describe how you can receive notifications to a group email, when you create group forms in Forms.
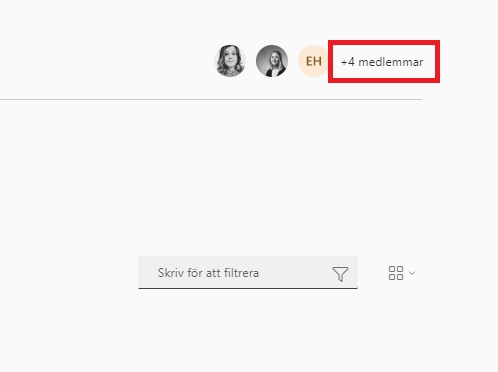
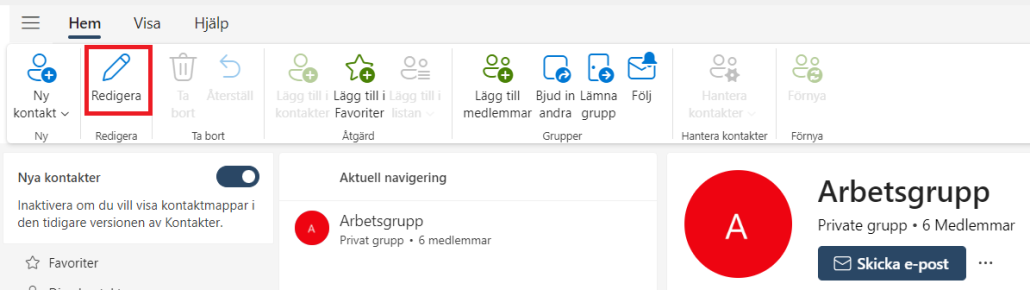
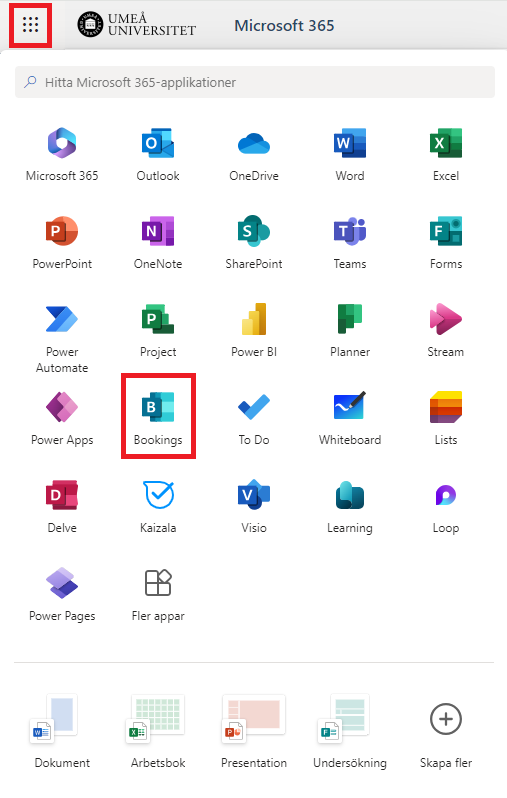
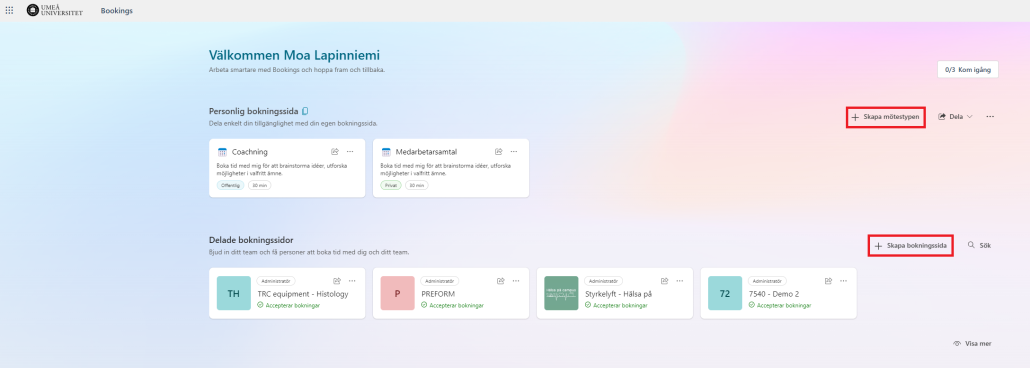
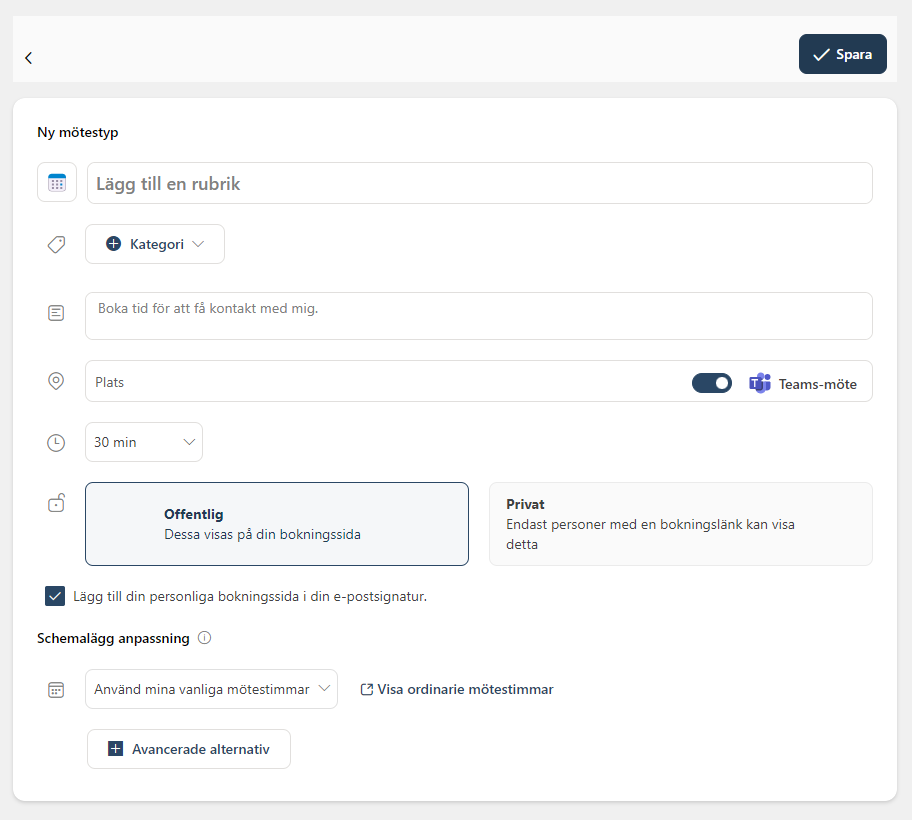
Bookings with me is a digital personal booking tool that integrates with your free/busy time in your Outlook calendar. The service can be used, for example, when you need to schedule employee meetings or want to offer tutoring sessions or coaching to students and colleagues. This manual guides you on how to get started with your personal booking page. If you want to know how to create and get started with a shared booking page, I recommend you to look at this page: Create a booking site in Bookings

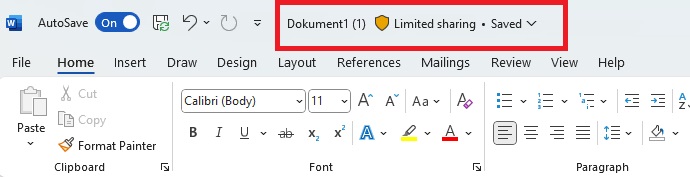
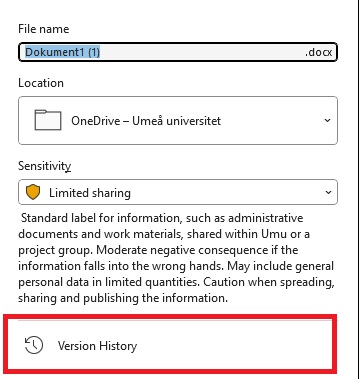
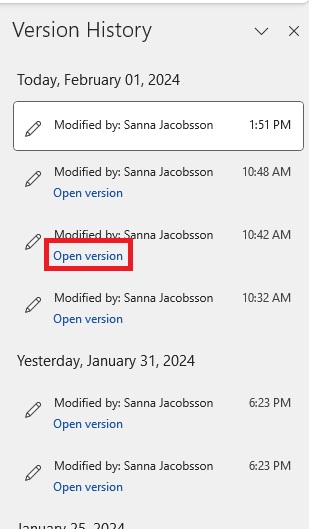
In this manual, we’ll go through where to find version history of your documents in OneDrive, Teams, and SharePoint. Version history can save up to 500 versions of a document, and a new version is created each time you make a change to the document. Below is a description of how to do this and where to find the feature.
Open a file that you’ve saved in Microsoft 365. It can be a Word-document, PowerPoint, or Excel.

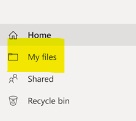
In “My Files” you can select the files and folders you want to delete, and then click Delete. If you do not want to delete the entire folder, you can click into the folder and select files there that you want to delete.
Your deleted files and folders go to the OneDrive recycle bin.
First, select Recycle bin in the OneDrive left side navigation. To permanently delete files select delete in the top navigation.
In the My Files view, you can select the files and folders you want to move, and then click Move To.
A window opens where in the middle under My files you can move the selected files to one of your existing folders. On the menu to the left, you can move the selected files to a team or Sharepoint. Select destination and click on Move.
If you were to exceed the limit of how much you can store in OneDrive, you will end up in view mode for your documents, and your OneDrive will be read-protected, which means that you will not be able to upload, edit or sync your files in OneDrive, only view them. To fix this, you need to clear your OneDrive and delete files so that you fall below the limit of how much you are allowed to store.
Manual that helps you to connect to eduroam on Windows.
Here you can find information about the multifunction card at Umeå University, the Umu card.
As a student you need to confirm your group study room bookning no sooner than 30 minutes before and no later than 15 minutes after the start of the booked slot. Unconfirmed bookings will automatically be removed.
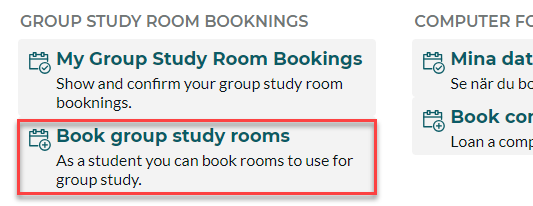
To confirm the bookning visit either the page My group study room booknings or the bookning page Book group study room in TimeEdit.
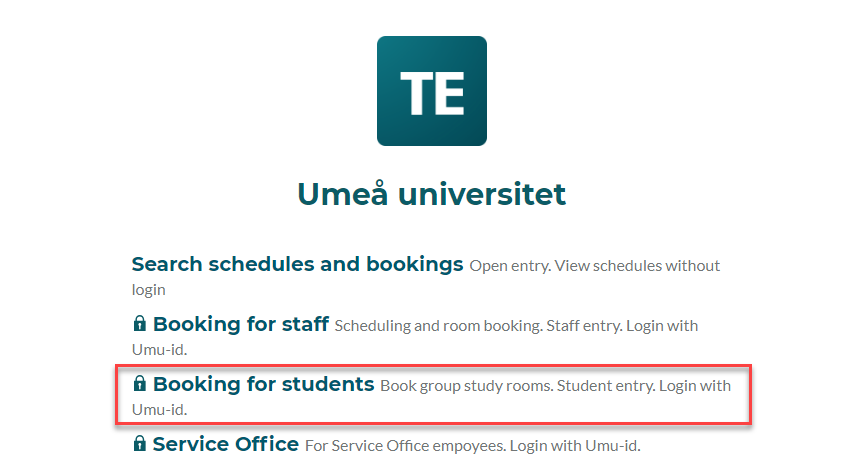
To login and book you need a Umu-ID and you need to be registered to a course at Umeå University.
Login via https://cloud.timeedit.net/umu/web/ and select Booking for students.
Then select Book group study rooms.
Start by filtering rooms. You can use free text search (1), filter (2) by Campus or Building. Click show filter (3) for additional filters if needed.
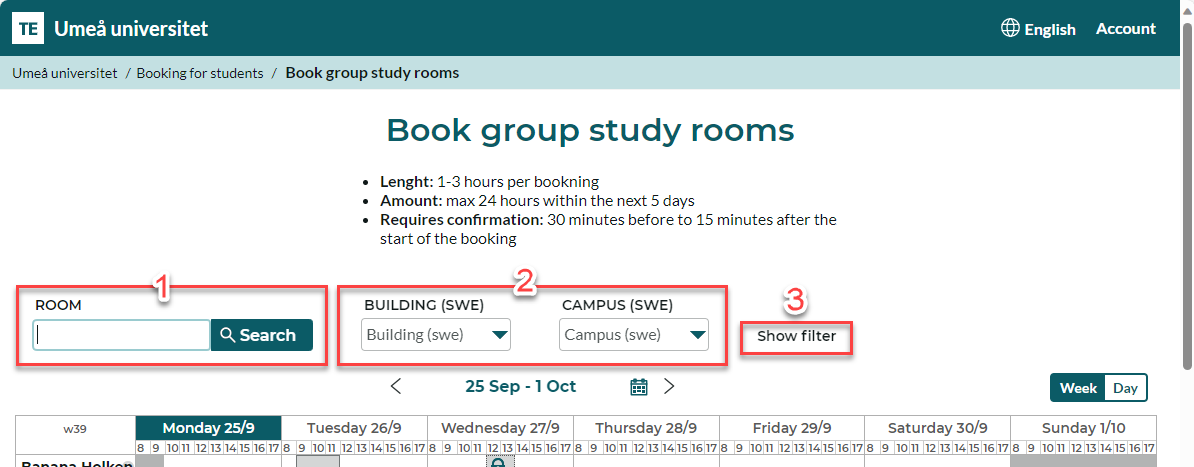
Under the search section and above the calendar is the date selector (4). The date range used in the calender is also displayed here. You can page backwards and forwards with the arrows. Click on the date to open the date selector. To the left you find buttins to switch between week or day view (5). You can also switch to day view by clicking a date in the week view.
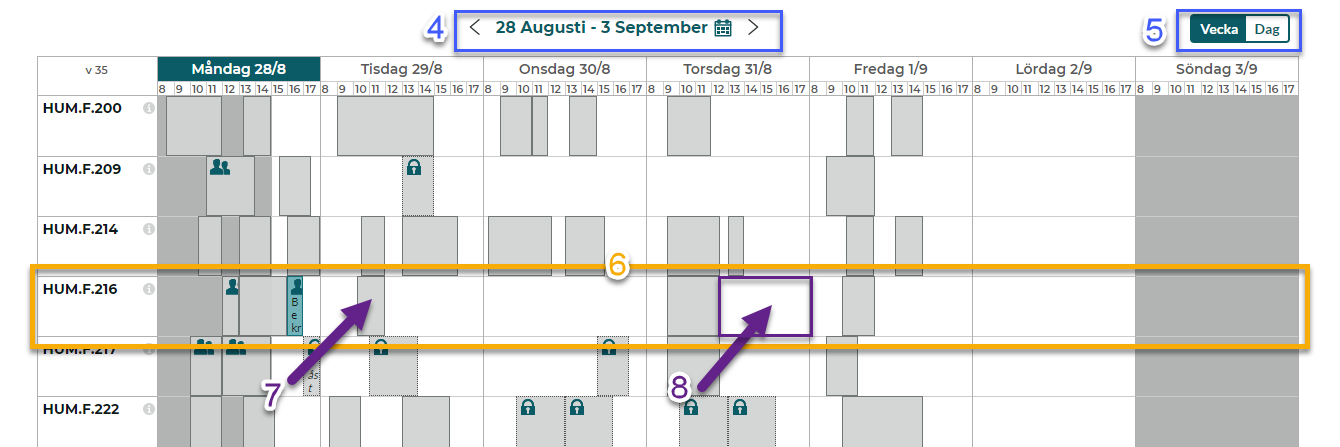
Each row (6) in the Booking calendar represents a room and shows the availability for the room. A grey field (7) means that the room is occupied while white (8) means that it is available for bookning.
In the day view move the mouse cursor over the room and time you want to book. I green booking indicator is shown. Click to select the room and time. On mobile you can touch the screen where you want the bookning.

After you have clicked to select the room and time a bookning window opens. Here you can adjust the start and end times.
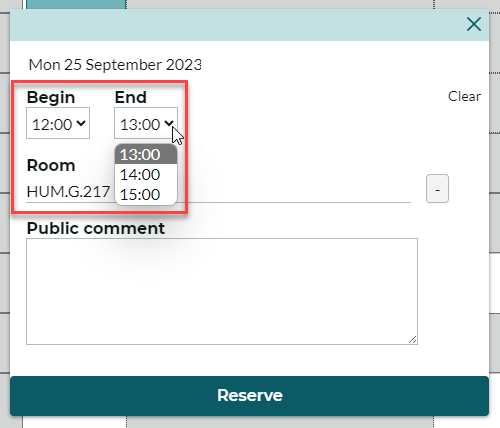
Select Reserve to complete the bookning.
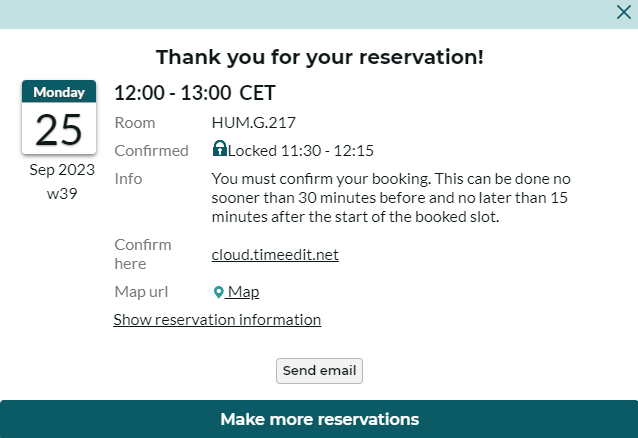
Your bookning is now made and information about the bookning is displayed. By the text Confirmed you see when the bookning needs to be confirmed if you want to keep it. You can also send info about the bookning by email.