Add multi-factor authentication on new device (MFA)
Multifactor authentication (MFA) is a service that gives you increased protection when logging in to some of the university’s systems. With multi-factor authentication, you log in to the university’s systems in two steps: using your Umu-id and password, and the using the Microsoft Authenticator app on your phone or tablet. In this guide, we will describe how to add multi-factor authentication on a new device.
- Visit the Microsoft Security info website.
- Go to the tab Security info.
- Click Add method.
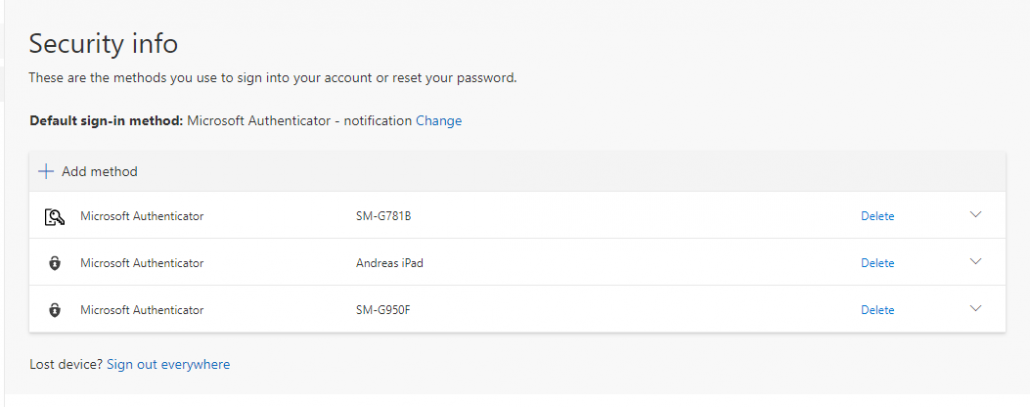
- Click Add in the window that appears.
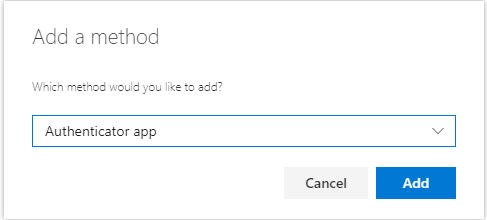
- You will now be asked to install Microsoft Authenticator on your new unit. If you haven’t already, please download the app to your phone or tablet from Google Play or App Store.
- Click Next.
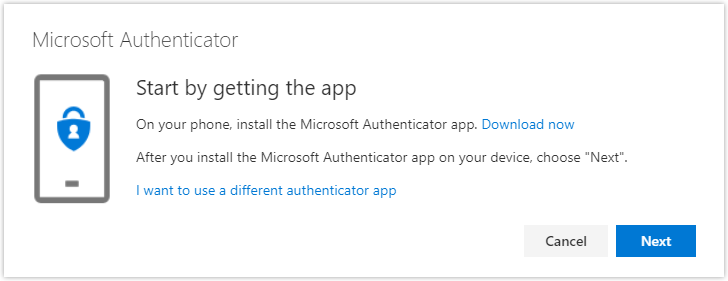
- In the next screen, click Next.
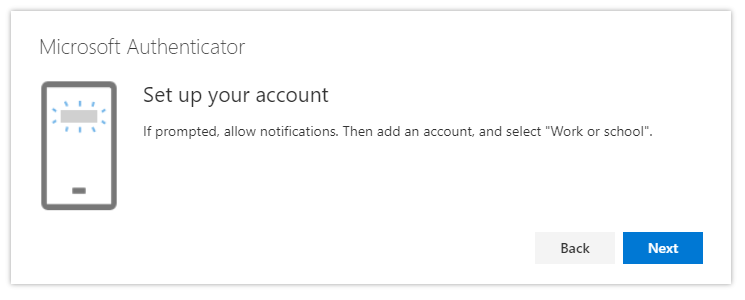
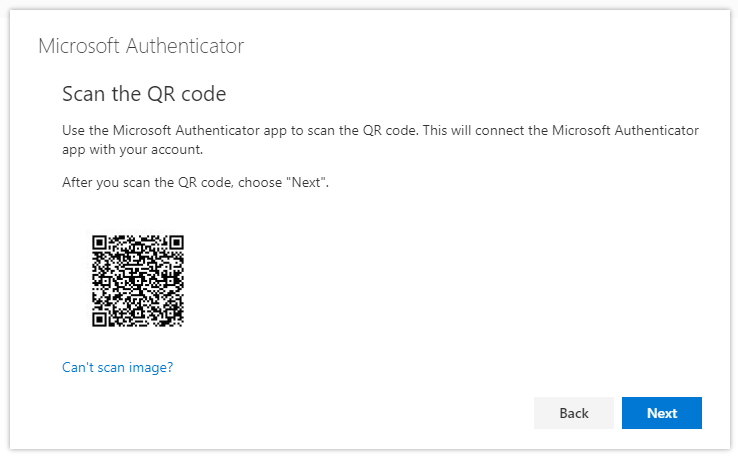
- A screen now appears that asks you to scan a QR code. Keep the screen open while you take out your phone.
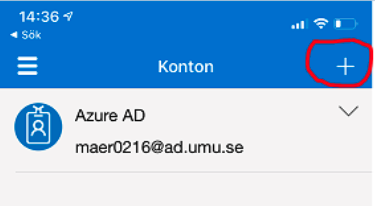
- Start the Microsoft Authenticator app on your mobile or tablet. Note that the images below are from an Iphone but the process looks similar in Android products.
- Click on the plus sign in the upper right corner of the screen to add an account.
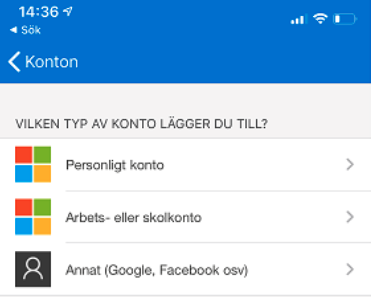
- Select the account type Work or school account (Arbets- eller skolkonto).
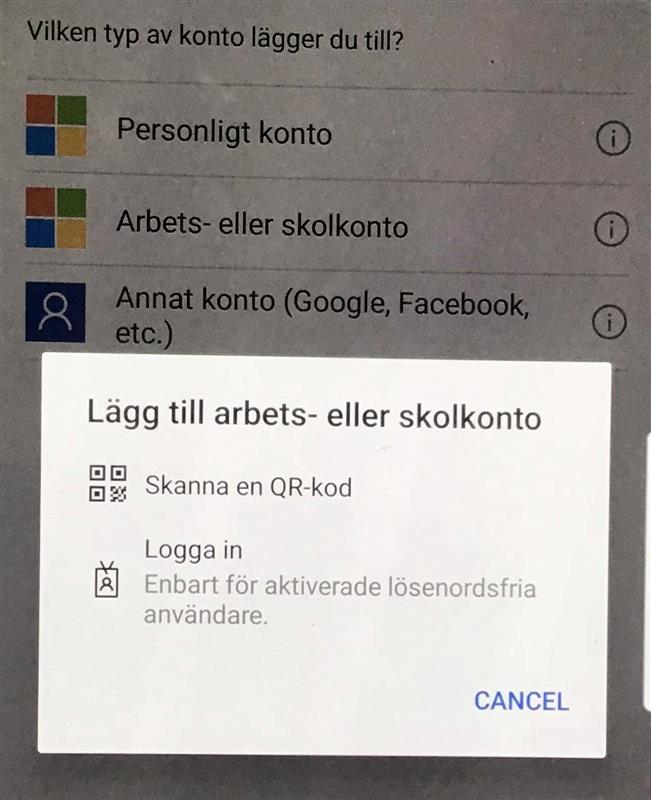
- In the window that appears, select Scan QR Code.
- Use your mobile or tablet to scan the QR code shown on the computer screen.
- After scanning the code, click Next.

- A message will be shown, stating that Microsoft Authenticator has been connected to your account. Click Next.
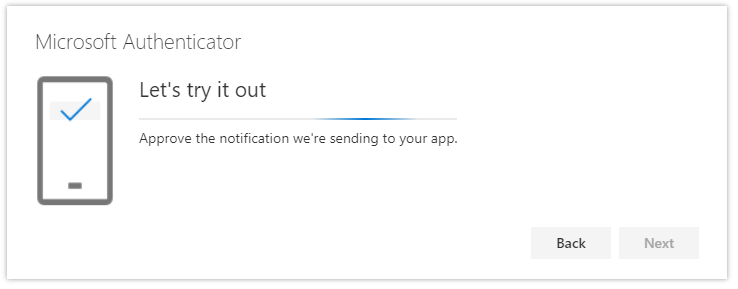
- In the next screen you will be asked to test the application. At the same time the Microsoft Authenticator app will receive a notification asking you to accept the login. Click Accept on your mobile/tablet.
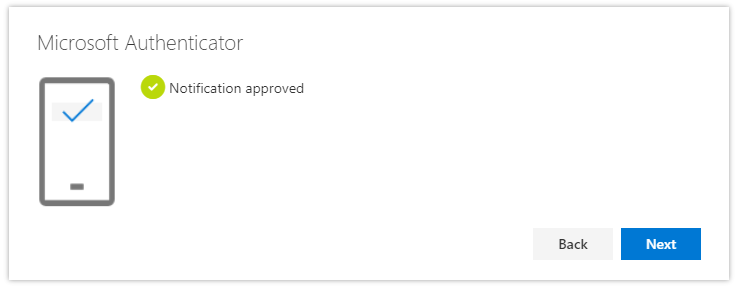
- Your screen will now show a confirmation of the test. Click Next.
- You have now activated multifactor authentication for a second device! Your standard login method is set to getting at notification from Microsoft Authenticator but you can change it (link in the right column). Click Done.
