Size of email attachments
Information on how big files you can send via email.

Information on how big files you can send via email.
When you create group forms in Forms, and want to receive email notifications when a response is submitted in the form, you need to make additional settings than just in the form. In this manual, we describe how you can receive notifications to a group email, when you create group forms in Forms.
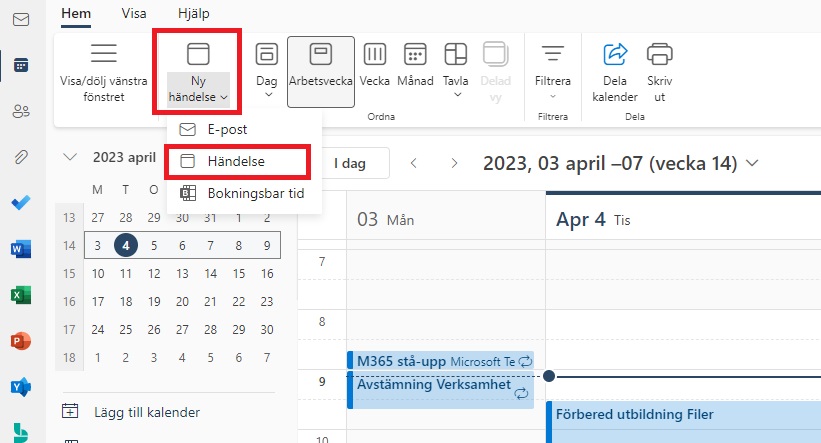
In this manual, we describe how to do a scheduling poll in Outlook. You can use scheduling poll to agree on a meeting time, where the meeting participants can vote on a time that suits them. This feature is available for Windows and on the web. The manual will be based on the web to also suit those who use, for example, Mac.
 Now you get a box on the right. Here you can choose how long the meeting should be, and what date it is. Below you can see suggestions for times when it would suit all meeting participants, or one of the meeting participants. Once you have selected which proposals you want to send out, click Next.
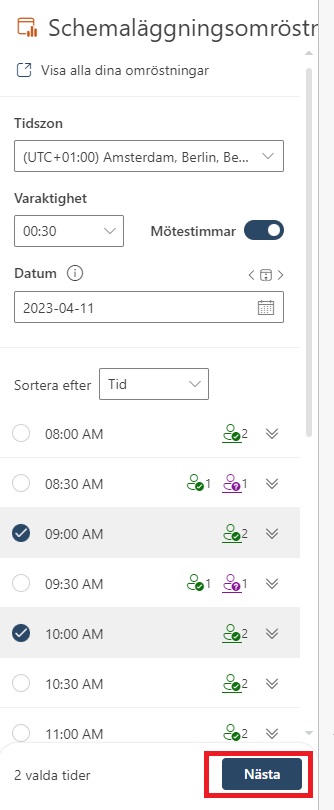
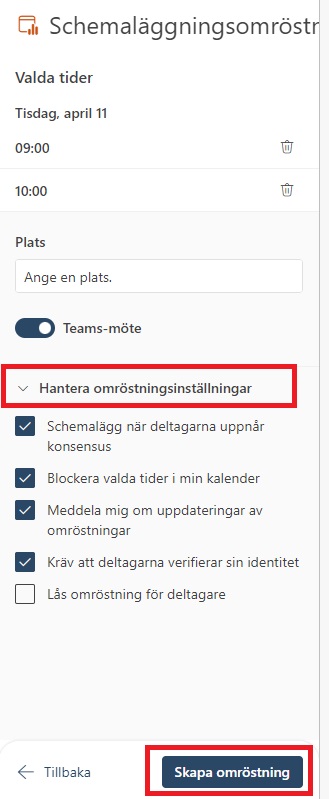
– Schedule when the participants reach consensus: Tick this if you want the meeting to be booked automatically in the Outlook calendar when you have agreed on a time.
– Block selected times in my calendar: Add placeholders to your calendar for all of the selected times.
– Notify me of poll updates: Receive an email when a meeting attendee casts a vote.
– Require participants to verify their identity: Participants who vote must be logged in, so it is possible to identify who voted.
– Lock poll for participants: Participants cannot propose new times. When you feel ready, click Create Poll.
7. Now you see an overview of what you send in your poll, and can write a message in the email. When you’re ready, click Submit.
8. When you send the scheduling poll, placeholders will be created in your and the recipients’ calendars, for the selected times.
9. Done! When they vote, you get an email, and if everyone agrees on the same time, a booking is added to the calendar for that time, and the placeholders disappear.
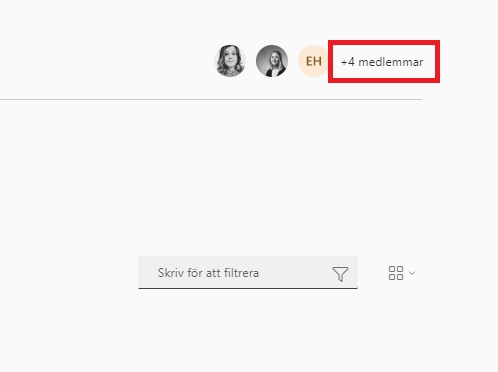
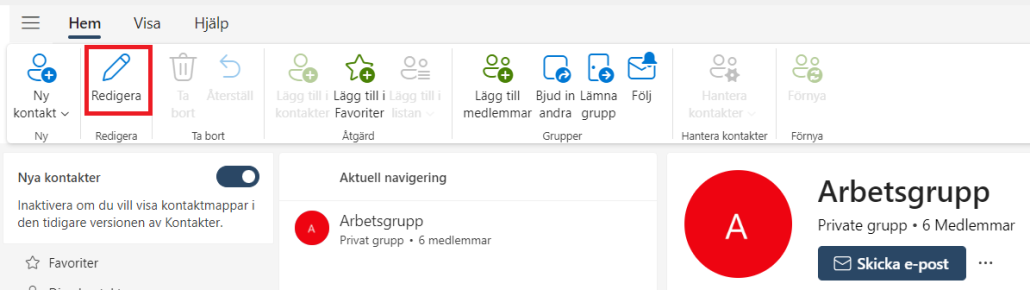
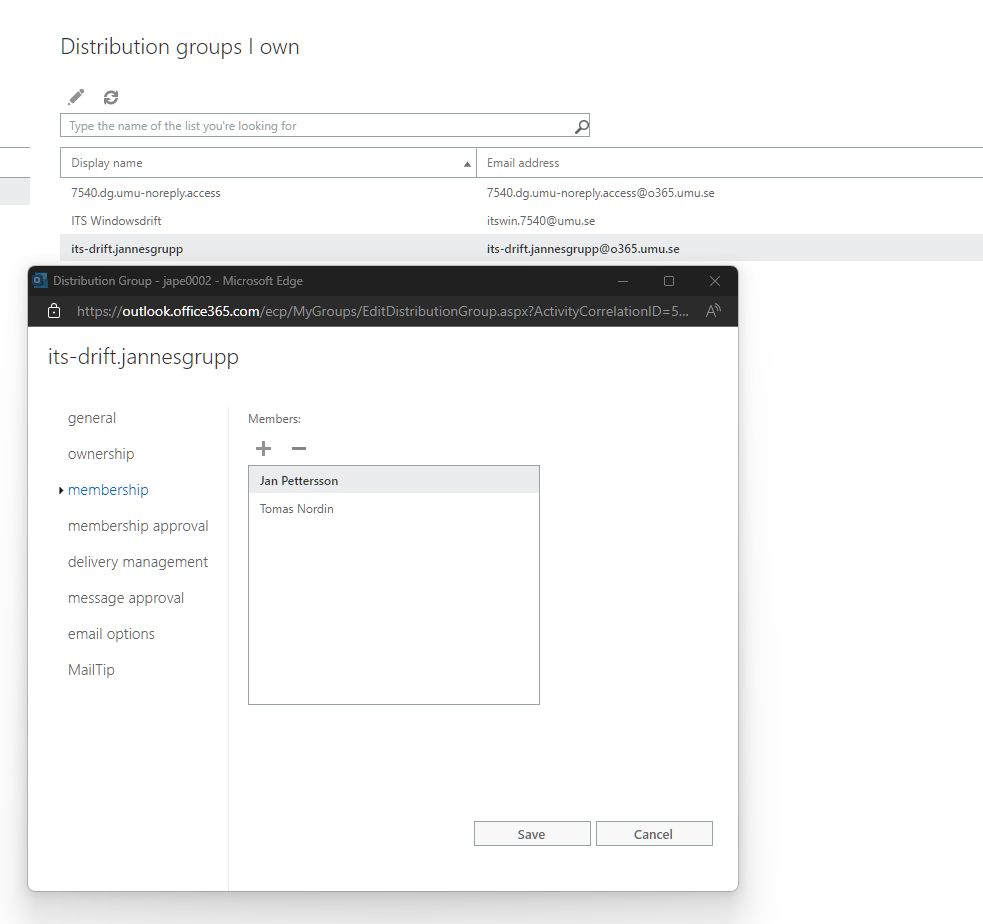
If you own a shared mailbox, you should regularly check the members in the group. This is because members are not automatically removed from the group when someone, for example, changes departments or leaves the university. Here are instructions on how to add or remove members from a shared mailbox.
As the owner of a shared mailbox, you will periodically receive an email asking you to review the members in the group. In the email, click on Start review.
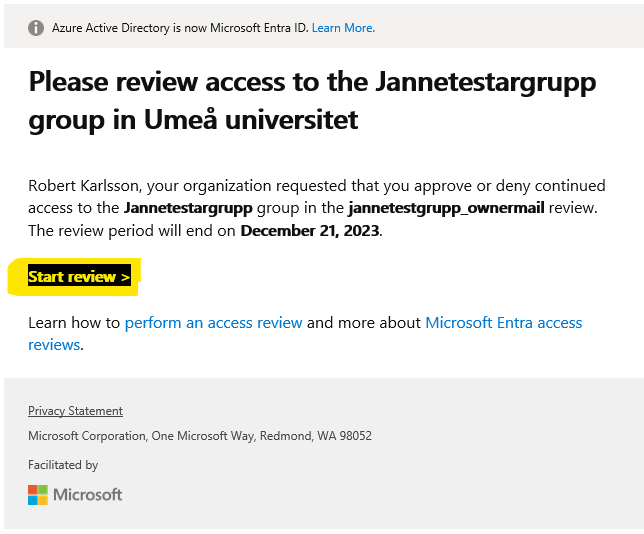
From this view, you can check a member and then Approve or Deny the member.

When an email has ended up in the spam filter, you will receive an e-mail from the sender noreply@umu.se that you have an email in quarantine. If you believe the message to be safe, you can choose to let it through so it ends up in your inbox. If the message is spam, you don’t need to do anything, it will be automatically deleted in 30 days.
This is what the message looks like:
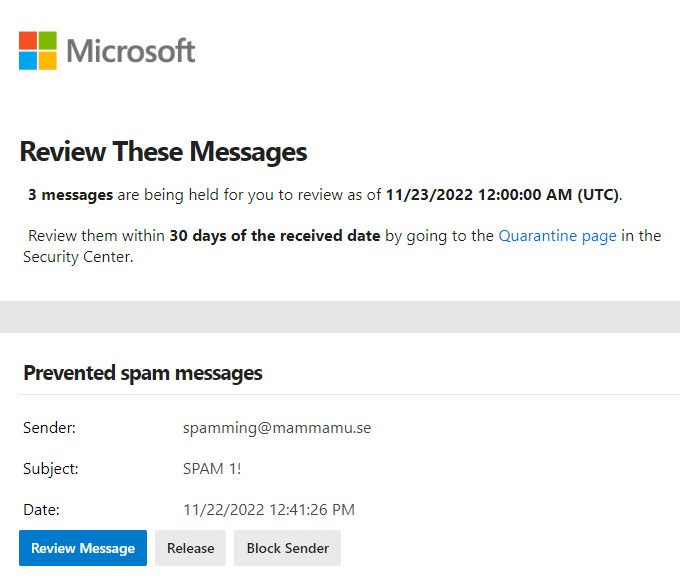
Select Release to send the message to your inbox.
Select Block sender to block the sender.
Select Review Message to review the message to decide whether or not to let it go through. You will then see this view:
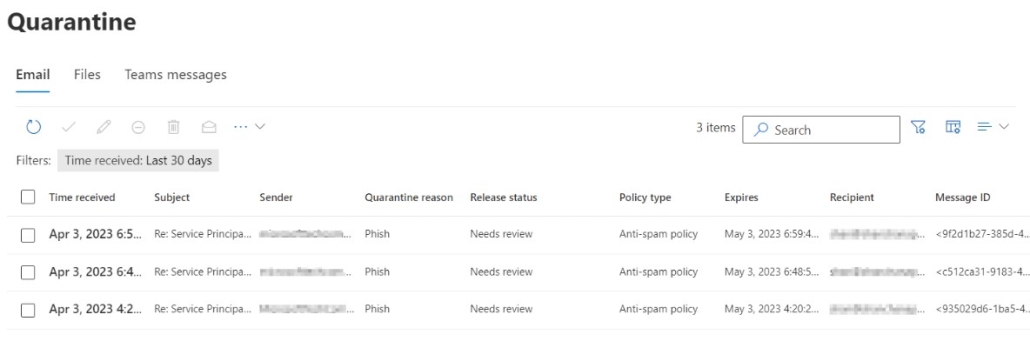
Select the message and whether you want to release or delete it.
Manuals showing how to enable week numbers in Outlook.
Manuals that describe how to set up email in Outlook on different operating systems/devices.
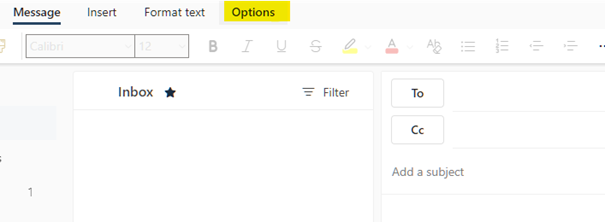
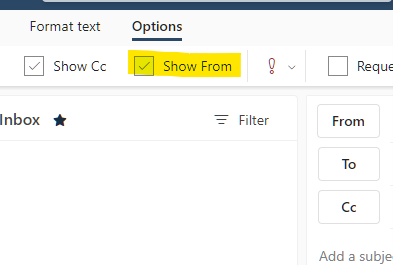
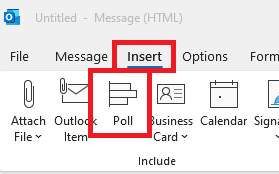
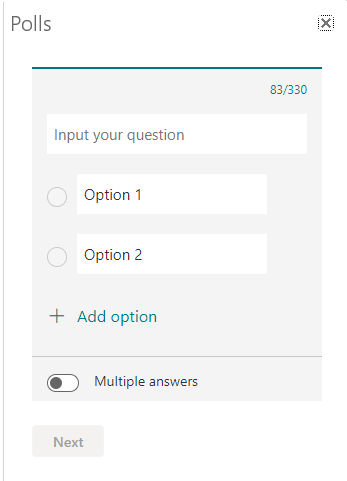
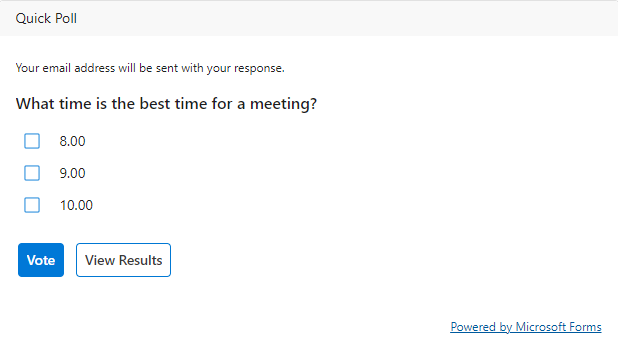
In this guide we describe, with the help of Forms, how to create a vote directly in you email from Outlook.