Log-in/log-out from Call Queues in Teams
When you are assigned as an agent in a Teams Call Queue, it is possible to opt-in (sign in) and opt-out (sign out). It is only when you are in opt-in status that you will get calls from the Call Queue routed to your Teams client.
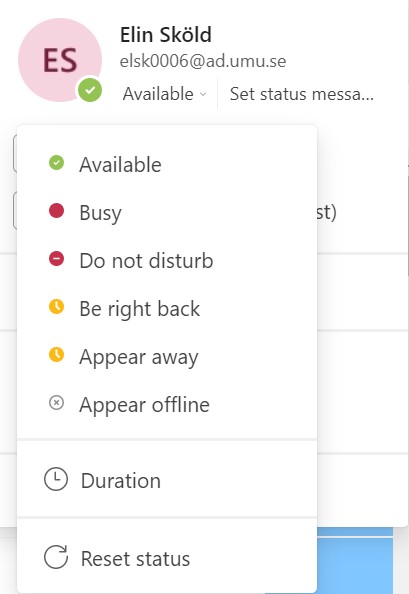
Call Queues can be configured so you only get calls when you are in the status “Available” (Green).
The option to sign out and in can be disabled for some Call Queues, talk to the owner of the Call Queue if you are not able to use this function.
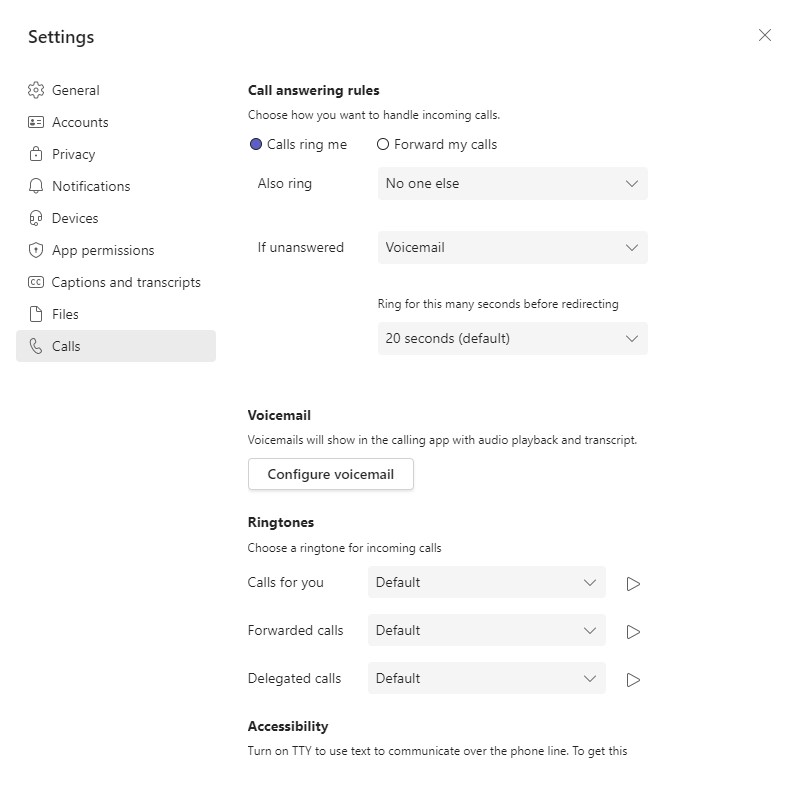
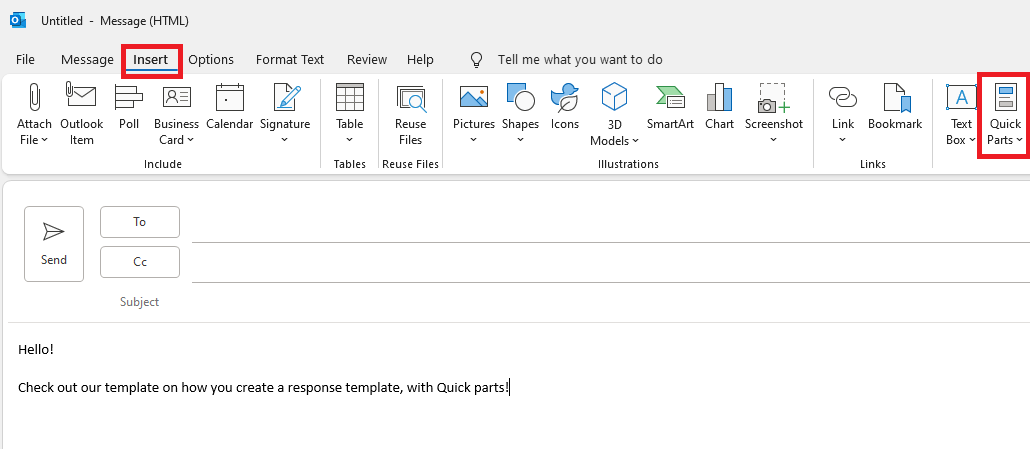
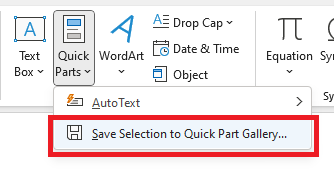
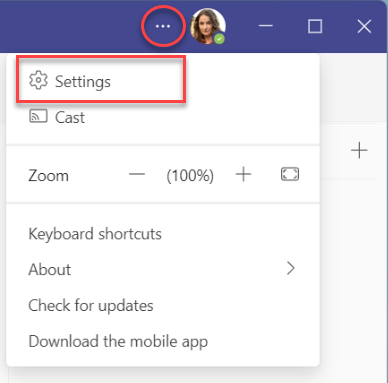
1. Open Settings in Teams by clicking on the three dots next to your profile image and select Settings.
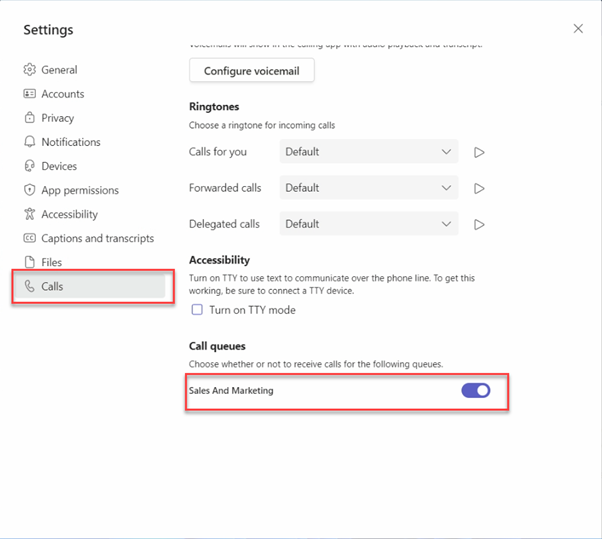
2. Open Calls in the left hand menu in settings and scroll down and you will see all Call Queues that you are assigned to. Click on the toggle switch to opt-in or opt-out.
Opt-in status ![]()
Opt-out status ![]()
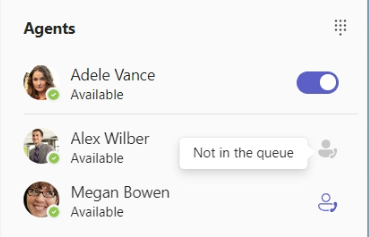
If the Call Queue you are using is attached to a Teams channel you can opt-in / opt-out directly from that channel in Teams.
1. Open the channel your Call Queue is connected to and select the Calls tab.
2. Next to your name click on the toggle switch to opt-in / opt-out.
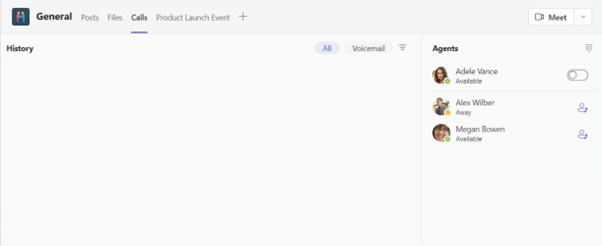
3. You can also see other users assigned to the same Call Queue and if they have opted-in or opted-out.