This manual describes how you as an administrator or owner of a library, list, or survey, can change permissions to let the right people access the data they need while restricting others.
Adjust access to files and maps in SharePoint
If you are the owner of a SharePoint Website you can adjust the settings on maps and files.
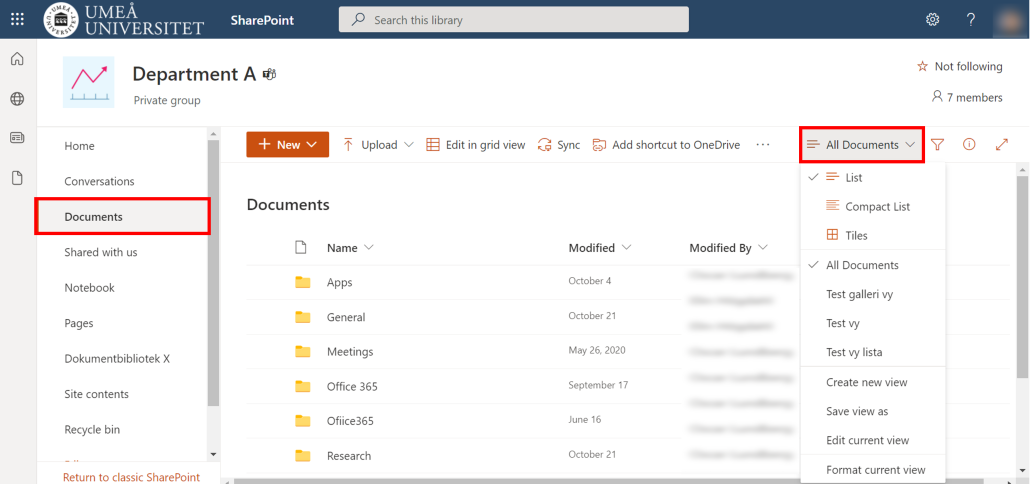
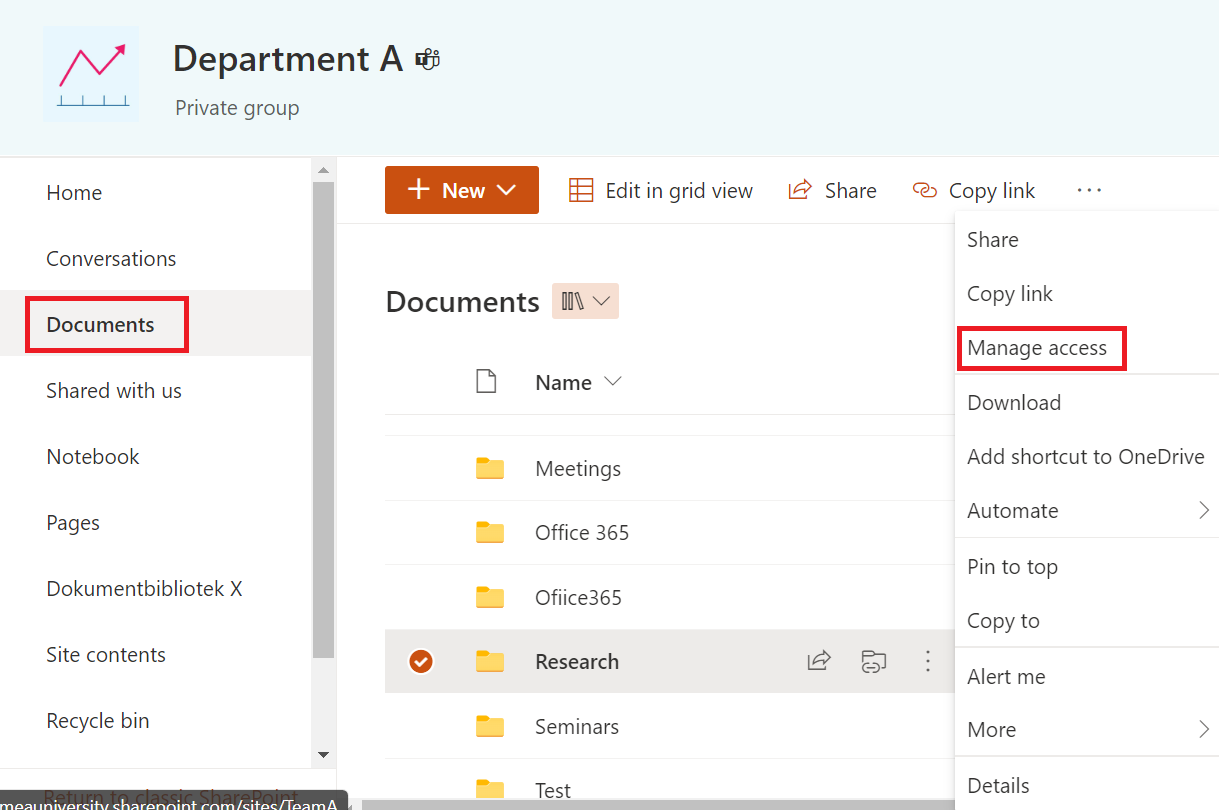
- Go to the library in SharePoint where you want to adjust the settings.
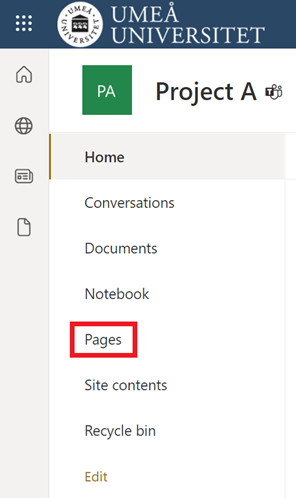
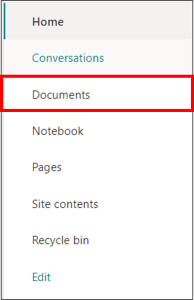
- Click on documents in the left menu.
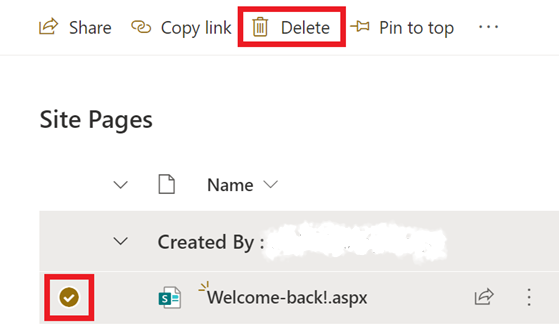
- Mark the files/maps where you want to adjust the settings.
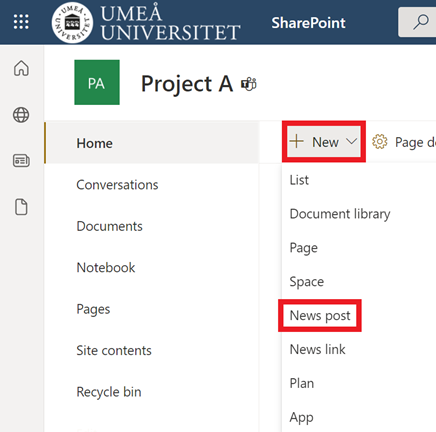
- Click on the three dots and then Grant access.
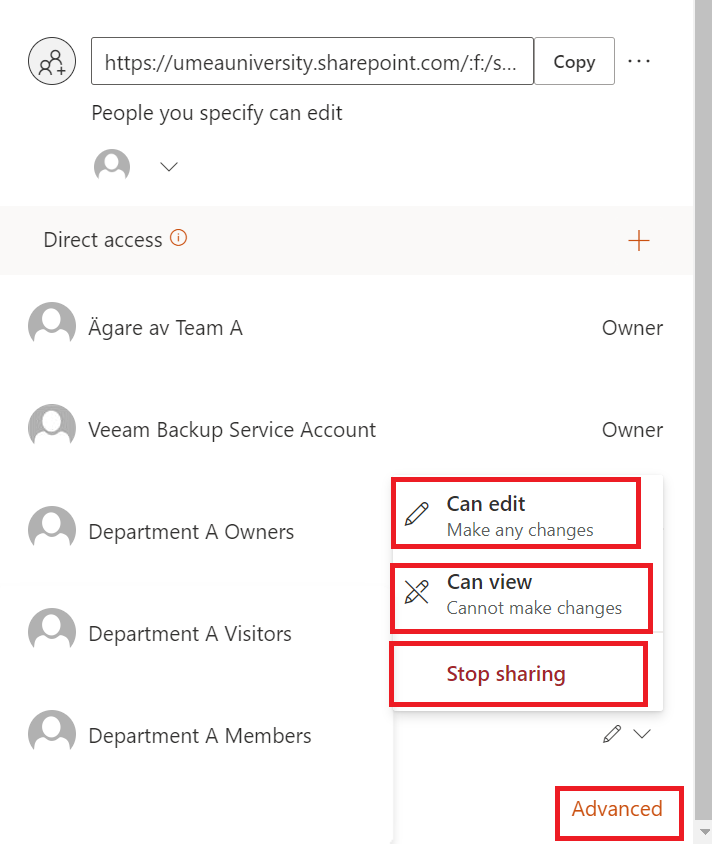
5. A menu to the left will be shown. Scroll down and click on Members and then the arrow.
6. Choose Can edit if you want the members to be able to make changes.
7. Choose Can see if you don’t want the members to be able to edit. The members can only see.
8. Choose Stop Share if you want to remove their access to the files or maps.
9. Choose Advanced if you want to setup advanced settings (For example if you want some of the members to be able to edit, but some of them should only be able to see).
How to setup advanced settings
As administrator or owner to a document library you can adjust the settings on a whole document library so that the right people have access and can edit but the rest who shouldn’t is not able to.
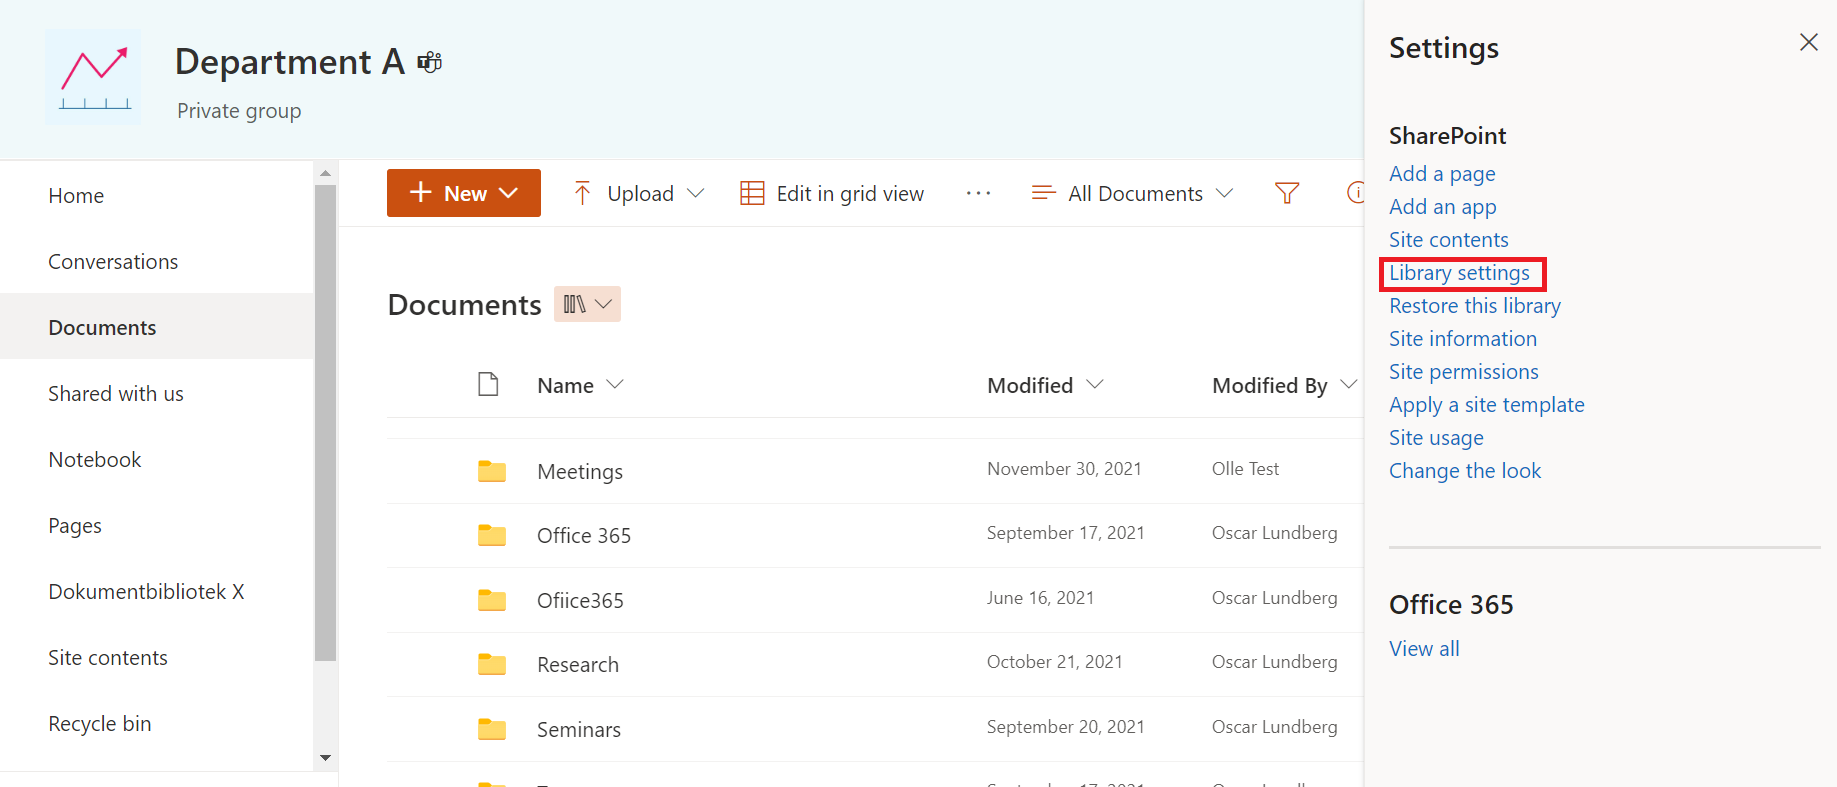
- Go to the library where you want to control the settings.
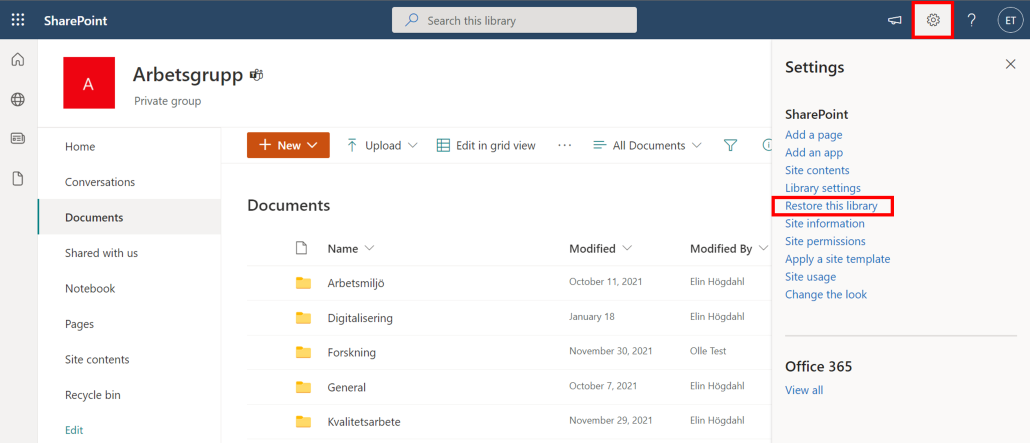
- Click on the settings wheel in the right corner and choose Library settings.
- Under Permissions and management, chose Permissions for this document library.
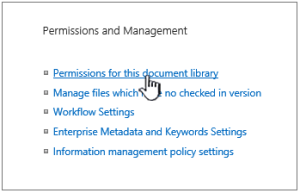
- You will then be sent to the site Permissions.
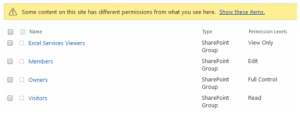
- A yellow message might pop up. Here we list what the messages mean:

Some objects in this list may have unique permissions that’s not controlled from your page. Choose This means that one simple object has earlier been shared with others. If you click on Show these objects you will see a list of these objects. You can click on Handle access if you’re the owner and then make the changes that is necessary.
• There are members with limited access on this site. The members may have limited access if an object or document under the site has been shared with them. This means that if an object has been shared with users, but not the entire list or library, the members permissions is limited to the object that’s been shared with them. Click on Show users to see who they are.
• When you share an object with a user they will get limited access to the webpage to get full access to the object. If you stop share the object the user will still have limited access to the website (and you will see this message), but they don’t have access to any objects that’s not shared with them.
• This library inherits permissions from the superior level (name of the library will be shown). This means that the inherit still hasn’t been broken for the list or library. More information on how you do this will follow in this manual.
Stop inheriting permission in Sharepoint
When you break the inherit permissions for a list, library or survey and then define new permission settings for the library, the library will then inherit the objects in it. The objects under the superior object till now get the same settings for permissions and access as the superior object. Do these steps to break the inherit and to share unique permissions instead.
- Go to Permissions with help from the steps above.
- If you want to break the permissions from the superior object, choose Stop inherit permissions.
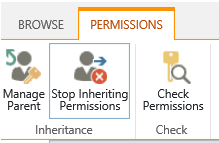
- A safety box will pop up. Click OK if you want to succeed, or click Stop if you’ve changed your mind.
- You have now stopped inheriting the permissions for this document library. The menu Permissions will now get more options.
- Click on Delete unique permissions in the same menu if you want to reinstall inherit permissions again.
Assign unique permissions in SharePoint
You need to break inheritance from the superior site before you can grant unique permissions. Once you’ve broken inheritance like we showed above, you follow these steps to grant unique permissions.
- Open the library where you want to assign unique permissions.
- Go to the site Permissions with help from the steps above.
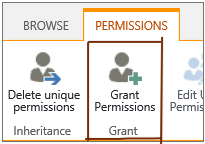
- Choose Grant permissions. (If the list/library inherit from the superior object, this choice will not be shown).
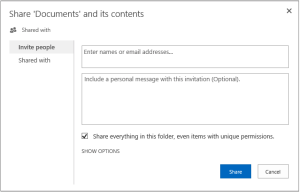
- In the Share dialog box make sure the header Invite people is selected. Then you can start to type the names of the people or group you want to grant access to. You can add a personal message if you’d like. Check or uncheck the box Share everything in this folder, even items with unique permissions depending if you want to limit or grant the access to the objects that you already set unique permissions for.
- By default, they will get the access to edit. Which means that the people you invite can make changes in the library. If you want to give them another permission level, click on Show options and then Select a permission level. An e-mail will be sent to everyone that’s named in she square Invite people. If you don’t want everyone to receive an email, click on Show options and then uncheck the box Send an email invitation.
- When you’ve made all the choices in the Share dialog box, click Share.
Change permissions settings in SharePoint
You need to break the inherit from the superior site before you can change unique permissions. Once you’ve broken the inherit like the steps above you follow these steps to change unique permissions.
- Open the library where you want to change permission levels.
- Go to the site Permissions for the library.
- In the list Names, check the boxes next to the name of the users/group that you want to change access for.
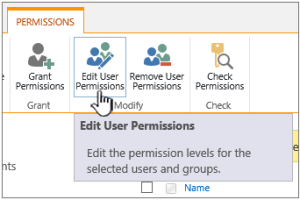
- When you’re done, click on Edit user permissions.
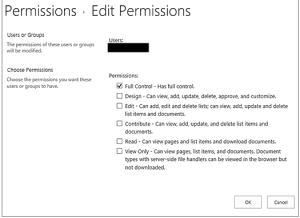
- Under Permissions, mark the box for the permission level you want for the users/groups you’ve chosen.
- Click OK when you’re done.
Remove user permission in SharePoint
To remove permissions from users or groups that you have granted access to, follow these steps.
- Go to the library where you want to remove user permissions.
- Go to the site Permissions for the list or library (see above if you don’t remember how to).
- In the list Name, mark the box next to the name of the user/group that you want to remove permission from.
- Choose Remove user permission.
- The permission site will be updated and show that the user/group will no longer have permission to the lists.